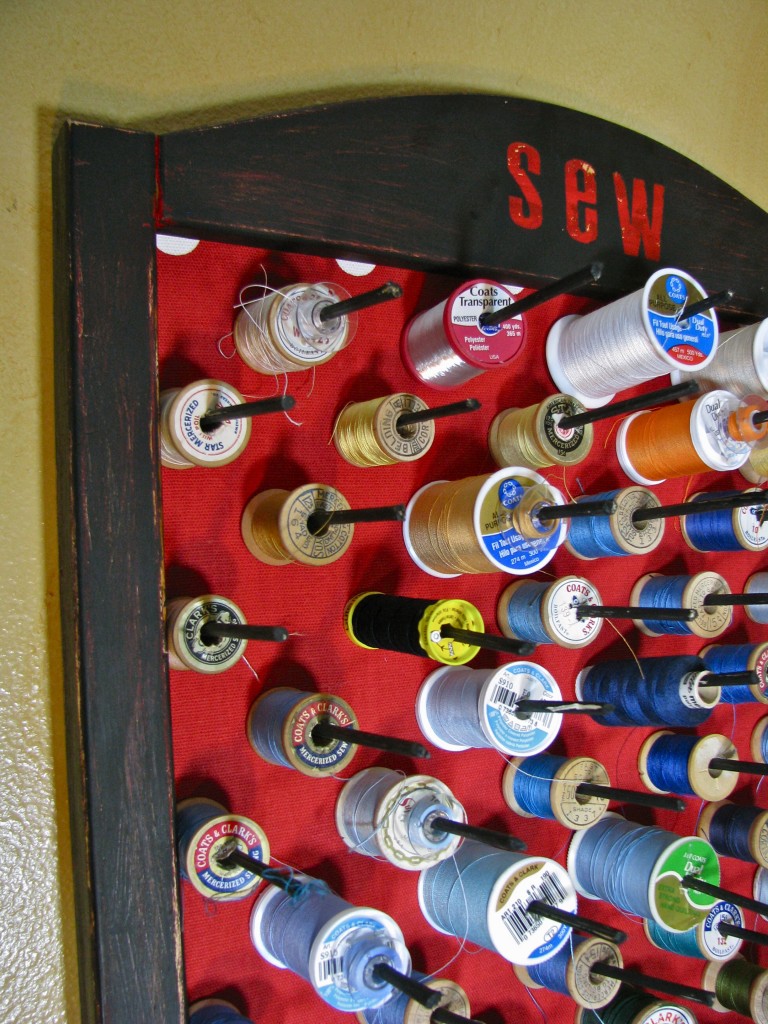
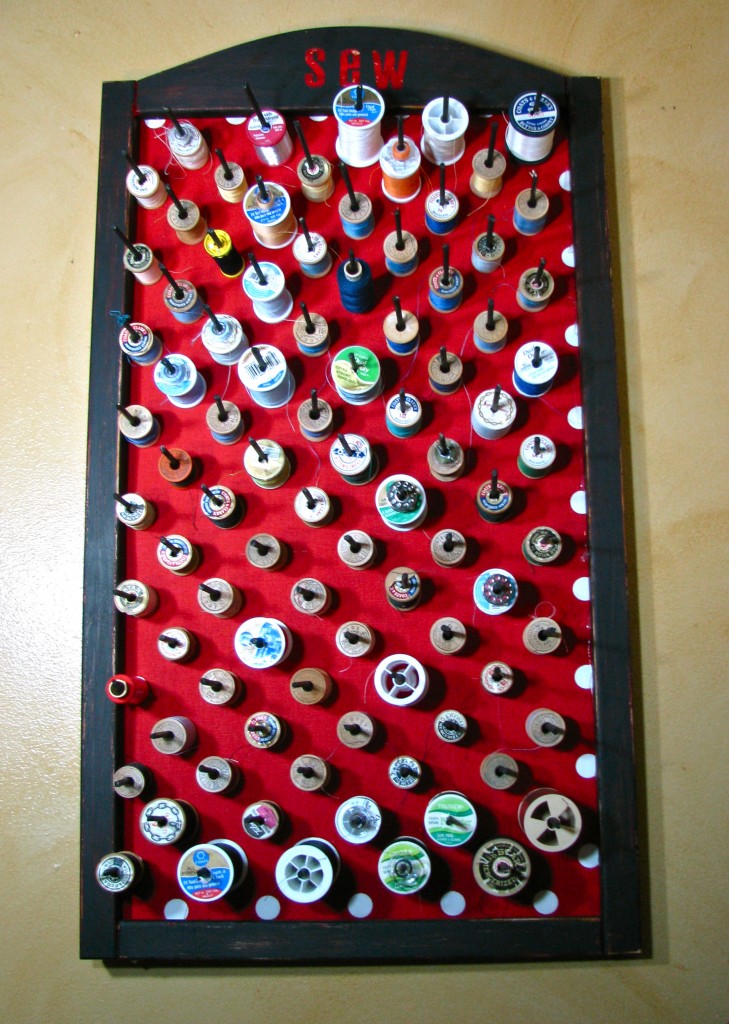
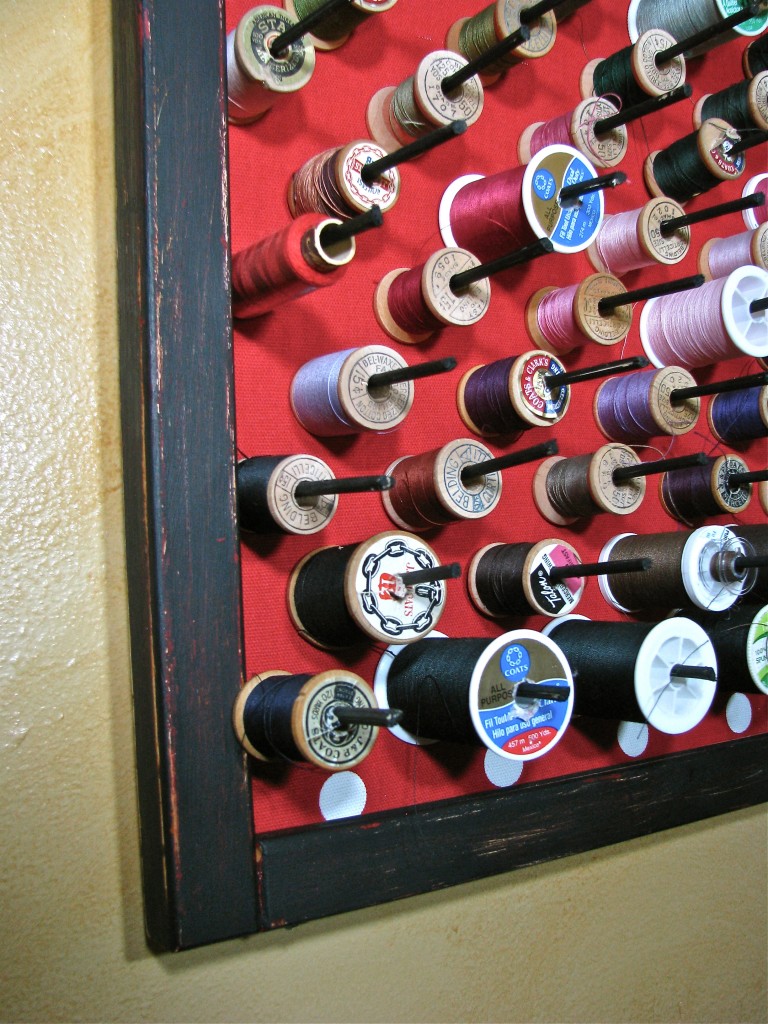
You can make a space-saving thread organizer that hangs on the wall– and no, you don’t need a drill!
How to:
made with
picture frame
home decor weight fabric
1
Begin by removing the glass and backing from the frame.
2
You’ll need a piece of foam-core poster board. Trace the frame’s backing onto the foam board, then cut to size.
3
If your frame is varnished, the paint will adhere better if you sand it lightly first. Be sure to wipe off the dust after sanding.
4
Apply a base coat to the frame that will contrast with your top coat.
5
While that dries, we can paint the skewers. You don’t need to paint the very tip, and you only need to paint about halfway up the stick. These BBQ skewers can be found in the kitchen utensils section of almost any store.
6
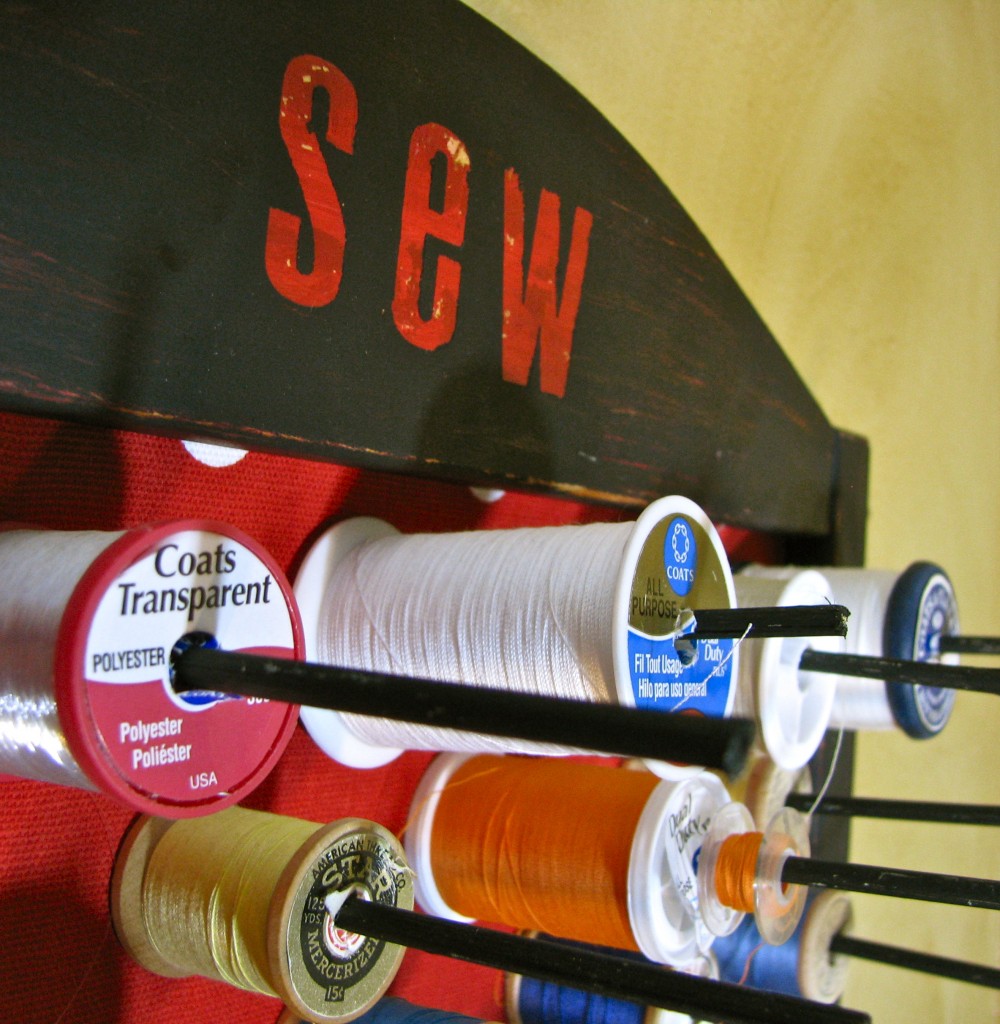
While those dry, add a topcoat to your frame. If you’d like, you can add words or shapes by putting stickers on the base coat. Burnish with a skewer so that the paint won’t seep under the edges. Then paint over the letters with the top coat paint.
7
Now we’ll work on the fabric. You’ll need to iron a fabric that’s home decor weight– a cotton quilting fabric won’t hold up as well once you start inserting the skewers.
8
Spray one side of your foam board with fabric adhesive spray, and immediately smooth the fabric on top of it. You’ll need your fabric cut large enough to wrap around each side.
9
For best results, that needs to dry for an hour, so we’ll work on our frame some more. Sand the frame lightly so the base coat shows through. If you press harder, some of the wood can show through as well. Carefully remove the stickers.
10
Once your fabric has set, trim the corners with a square shape for easy folding. Then fold down each edge and hot glue in place.
11
Now put the covered board inside the frame. You don’t need to secure it, we’re just seeing how much the frame overlaps the board. You can use a ruler to measure and mark where you’d like your pegs to be. It turns out that my polka dots are the perfect distance apart for my pegs, so my board will be very easy to make.
12
Insert the pointed end of a painted skewer into one of your markings. Twist it through the foam board until it pokes out the other side. Flip your board over to the back, and clip off the skewer so it’s nearly flush with the board. I found that wire cutters work well for this. I bought a cheap pair at the dollars store, because I didn’t want to damage the ones I use for jewelry making.
13
Insert a spool of thread on the skewer, and clip the top of the skewer to a length that you like. I decided to make my pegs long enough to hold matching bobbins as well. Then add a dab of hot glue to secure the skewer on the back.
14
Now that you have a sample done that you like, you can cut the other skewers to size. Then dip the cut ends in paint.
15
I like to work with one row of skewers at a time. You can gently tap the skewers in place with a hammer if you’d like.
16
Once you’ve finished adding all of your pegs, you can hot glue the board to the frame. You can also replace the backing if you’d like.
Made By Marzipan may have received product or payment for this post. Posts may contain affiliate links. Disclosed in accordance with the Federal Trade Commission's 16 CFR, Part 255.


 Finished?
Ohhhh, what a great idea and total money saver!! I am going to have to try this!
Jenni
kissedbyafrog.blogspot.com
I love mine! I like to organize the spools by height so it makes a pleasing 3D plane.
This is a wonderful idea, thanks for sharing. It is now on my list of things to make for me.
Very creative, frugal, and yet elegant…thanks for sharing; you’ve inspired me to do this for MY room!
This is a great idea. I will make it for my craft room.