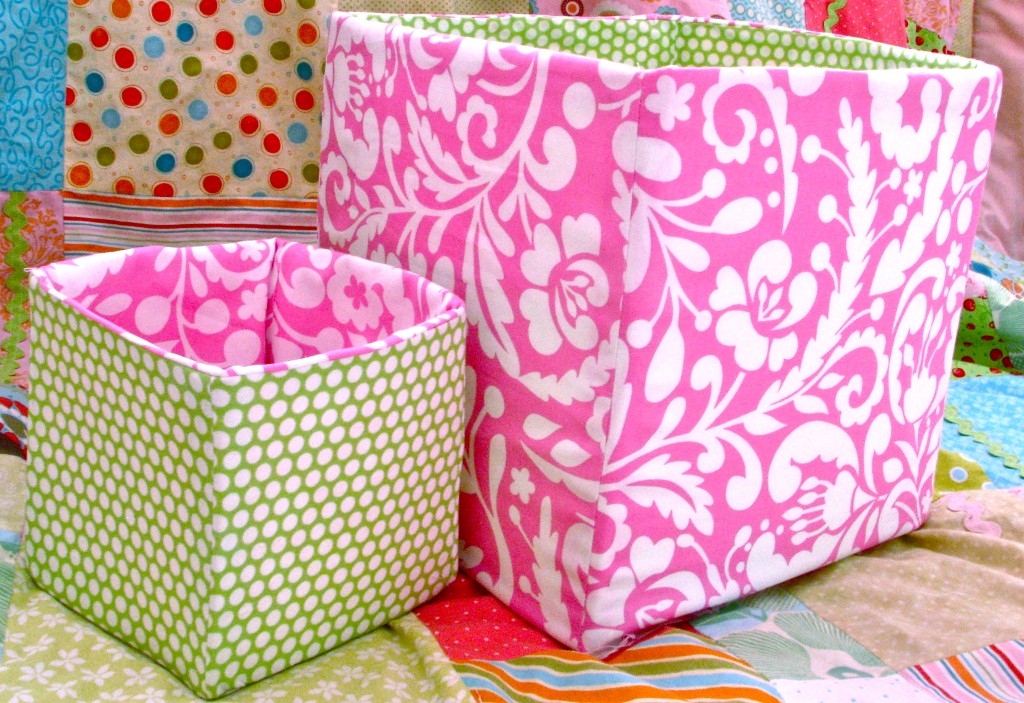
You can get organized in style with storage bins you sew yourself!
How to:
made with
5 squares cotton fabric (outer)
5 squares cotton fabric (inner)
5 squares heavy-weight fusible interfacing
1
Cut five squares of outer fabric and five squares of inner fabric. Make them one inch larger than you want your finished bin to be.
2
Lay two squares of the inner fabric right sides together. Pin along one side. Sew the two squares together using a half-inch seam. Remove the pins.
3
Lay the next square of fabric on top of the last square, right sides together. Pin and sew along the left edge. Repeat for the fourth square, making one long strip.
4
Once the four squares are sewn in a strip, fold in half so the two raw edges meet. Pin in place and sew. Then press the seams open. Repeat all the previous steps using the exterior fabric.
5
Now that your exterior fabric is sewn and pressed, we can add the stiff fusible interfacing. It needs to be heavy weight, almost like cardboard. Cut into squares that are about an inch smaller than the fabric squares. Iron onto each panel.
6
Set the exterior fabric and interfacing aside, so we can work on joining the interior fabric to the bottom panel. Lay the final square of interior fabric face up. Line up one side of your sewn fabric with one edge of the square. Make sure it’s centered, and pin in place. Sew until your reach the seam. Unpin, then line up the next side with the next edge of the square. Pin and sew. Repeat for the third and fourth sides.
7
Add the fifth square of interfacing to the wrong side of the bottom panel.
8
Now go back to your exterior fabric and turn it right side out. Insert into the cube you’ve made with the interior fabric. Right sides should be together. Line up the top edge of the fabrics and pin in place. Sew together. Remove the pins.
9
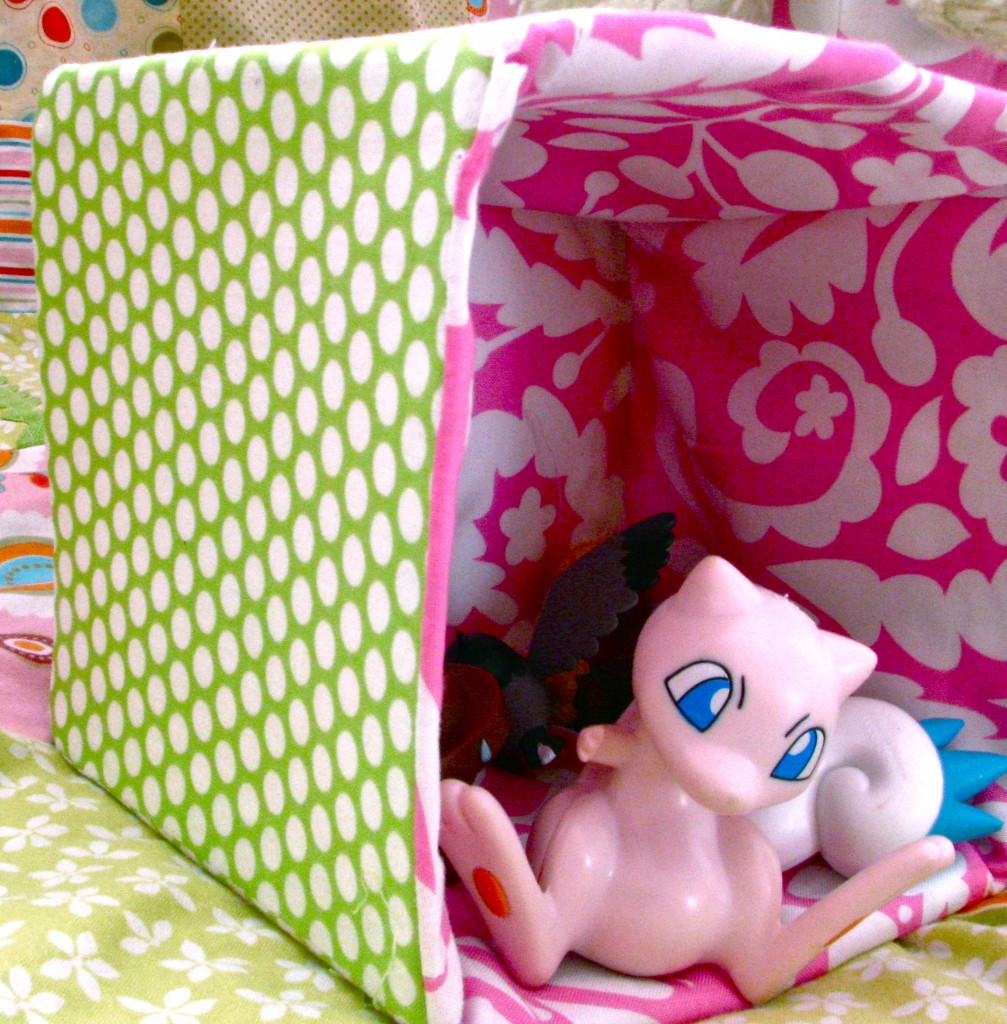
Turn your bin right side out by reaching in and grasping the bottom edge of the exterior fabric. Pull upward, then fold the sides over.
10
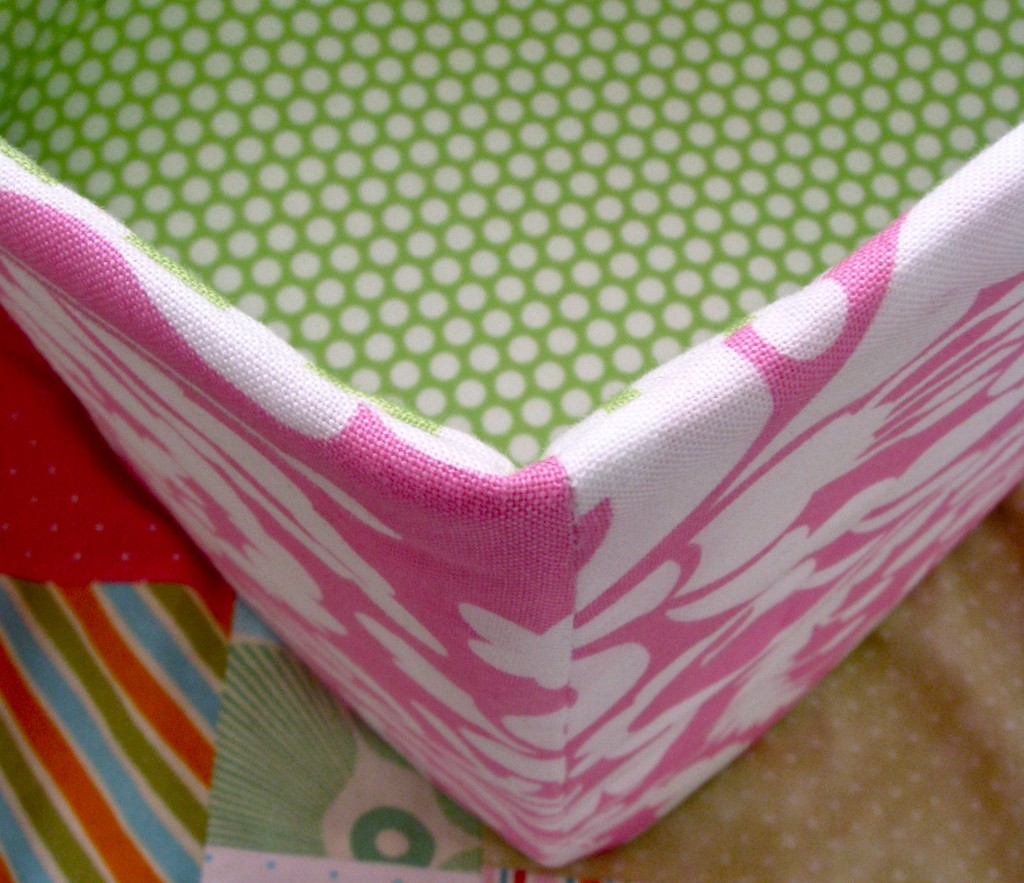
Iron the interior of the bin, taking care to press the edges. Then flip the bin upside down and fold the raw edges on top of the panel. Press lightly.
11
Now we’ll make the bottom panel. Place the last square of exterior fabric face down. Fold the edges inward a half inch, and press. Lay the fabric square on top of the bottom panel.
12
Handsew the square in place using a blind stitch.
Check out the Bedside Book Caddy tutorial for more organization inspiration!
Made By Marzipan may have received product or payment for this post. Posts may contain affiliate links. Disclosed in accordance with the Federal Trade Commission's 16 CFR, Part 255.

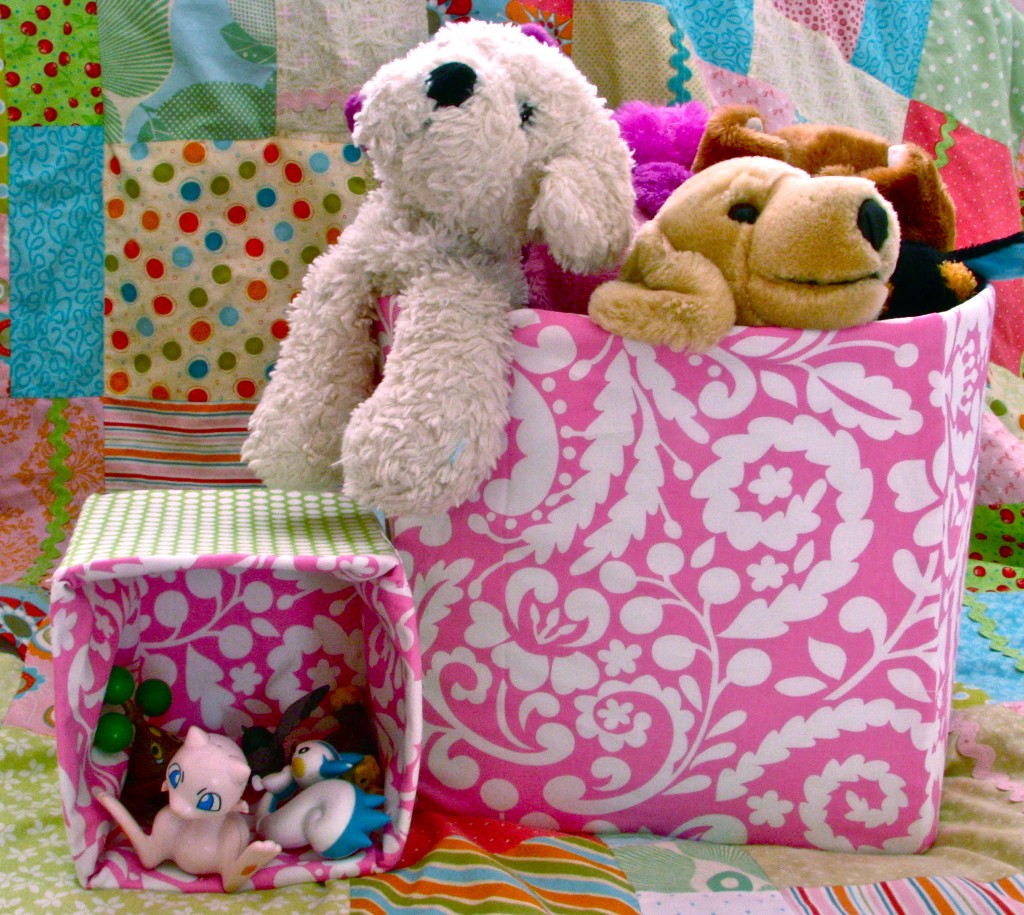
 Finished?
Show it off!
