This tutorial will show you how to make earrings that have great retro flair.
How to:
made with
Cherry Bombshell
1
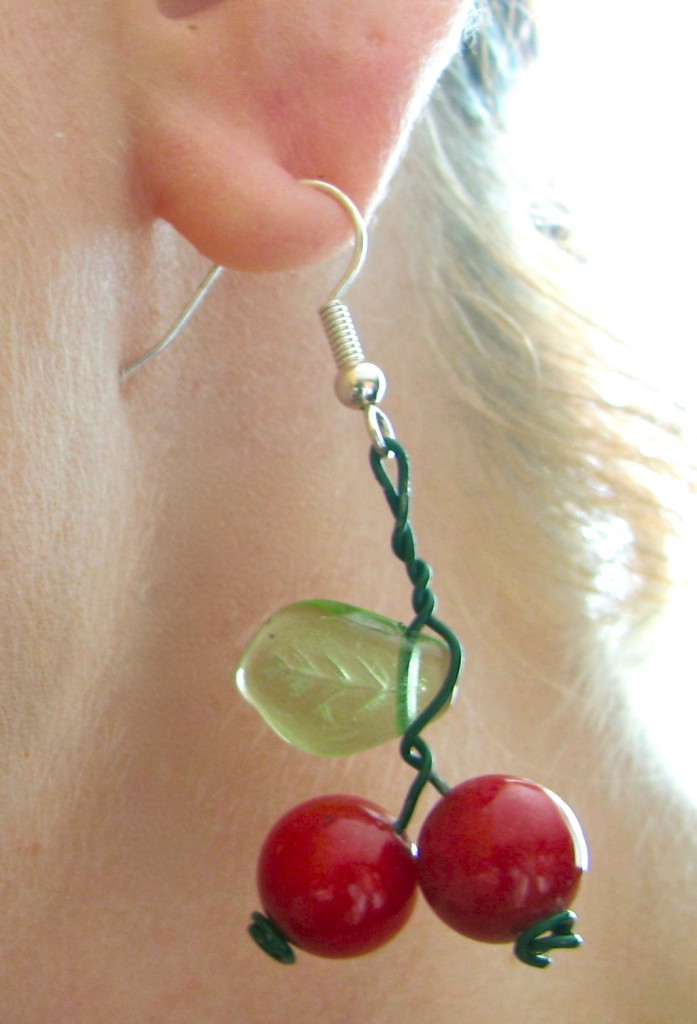
To make Cherry Bombshell earrings, use wire cutters to cut two lengths of green floral wire to about 6 inches in length. Bend the wire in the middle a bit, then thread it through the loop on a fish hook earring. Twist the wire near the loop, and continue twisting a few more times. Pinch the top of the wire with pliers to tighten.2
Then thread a leaf bead through one end of the wire, and twist a couple more times.
3
Tug on both ends of the wire to tighten the twists. Add a round red bead to the end of one wire. Bend the wire over close to the bead, then coil the wire around itself several times, until it forms a little ball larger than the hole. Snip off the excess wire and use pliers to pinch the ball tightly.
4
Add the second cherry bead in the same way. Repeat these steps for the second earring.
5
You can use pliers to tighten the twists you made earlier.
Imitation Bakelite:
1
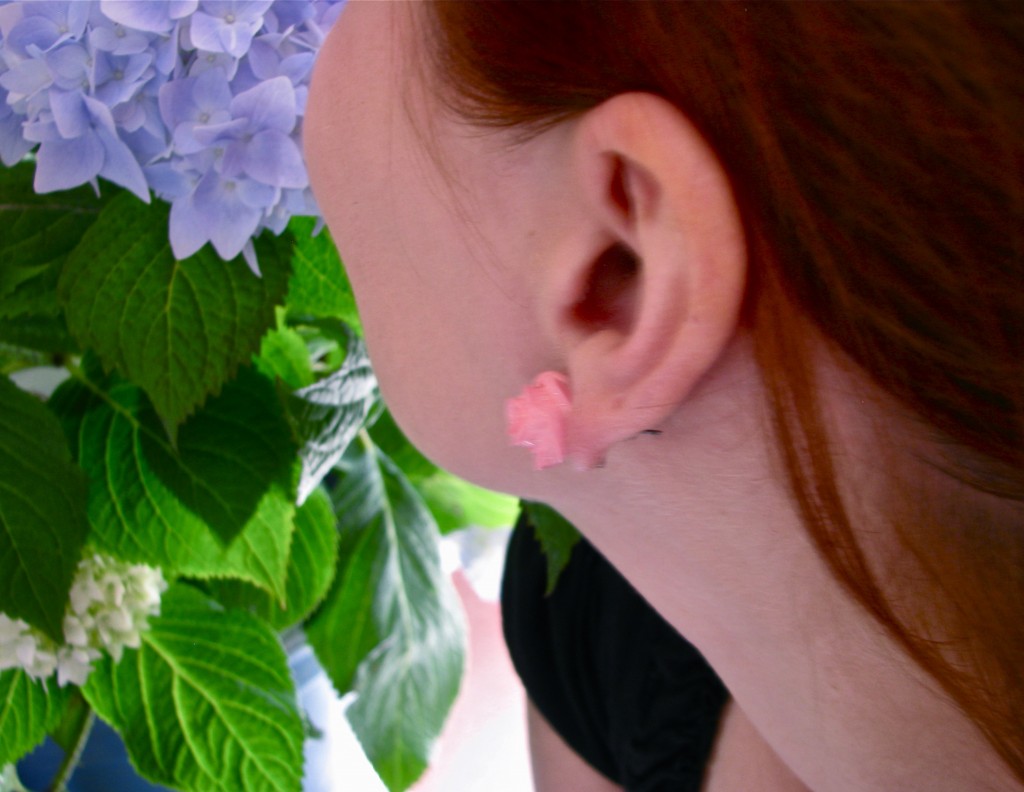
Bakelite was a type of plastic that was popular in jewelry in the 30’s and 40’s. It’s highly collectible today. You can imitate that style by using decorative plastic brads, like these ones made by American Crafts.
2
Use scissors to cut the prongs off the back of the brad.
3
Add to earring posts with hot glue.
Button Earrings
1
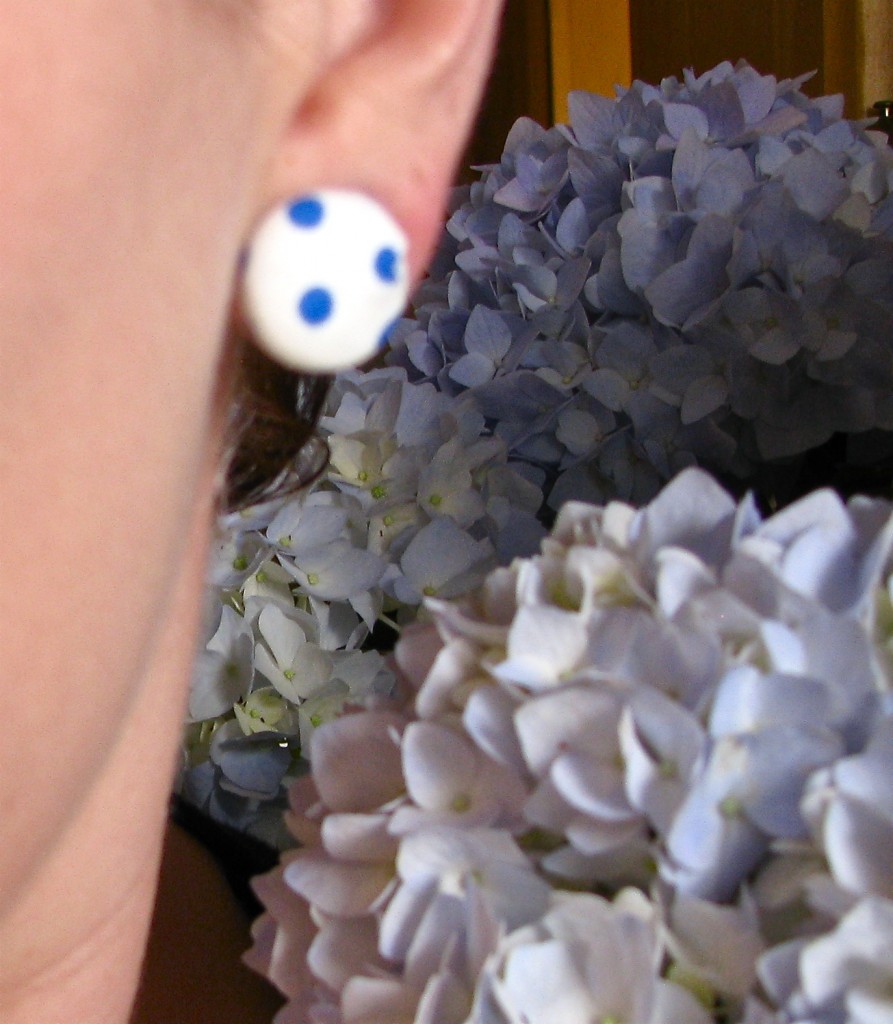
Use a button-covering kit and fabric with a vintage-era print to make classic earrings in minutes. Button covering kits can be found in the sewing notions section of any store that sells fabric, and they come in various sizes.
Made By Marzipan may have received product or payment for this post. Posts may contain affiliate links. Disclosed in accordance with the Federal Trade Commission's 16 CFR, Part 255.


 Finished?