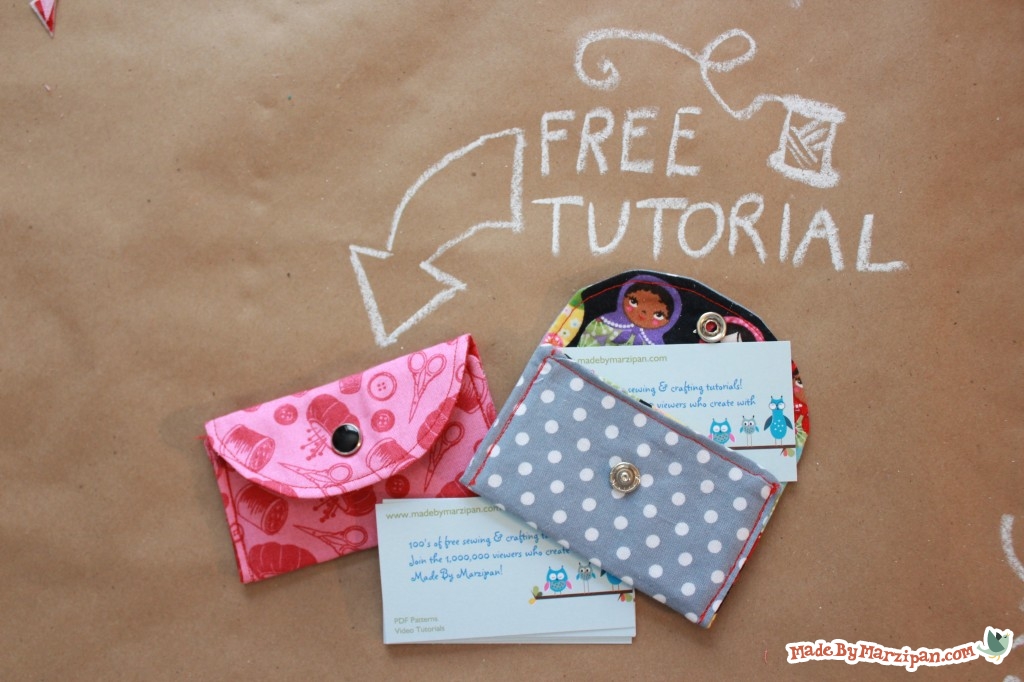
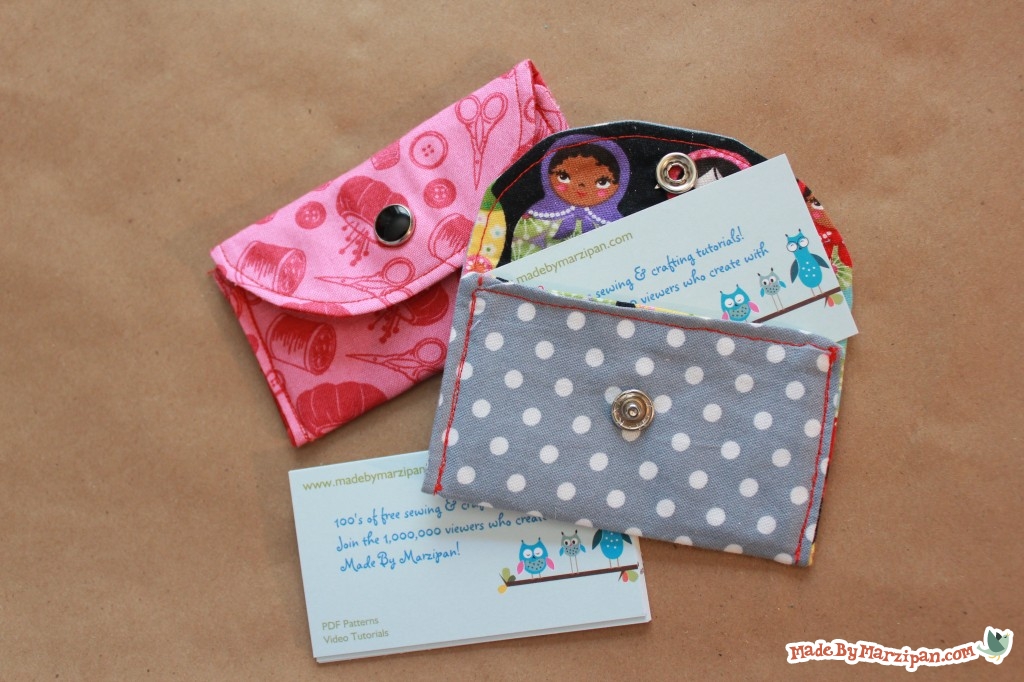
This little card wallet is a snap to make! Stitch up a few as quick gifts.
How to:
made with
cotton outer fabric, 4.75 x 7 in.
cotton lining fabric, 4.75 x 7 in.
1
Begin by cutting the two fabric pieces and the interfacing to 4 3/4 x 7 inches. Iron the fusible interfacing to the lining piece.
2
Pin the pieces right sides together, and trace a circle object with chalk to round off one end.
3
Sew the pieces together with a 1/4 inch seam, using the chalked curve as a guide. Leave a 3 inch opening along one side for turning.
4
Trim the seam around the curve. Clip the corners and notch the curve, being careful not to snip your stitches. Turn right side out.
5
Poke out the corners with a blunt object, then press. Turn in the raw edges of the opening and press, then pin shut.
6
Topstitch along the straight end of the fabric with a 1/8 inch seam. Start 1/8 inch in and end 1/8 inch from the edge of the fabric. (We’re sewing this edge now so that the snap won’t interfere with the sewing foot.)
7
Add the non-decorative snap piece. Place 1/2 inch in from the straight edge. The flat ring will be on the lining fabric, and the piece with the bump will be on the outer fabric. Follow package directions to set.
8
Topstitch around the rest of the wallet with a 1/8 inch seam. This will close the hole you pinned.
9
Add the other snap piece. The decorative piece should be on the outside of the rounded flap, about 1/2 inch from the edge. Follow package directions to set.
10
Snap pieces together and press. Open the flap, then stitch the two sides of the wallet shut with an 1/8 inch seam, directly over your previous stitches. Your card wallet is complete!
Made By Marzipan may have received product or payment for this post. Posts may contain affiliate links. Disclosed in accordance with the Federal Trade Commission's 16 CFR, Part 255.


 Finished?
What a fabulous tutorial! I was always under the impression that snaps were much more complicated!
Thanks for the Tutorial! The wallet is simple and gorgeous (:
What size snap please