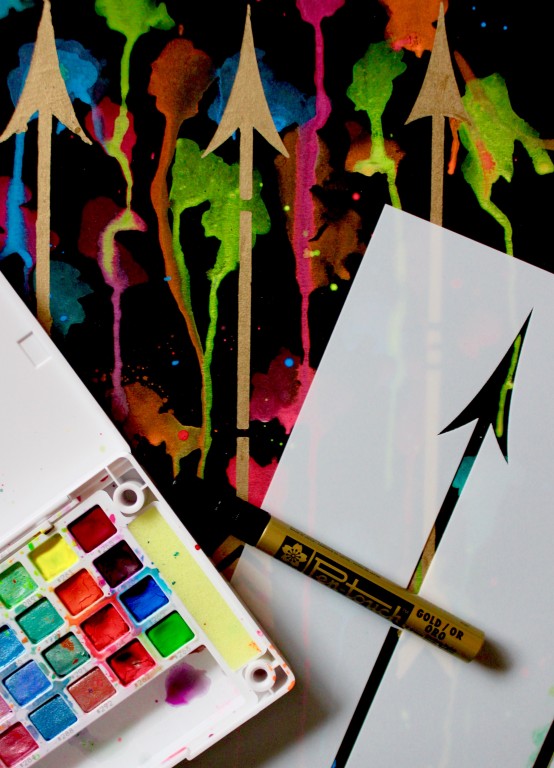
I’m using Sakura’s Koi® Creative Art Colors palette, which is a portable set of watercolors that includes gorgeous fluorescent, metallic, and pearlescent shades. It also comes with a convenient water brush.
My stencils are from StencilRevolution.com. They have a huge selection of cute, trendy stencils. And what I really love is that you can buy them in a variety of sizes, so you can choose the perfect one for your project. They’re flexible, durable, and reusable.
The other product I’m using is a clear temporary adhesive spray. I’m using Craft Bond. You can experiment with different brands of mounting adhesives, just be sure to read and follow the directions, as they vary from brand to brand.
Batik-Inspired
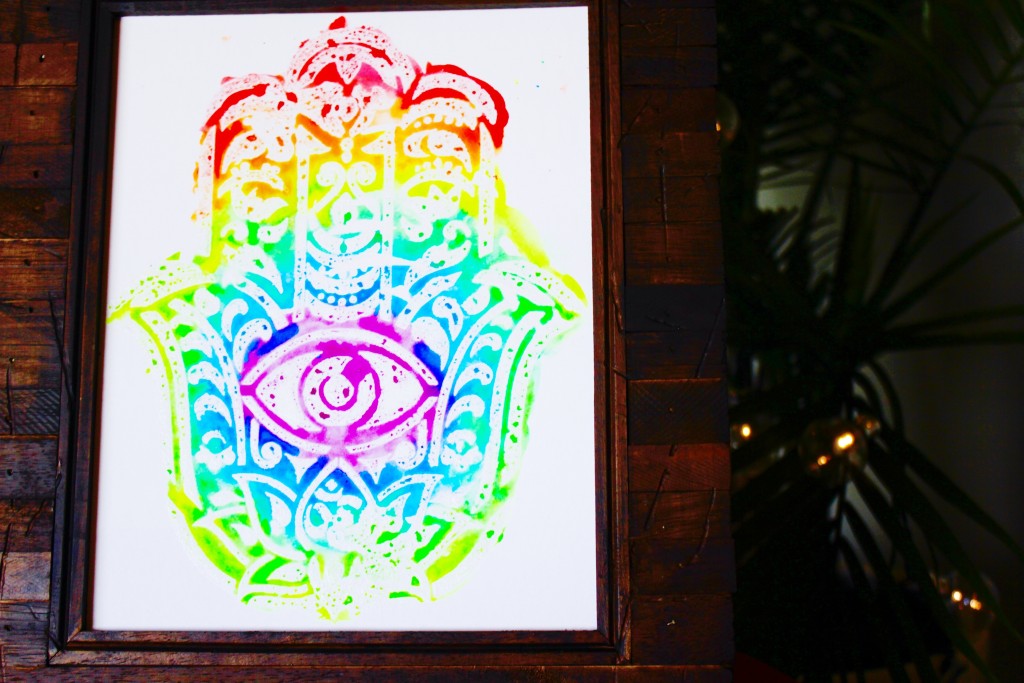
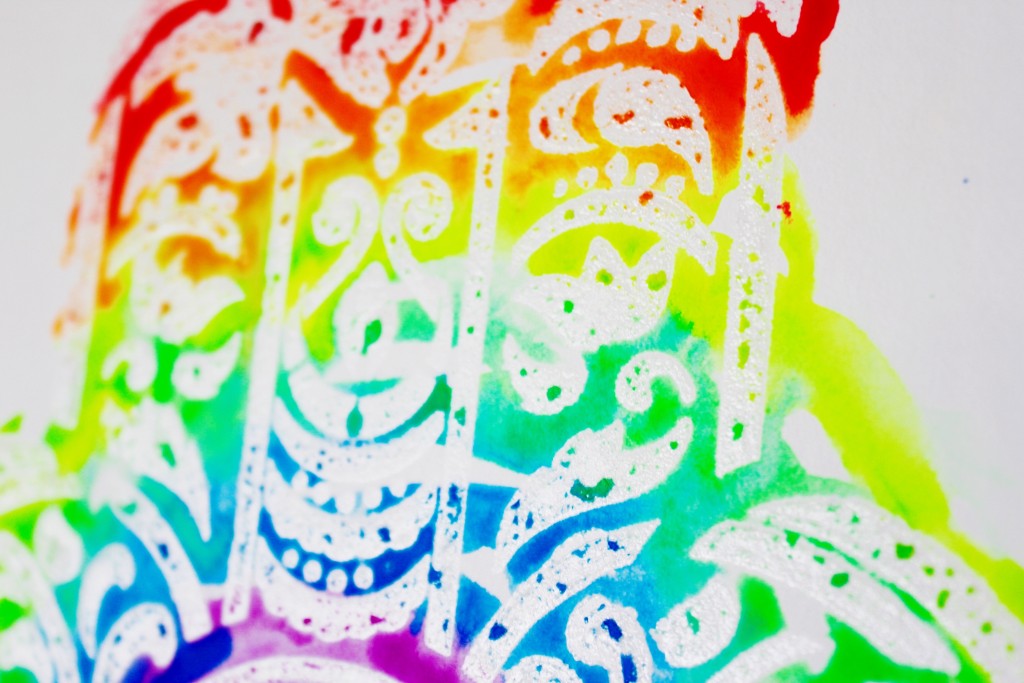
This first project is inspired by batik fabric, which has a pattern created with wax that resists dye. Stencil Revolution has a selection of beautifully detailed mandala stencils that are perfect for this technique. In place of wax, we’ll be using the spray adhesive as our resist medium.
1
Lay the stencil over a piece of heavyweight paper, such as watercolor paper or mat board. Spray over the top of the stencil, lightly but thoroughly. Immediately remove the stencil, lifting straight up. Allow the adhesive to dry.
2
I’m painting this design using the fluorescent colors from the Koi® Creative Art Colors palette. I decided to start in the center and blend a rainbow of colors in a circular design. I think it would also be pretty to create a monochromatic ombre design from top to bottom. The fun thing about this project is there’s really no wrong way to do it!
3
To remove the adhesive residue from your stencil, I recommend spraying it with Goo Gone spray, then rinsing clean with warm, soapy water.
Bright Background
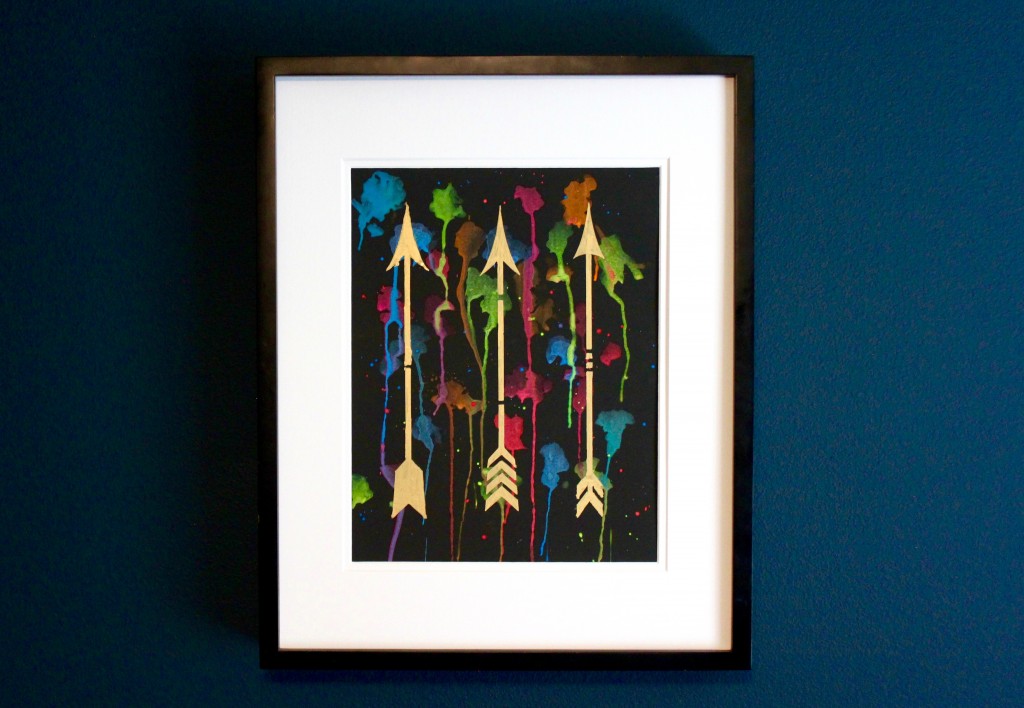
I wanted to make something bold and graphic for this next project. I realized the fluorescent shades from my Koi ® Creative Art Color palette show up nicely on black paper, so I decided to make a background of random paint splatters.
1
Create drips adding splatters of paint, then holding the paper vertically and tapping the edge on the table. (You could also experiment with using a blowdryer to push the color in various directions.)
2
Dip the water brush in paint and shake over the surface of the paper to make a spattering of colorful droplets. Allow to dry completely.
3
Place a stencil on top of your paper. You can use washi tape to hold the stencil in place. I’m using a stencil that features a variety of arrows. One thing I really like about Stencil Revolution’s stencils, is that they are transparent enough to see your design beneath, so it’s easy to get the exact placement you want.
4
I’m coloring the cut-outs with a metallic gold Pentouch® marker. These markers are filled with a paint-like ink that will give our design a foil effect. It really catches the light and makes your artwork pop!
Soft Colorwash
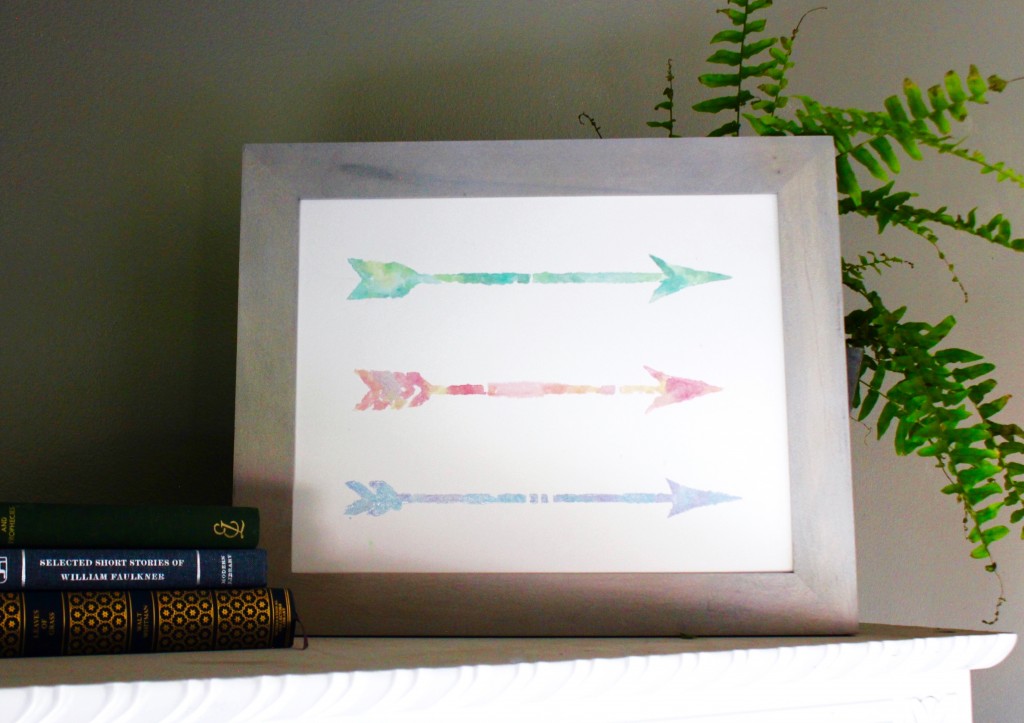
This last piece is soft and simple, featuring a gentle color wash in shimmery pearlescent paint.
1
We aren’t going to use the adhesive mounting spray, because we want the edges to feather and melt. Use a lot of water, and fill each arrow with monochromatic shades. Allow the colors to blend into each other.
2
Allow the watercolor to dry fully before lifting the stencil. If you lift too soon, the paint will run too much. A little blurring and feathering is just fine, since we want it to look soft and hand-painted.
Which technique was your favorite? To find the perfect stencil for your project, visit my sponsor, StencilRevolution.com. Check out the Koi® Creative Art Color palette and metallic Pentouch® markers at my sponsor’s site, SakuraOfAmerica.com.

 Finished?
1zqjdn'”(){}:/1zqjdn;9