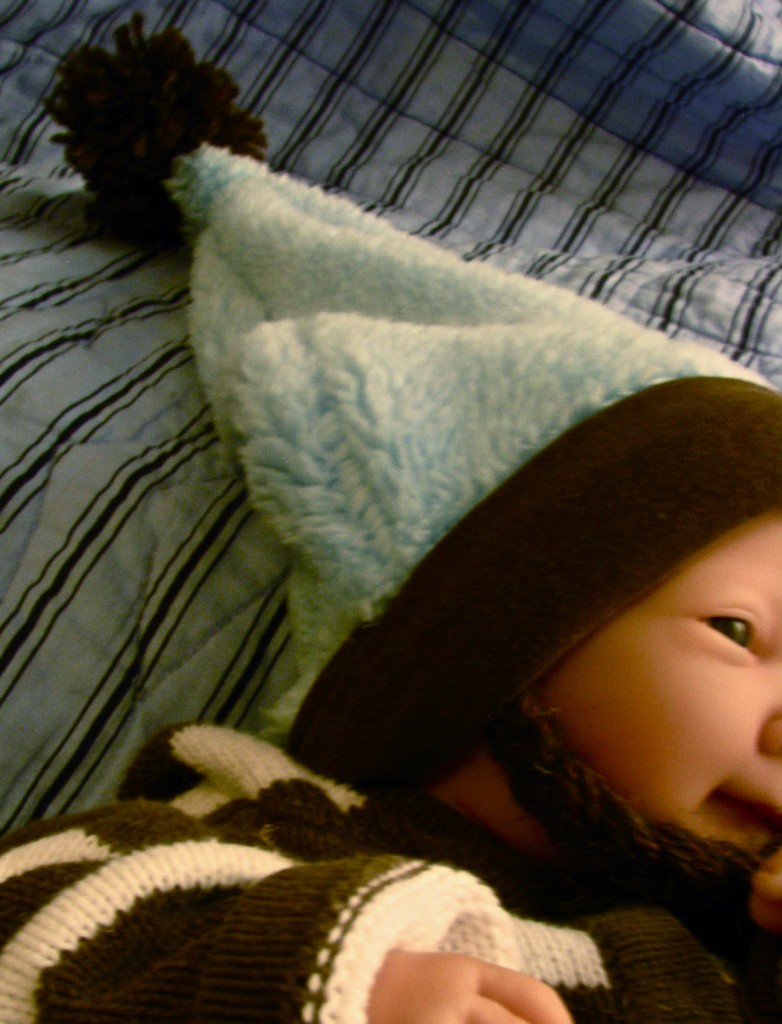
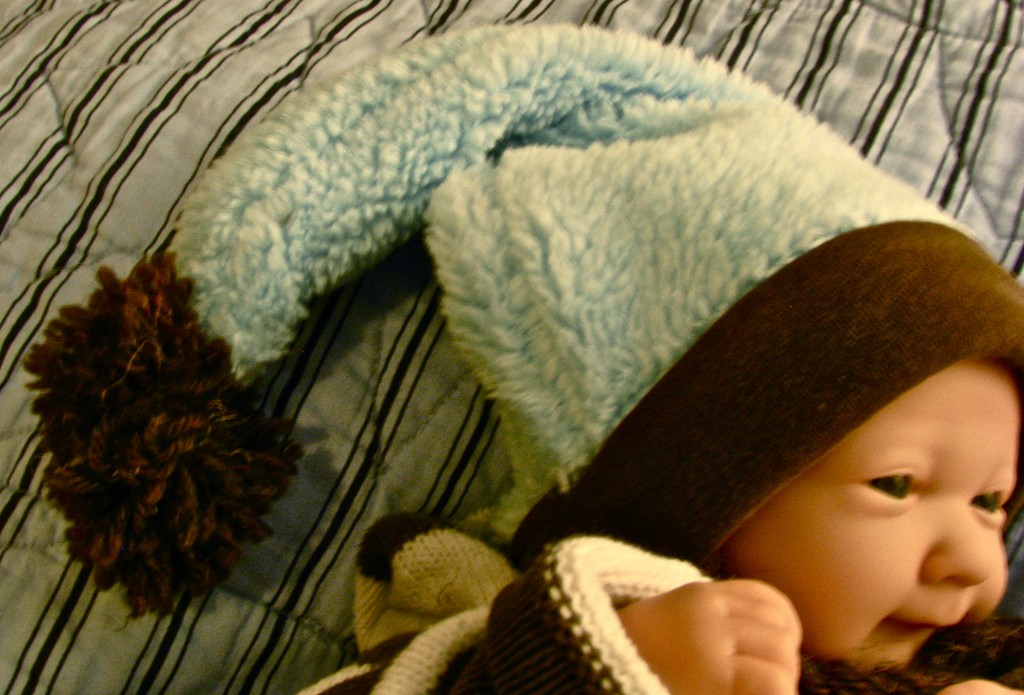
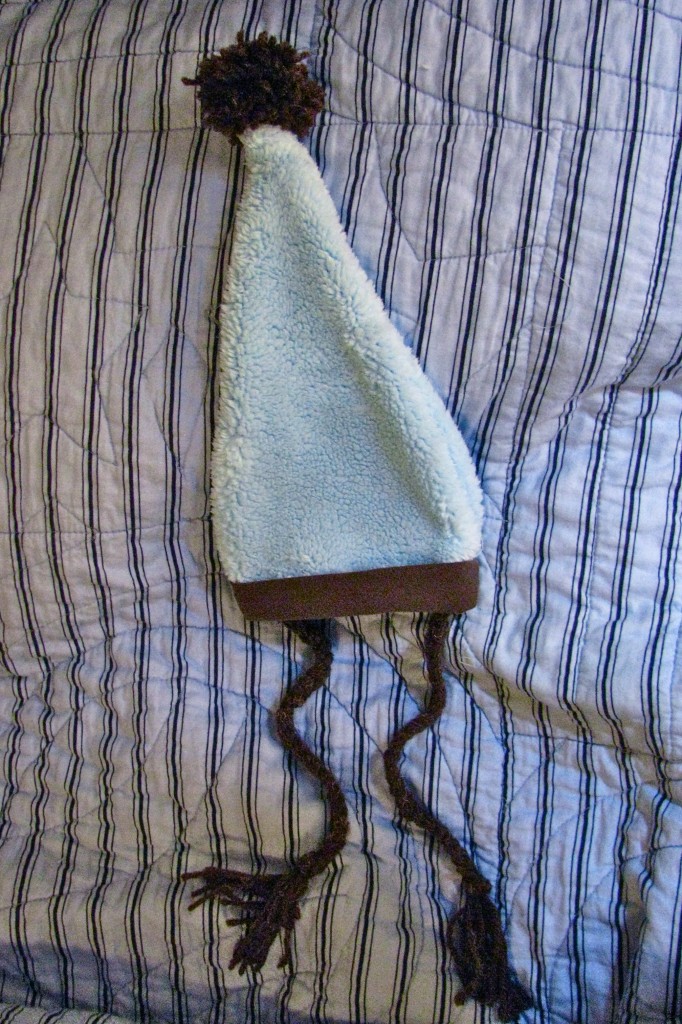
Babies + hats = precious! Free pattern!
Tips:
1
A ball point needle is recommended for sewing with knits.
How to:
1
Print and cut out the free pattern. For a newborn size hat, cut on the innermost line. If you need a hat for size three to six months, cut on the middle line. For six to twelve months, cut along the outside line.
2
For this project, you’ll need a fabric that has a lot of stretch. As you lay out your fabric, make sure the stretch goes horizontally. Fold fabric in half, right sides together. Pin the pattern on top and cut out fabric.
3
Take off the pattern and re pin the pieces. Sew sides together, being sure to leave the bottom open.
4
Now we’ll make the hat brim. You’ll need a knit fabric– I recycled an old tee shirt. Cut a rectangle that is seven and a half inches in height, and that is the same length as the head circumference printed on the pattern. (For a newborn hat, that’s 14 inches long.)
5
Fold the brim fabric in half and sew the short sides together using a 1 inch seam, creating a fabric tube. With the tube still inside out, fold bottom half up to meet the top half. Iron in place.
6
This next part is a little bit tricky, but it will give the hat a nice finished look because no seams will show. Fold the top raw edge inward about a half an inch. Press in place as you go. Now fold the other top edge inward as well, and iron in place.
7
Now we’ll attach the brim. Your hat should be right-side out. The brim should have the fold at the bottom, and the ironed part at the top. You’re going to sandwich the top layer of the fuzzy fabric between the ironed folds of the brim. For a neater look, try to line up the seam of brim with one of the hat’s seams. The fuzzy fabric should be tucked in about a half an inch. Pin in place.
8
Line up your sewing foot with the edge of the knit fabric, and sew brim to hat place.
9
Now it’s time to work on the braided ties. Cut 15 strands of yarn about two feet long.
10
Make sure the ends of your yarn are even, then tie one end in a knot. Tape the loose ends above the knot to the table. Divide yarn into three groups of five strands, then braid together.
11
When you have about 6 inches of yarn left, tie the end in a knot. Trim the loose yarn to about 3 inches long. Repeat for the next braid. It helps to line the second braid up with the first on the table, so that they end up the same length.
12
It’s time to attach the braids. Turn the hat inside out. You’ll be sewing the braid along the hat’s seam, on top of the brim. Set your sewing machine to do a small zig zag stitch. Now you can cut off the knot. Repeat for the other braid. Fold up the brim, and it will cover your zig zag stitches.
13
Now to make the pom pom. There are many ways to make a pom pom, but this is one of the easiest. Simply wrap the yarn around your fingers. Use two fingers for the smallest hat, three fingers for the medium hat, and four fingers for the large hat. The more yarn you use, the fuller your pom pom will be.
14
Remove the pom pom from your fingers, preserving the hole in the center. Tie a piece of yarn around the center.
15
Cut the loops on your pom pom. Be careful not to cut the knotted piece of yarn you tied around the center. Now thread a long piece of yarn through a large-eyed needle. Knot the loose end of the yarn several times.
16
Poke the needle through the point of your hat. thread it through the center of the pom pom, then back down through the point of the hat. Repeat several times to secure pom pom. Tie off the yarn close to the point of your hat.
Click to check out Made By Marzipan’s other sewing projects for baby.
Made By Marzipan may have received product or payment for this post. Posts may contain affiliate links. Disclosed in accordance with the Federal Trade Commission's 16 CFR, Part 255.


 Finished?
Very cute! I love baby hats too! When my daughter was a baby I had so many hats for her- cause they were so dang adorable! Now she loves dressing her baby dolls up too- lol
So cute!!!
Very cute…going to make one for my grand niece!
I can download the pattern but not the instructions?
Please help.