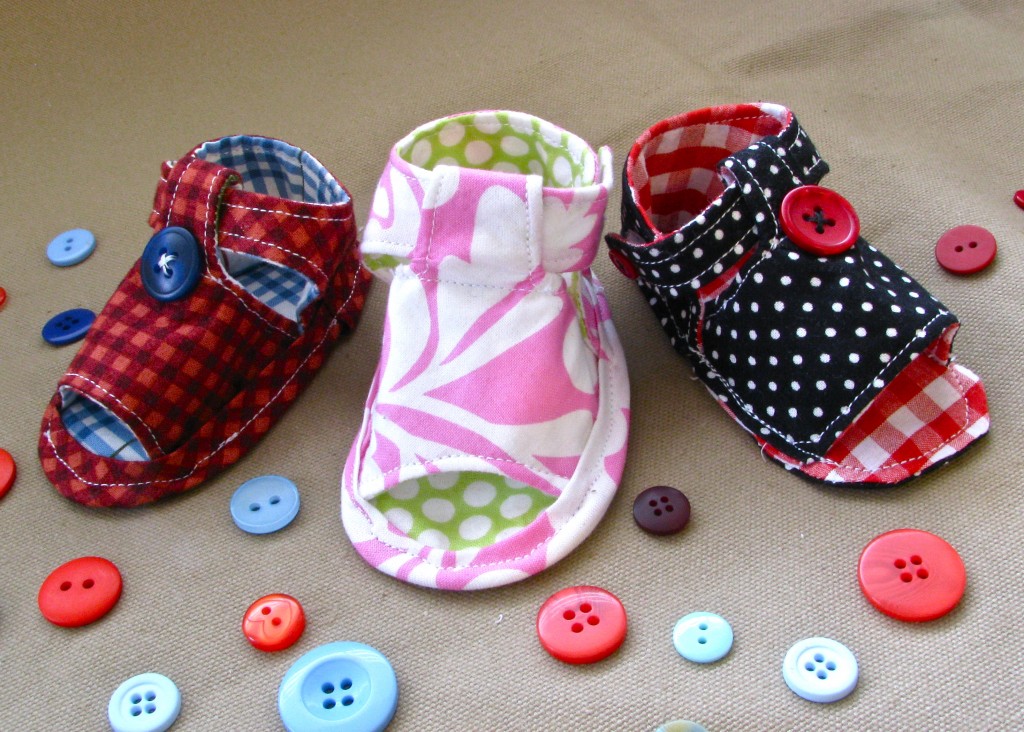
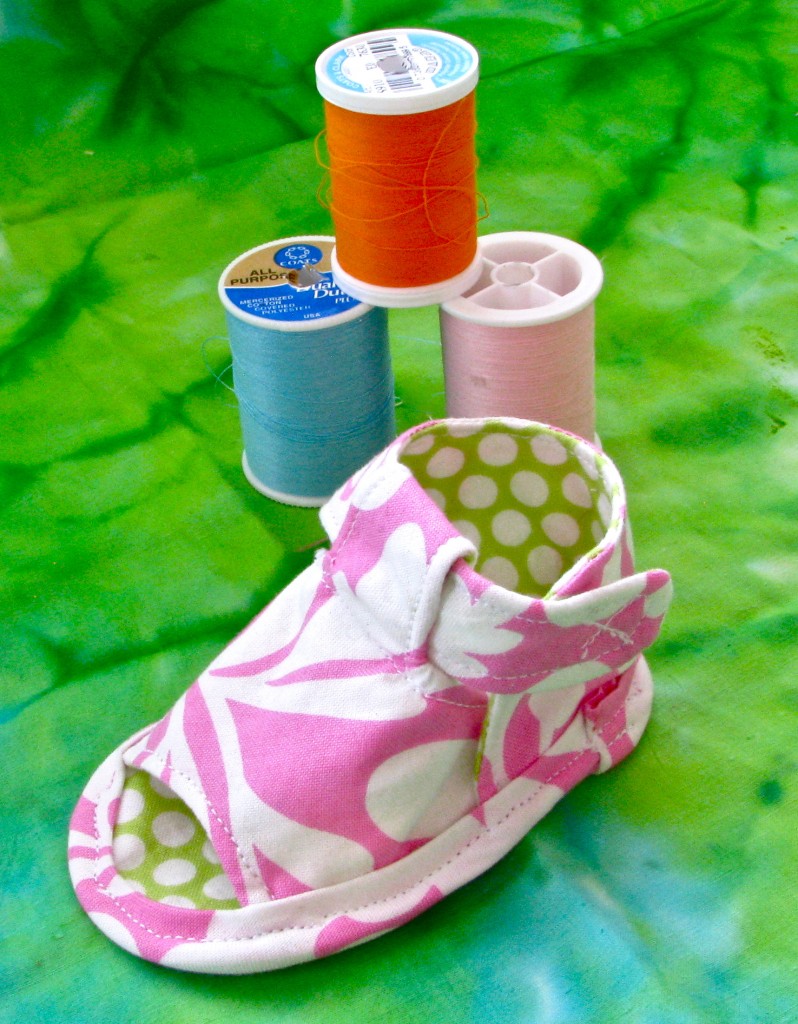
These little sandals are super simple! Download the pattern from my Etsy shop, then follow the step-by-step video tutorial.
How to:
made with
1 cotton fat quarter (exterior)
1 cotton fat quarter (interior)
2 sets of Velcro tabs (small)
2 small buttons (Optional)
1
Begin by cutting out the pattern pieces. You can buy the PDF pattern from my Etsy shop and I will email it to you.
2
You should have two pieces of fabric, as well as a piece of interfacing. Fold each of those materials in half, right sides together. Then make a stack with the folded fabrics. Pin on the pattern pieces and cut them out. You will have six of each pattern piece when you are finished.
3
Now we’ll iron a piece of fabric to each piece of fusible interfacing. Lay down the interfacing shiny side up, and place the fabric on top of it, face up. Iron together. It doesn’t really matter whether you iron on the interior or exterior fabric, because the interfacing will be sandwiched between them. Just make sure that you are consistent with ironing the same fabric to each duplicate pattern piece. Repeat this step for the other pieces of fusible interfacing.
4
Next we’ll sew the soles. Take one sole of each fabric pattern and put them right sides together. Now we’ll sew them together. Remember, we need to leave a two-inch hole for turning our sole right side out. Leave the hole in the middle of the straight side, because that’s the spot that will be easlest to sew closed later. Sew with a quarter inch seam, and follow the curves of the sole.
5
Put the sole aside, and sew the toe piece. Leave a hole for turning in the middle of one curved side. Again, use a quarter inch seam and follow the curves. It is helpful if you have your machine needle in the down position, then you can lift the sewing foot to turn the fabric as needed.
6
Finally, sew the heel piece. Leave the hole in the center of the straight bottom edge.
7
Now we’re going to clip and notch the excess fabric. This helps the fabric to lay flatter. Make little snips on the convex curves, and notches on the concave ones. Be very careful not to cut your stitches! Do this with all your pieces.
8
Then turn each piece right side out, pushing out the seams. If you’re making the smallest size of sandals, it may be tricky to turn the strap pieces right side out. I’ve found it helpful to use a pair of tweezers to gently pull the fabric outward. Another trick is to use the end of a paintbrush, or a similar tool, to poke the fabric out from the inside.
9
Once all your pieces are turned right side out, press them all with an iron. Use high heat and steam. Fold the edge of the holes inward and press shut.
10
Now we’ll sew the holes closed. We’re going to use a very small seam allowance of an eighth of an inch. Sew the hole closed, and then continue topstitching all the way around the piece to return where you started. Repeat these steps for all of your sandal pieces. You’ll want to snip off any stray threads.
11
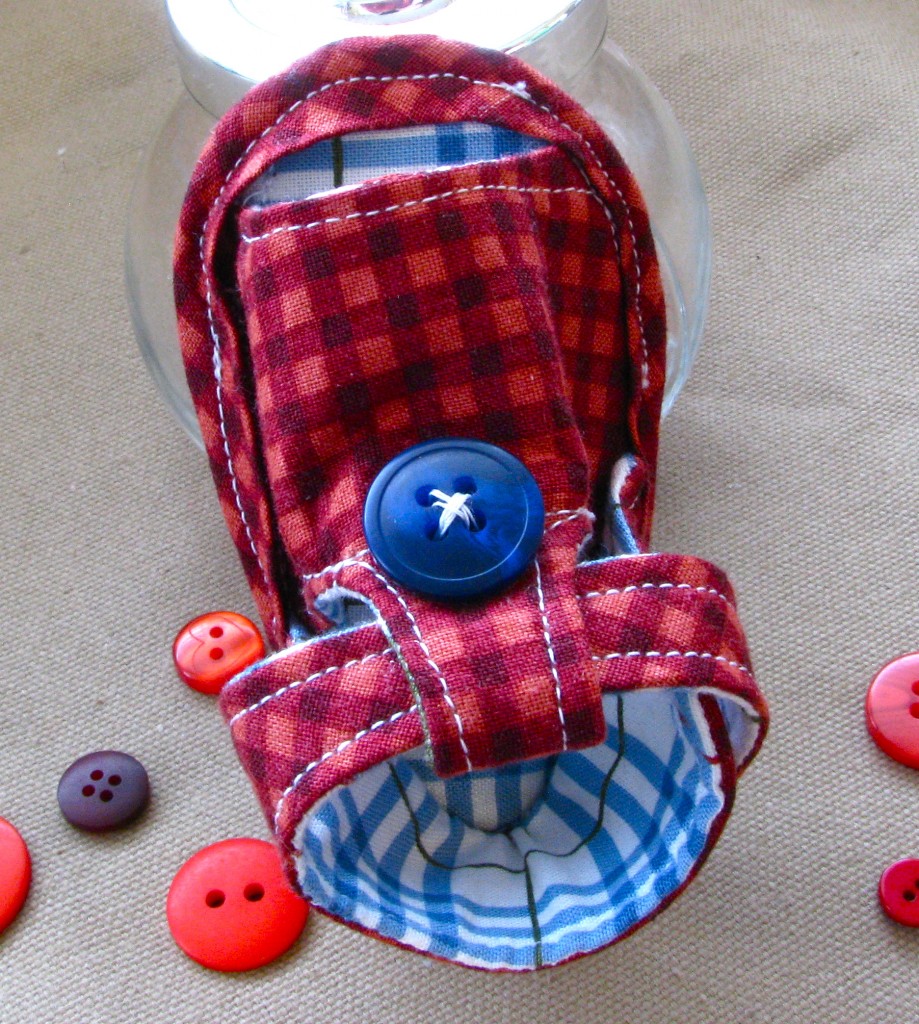
Time to focus on the toe piece. Fold the center tab down behind the back of the fabric. This is the loop that the sandal strap will go through. Beginning on the stitches of your 1/8 seam, sew straight across the center of the tab, securing it in place. Stop sewing once you’ve rejoined with the seam on the other side.
12
If you want to add an embellishment to the toe piece, now is the time to do it. You can add buttons, flowers, or bows. Just be certain that whatever you add is sewn on very well, because loose items can pose a choking hazard.
13
Now we can sew the toe piece to the sole. The toe pieces are identical, so it doesn’t matter which piece goes on each sole. The top of the toe piece should be placed right where the edge of the sole begins to straighten out. You’re going to sew right on top of your 1/8 seam. Begin sewing a little before the toe piece and continue a little bit past it, staying on your previous seam. You will match up the edge of the toe piece with the edge of the sole. Do the same on the other side of the sole. If you match up edge of the toe piece with the edge of the sole, it will come out perfectly.
14
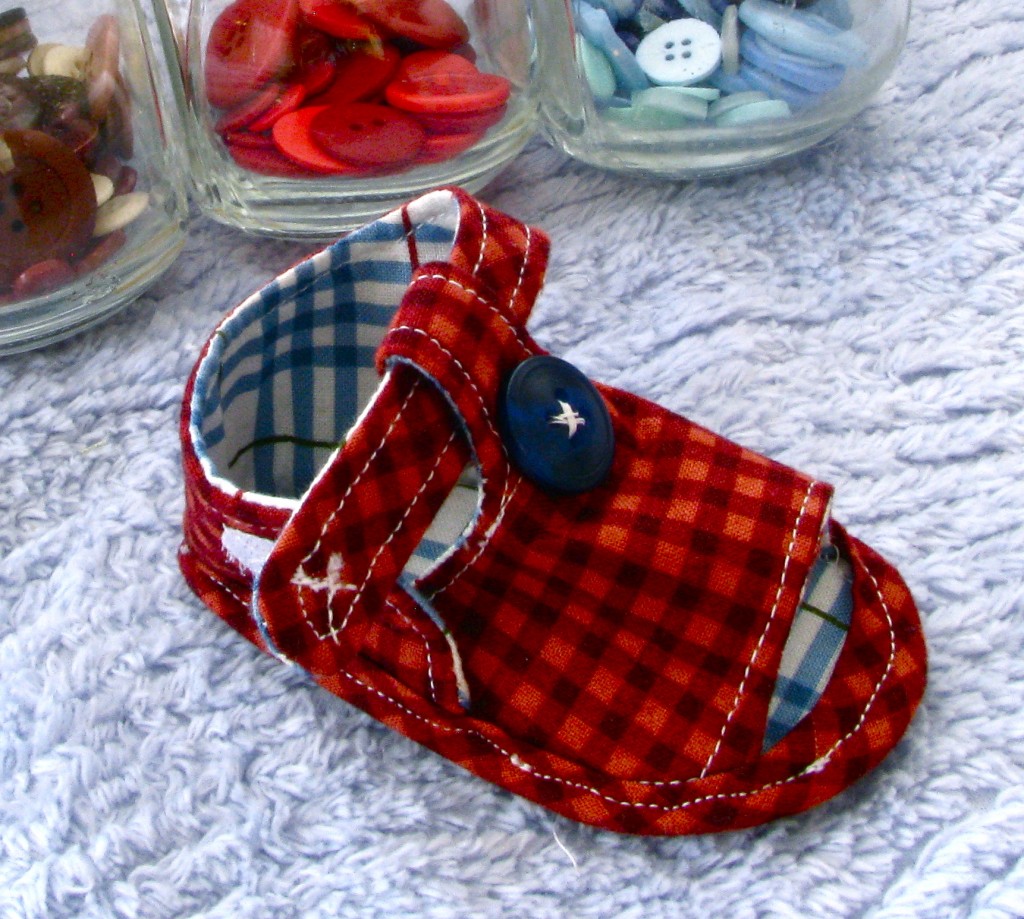
Next we’ll add the velcro tabs to the heel piece. The fuzzy velcro will go on the interior fabric, at the end of the strap. The hooked piece of velcro will go on the curve of the opposite side, near the top. Sew the velcro in place with an X. If you’d like, you can also add small buttons to the outside of the strap.
15
Now we must match the right pieces together. Lay down a sole with the exterior fabric face down. Note how the spot for the big toe is slightly higher. Now place a heel piece on top. When the strap is wrapped around, the velcro should close on the side opposite from the big toe. Keep the right sandal pieces separate from the left sandal pieces.
16
Now we’ll sew the heel piece to the sole. Pin the center of the heel’s straight edge to the center of the sole. Then turn one side of the heel piece to match up with the edge of the sole. Pin one side in place. Sew along the side, up to the center where you pinned. Sew on top of your 1/8 seam.
17
Remove the pins, then turn the fabric along the other side to match up the edges. Pin in place and sew. Remove the pins and snip off any stray threads. You can leave your sandals just like this if you’d like. Or you have the option of adding bias trim.
Making Bias Tape
Here’s how to make your own bias tape trim.
1
Fold a rectangle of fabric in half, forming a square. Cutting diagonally between opposite corners will give you fabric cut on the bias. For these shoes, cut strips that are 1 3/4 inches wide. Cut the ends of the strips so they are straight.
2
Next, lay a strip pattern side down. Fold in the edges to meet in the center and press.
3
Finally, fold the strip in half and press again. Now you have bias trim that will stretch around curves.
4
The edge of your sandal will be sandwiched in the center of your bias tape. Sew in place using a 1/8 seam.
5
When you reach the spot where you began sewing, snip off the excess trim in a point. Leave enough fabric to fold under, then sew it in place.
Looking for more sweet shoes? Check out the tutorial for sewing Baby SnUgg Boots!
Made By Marzipan may have received product or payment for this post. Posts may contain affiliate links. Disclosed in accordance with the Federal Trade Commission's 16 CFR, Part 255.
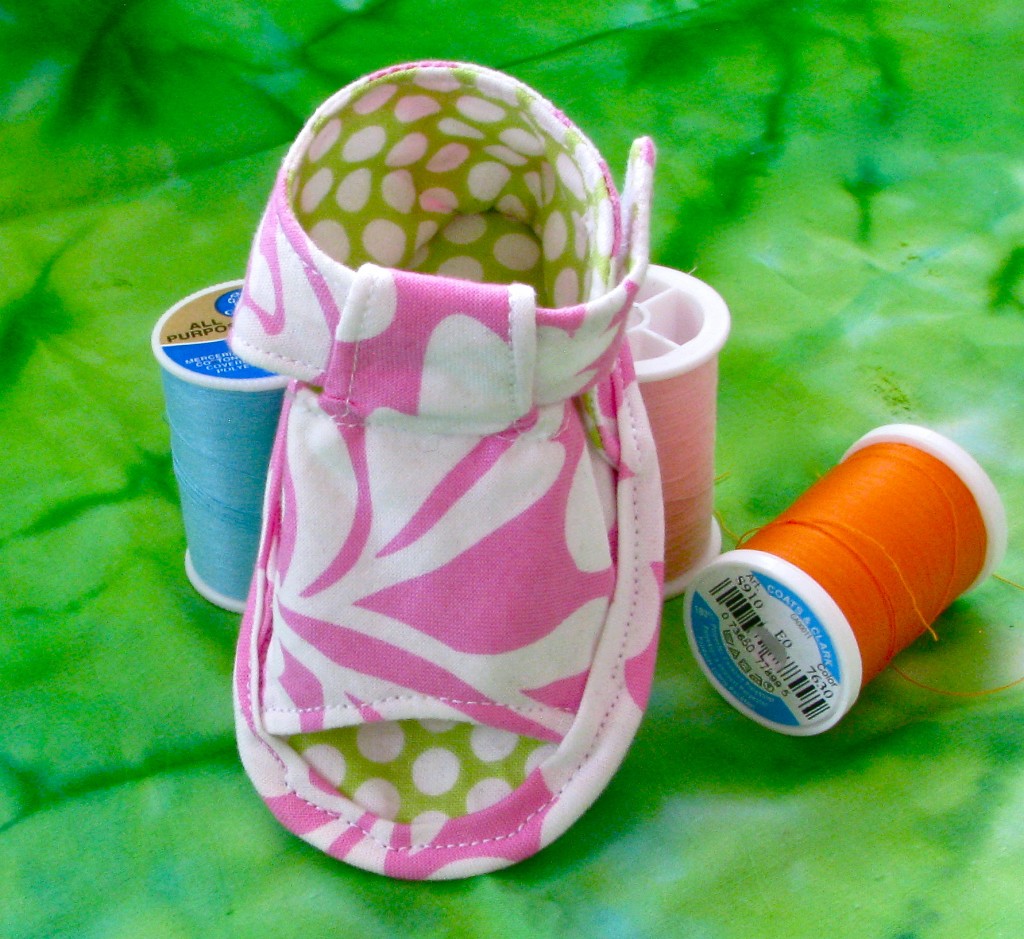
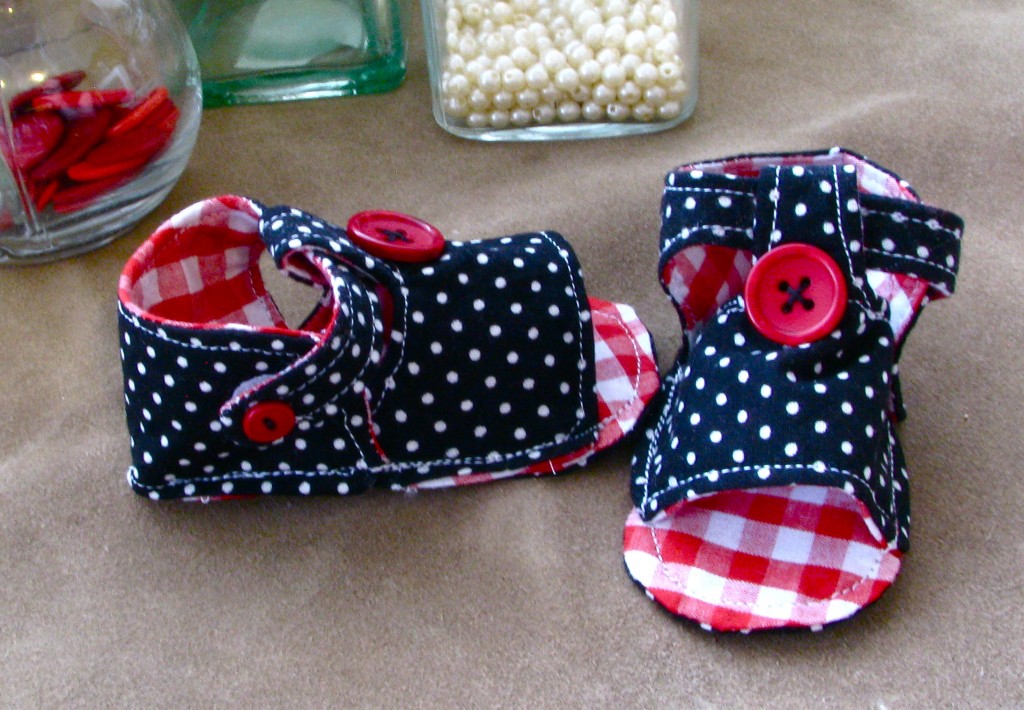
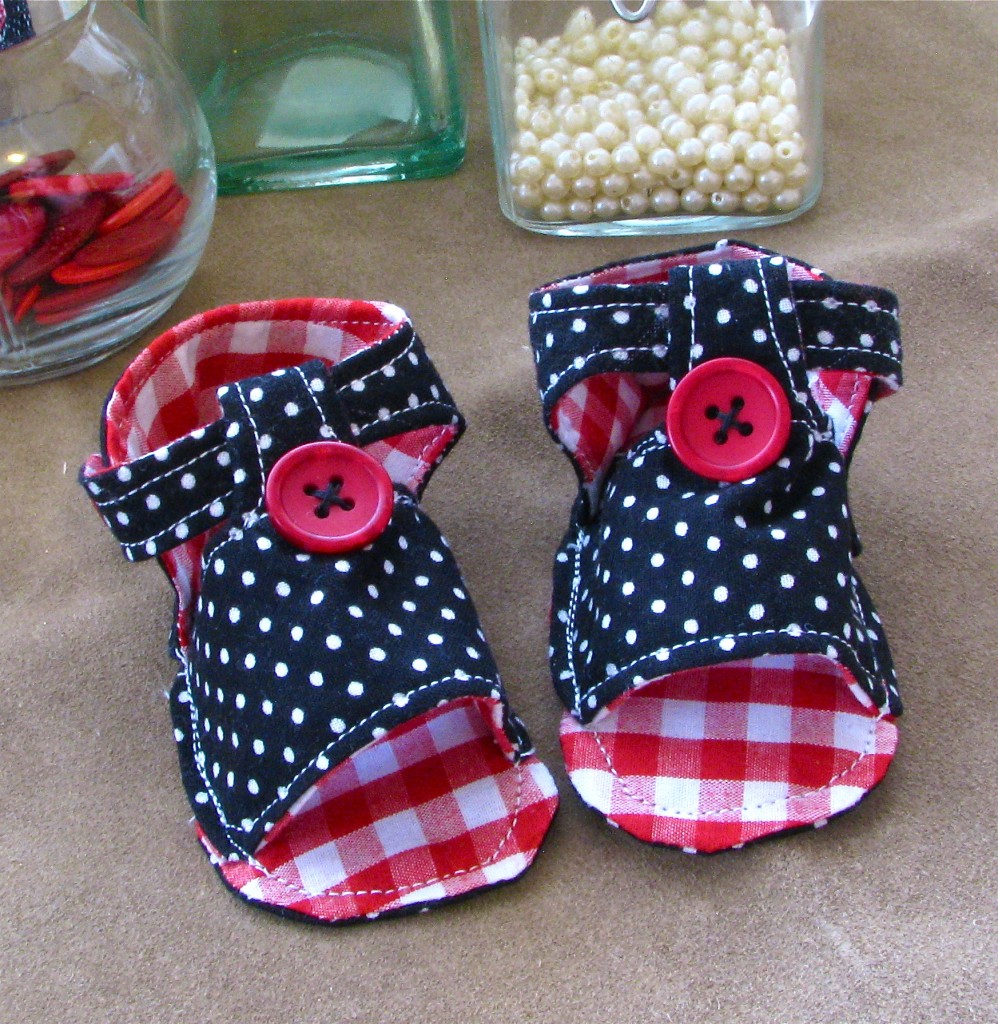


 Finished?
First time I’ve ever purchased a pattern – these are adorable and I can’t wait to make for my new granddaughter due in July.
Brenda, those are ADORABLE! Love the little heart buttons in the handmade flowers! Thanks for sharing :)
I was wondering how I could purchase this pattern. It is no longer available on etsy.
Sorry about that Jody, I’ve since renewed the listing :) It should be available now.
Hola Pueden por favor enviarme los moldes de estas Sandalias .. Gracias..!
hermoso
Too cute!! This is a easy tutorial I will try this! Thank you
what is that White sheet fabric called?
@MadeByMarzipan oh ok thank you….well i went to the fabric stop and got some fabric to make this…..instead of getting the interfacing i got the fabric almost like leather…I forgot the name of it lol…but its to make it stiff and look like it has a sole….i think it would do well…i dont know what made me think of it….
It’s called interfacing. It’s simply there to add a little stiffness and thickness to the fabric so it will keep its shape :)
Great idea! I might make myself one – it cunerrtly has a white plastic cover which is not so pretty. It didn’t even cross my mind to make one! I love the fabric you have used. Kate x
this is suuuper adorable
Hi, I’m 12 and I love your videos! I don’t have a sewing machine but I’m saving up for one! You are my inspiration! PLEASE don’t stop making videos!! :-D
I have been looking for patterns for baby shoes and clothing. Thank u
I can’t find this pattern for Baby Tiptoe sandals
Hi Sandra, I just relisted them in my shop. They sell out fast! Thanks for looking :)
I can’t find this pattern for Baby Tiptoe sandals
Приветствую друзья! Кто ни будь, знает где выгодно заказать сайт в Кореновске Краснодарского края?
В наше время нельзя верить всем веб студиям. Очень жду отзывов и рекомендаций!
Привлекаем клиентов в Ваш бизнес, с помощью рассылки в формы обратной связи сайтов.
В наличии несколько баз, суммарным объемом более 5 млн сайтов СНГ.
Предоставляем скриншоты, подтверждающие выполнение обязательств с нашей стороны.
Приятные цены – нам выгодно, чтобы заказчик получал прибыль, значительно превышающую стоимость рассылки и обращался повторно.
В отличии от большинства наших конкурентов, оплату берем ТОЛЬКО за УСПЕШНО доставленные сообщения.
Напишите пожалуйста ответ на нашу почту: silinitcha1979@mail.ru
Если Вам удобнее другой способ связи, напишите на почту, какой именно.
P.S. Извините за беспокойство, если мы с Вами уже сотрудничаем.
I don’t see this pattern on your Etsy.