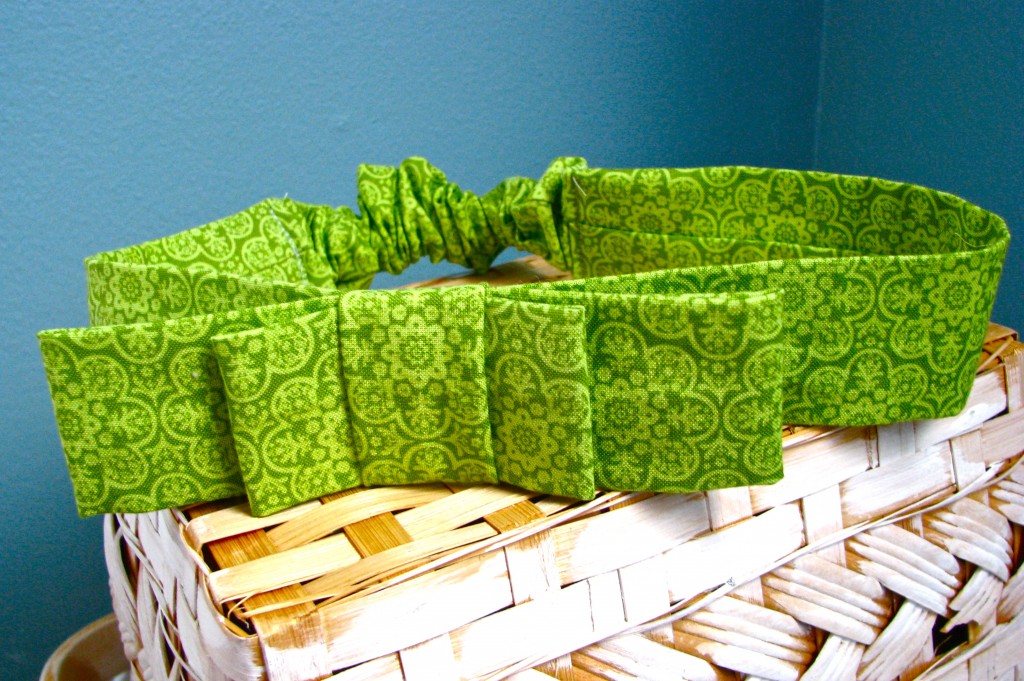
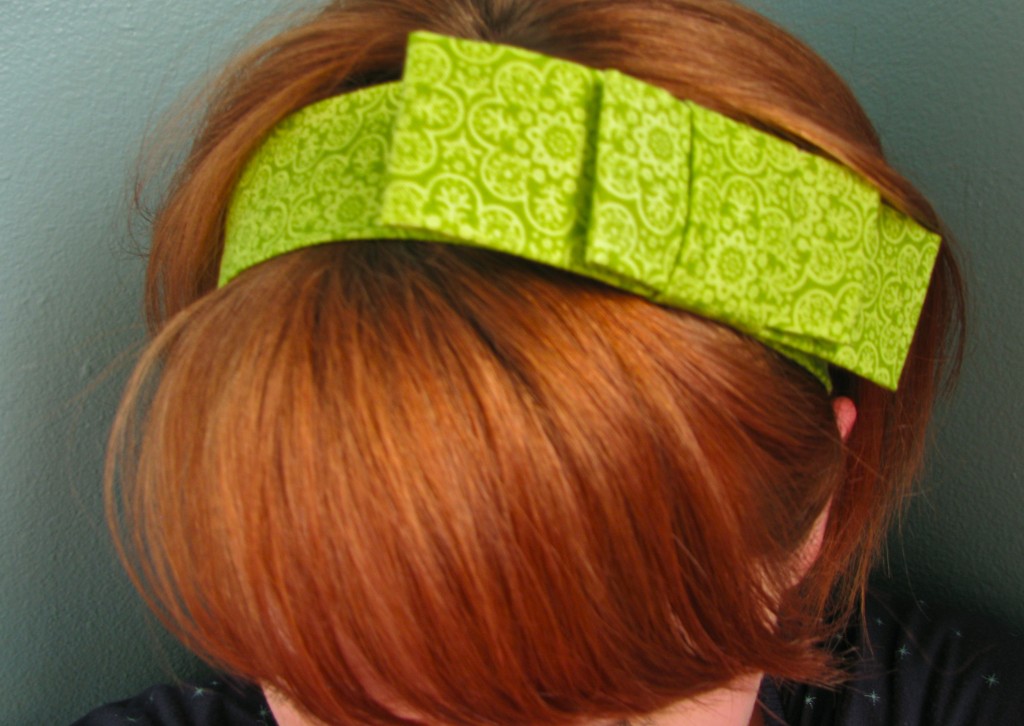
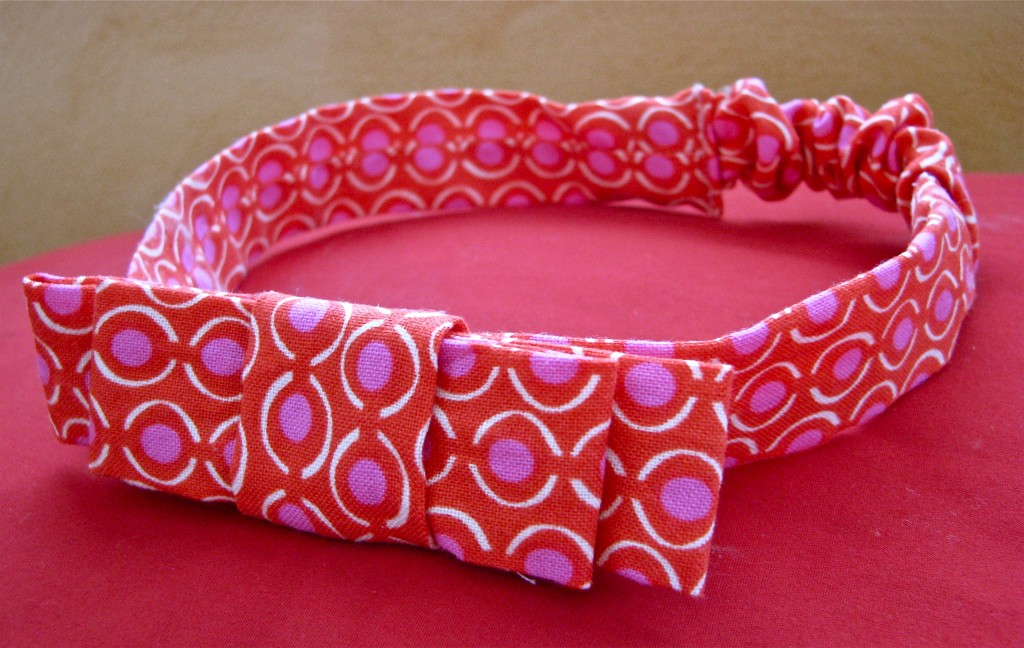
All you need is a fat quarter of fabric and a little elastic to make this vintage-inspired headband. Measurements for Baby Betty Bands, too!
Tips:
| Headband | Scrunch | Large bow | Small bow | Loop | Elastic | |
| Adult | 4 x 18 | 4 x 13 | 4 x 12 | 4 x 6 | 4 x 5 | 1.5 x 6 |
| Child | 3.25 x 17 | 3.25 x 12 | 3.25 x 11 | 3.25 x 6 | 3.25 x 5 | 1.5 x 5 |
| Baby | 2.75 x 14 | 2.75 x 9 | 2.75 x 8 | 2.75 x 6 | 2.75 x 5 | 1.5 x 4 |
How to:
made with
The following instructions are for the adult size Betty Bands. Adjust measurements as shown in chart above for other sizes.
1
Begin by ironing your fabric. Cut off any selvedge. Cut your fabric to 18 inches in length, if it isn’t already. (Fat quarters can range between 18-21 inches in length.)
2
Now cut three strips that are 4 inches wide and 18 inches long.
3
Fold each of the strips in half, right sides together, and sew a half inch seam down the side of each one, forming tubes. Turn the three tubes right side out. Center the seams, and iron flat.
4
Leave one of the tubes whole (this will be the “headband”). Cut another band at the 13 inch mark to make the “scrunch,” the other piece will make the “loop.”
5
The last band will be cut at the 12 inch mark to make the “large bow,” the remaining piece will be the “small bow.”
6
Cut a piece of elastic to 6 inches in length. Tuck the elastic inside of the second-largest band, the one that is 13 inches long (the “scrunch.”) Leave the tip of the elastic out a bit. Sew the elastic in place using a zig zag stitch, backstitching for durability.
7
Tuck an inch of the sewn elastic end into the end of the largest tube, the one that’s 18 inches long (the “headband”). Make sure that the middle seam lines up on both pieces. Turn down the edges of the large tube about ½ inch, then sew in place. Switch back to a regular straight stitch for this.
8
Insert your finger (or tweezers) into the end of the shorter tube and grasp the elastic. Pull it out, and sew it in place at the end of the short tube. Use a zig zag stitch to hold the elastic.
9
Now insert this into the other end of the long tube, again lining up the seams and folding down the edges. Sew in place using a straight stitch.
10
Now we’ll make the bow. You should have three tube pieces left. Take the longest one (the “large bow” piece) and fold the two ends to meet in the middle, overlapping slightly. Sew in place using a zig zag stitch. Repeat these steps for the next largest tube (the “small bow” piece). Center the small bow piece on top of the larger one, and sew together.
11
Add the bow piece to the headband, a little off center so it will rest more on the side of the head. Sew the bow onto the headband.
12
Finally, wrap the shortest piece (the “loop”) around the center of the bow, covering the stitches. Pull and pinch the ends of the tube tightly on the back. Sew the ends of the tube together close to the headband. Snip off the tube’s excess fabric on the back.
Made By Marzipan may have received product or payment for this post. Posts may contain affiliate links. Disclosed in accordance with the Federal Trade Commission's 16 CFR, Part 255.


 Finished?
cant wait to make one love it
I love your tutorials, I found your site from another site. I made the headband and it turned out great. Thanks
So glad your headband turned out great, Flora :)
Thank you for a great site and fabulous ideas. I’ll be making many as soon as I can for my granddaughters and nieces for christmas presents and for charity stalls.
this is awesome! thanks for posting. making mine now! Yay
Maddie, feel free to post a picture of your headband here, I’d love to see it!
Love your ideas doll :)