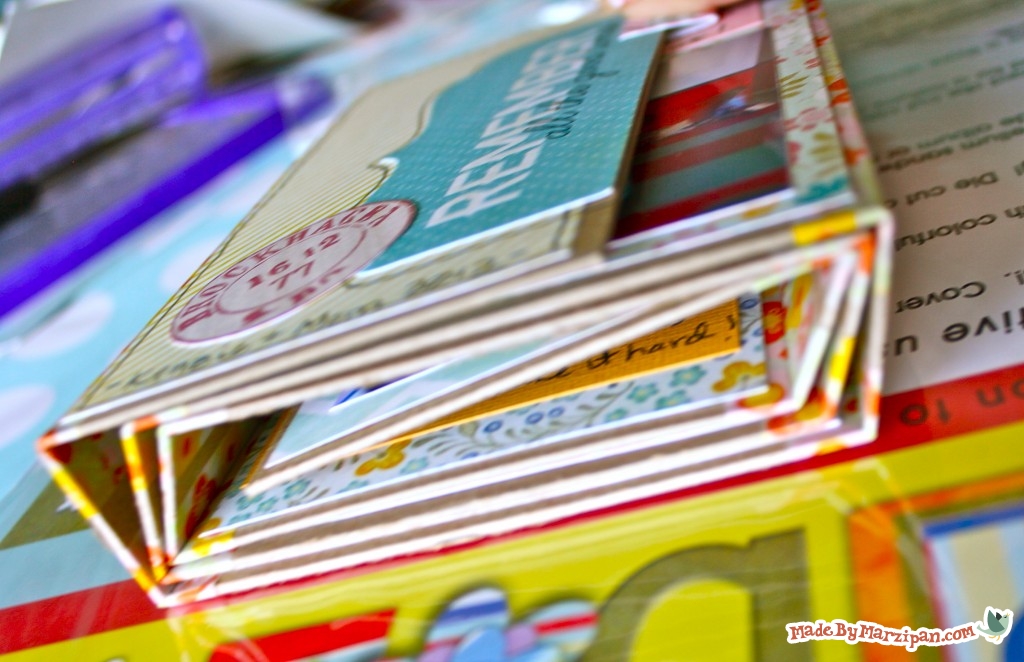
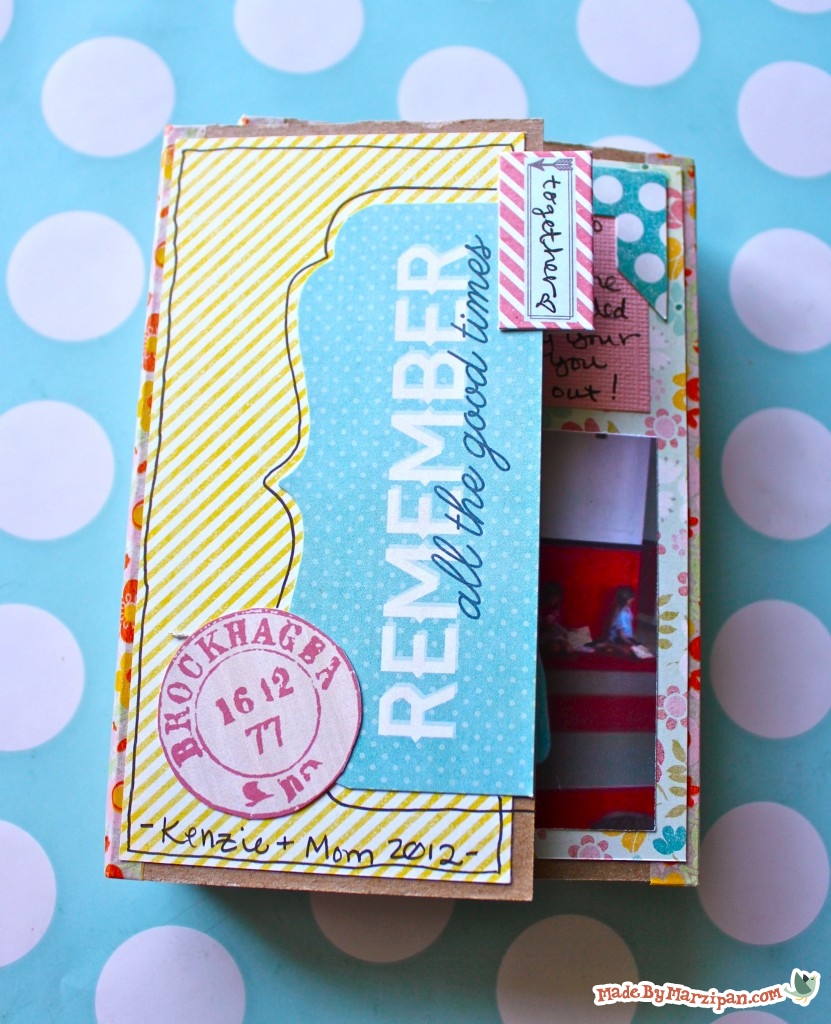
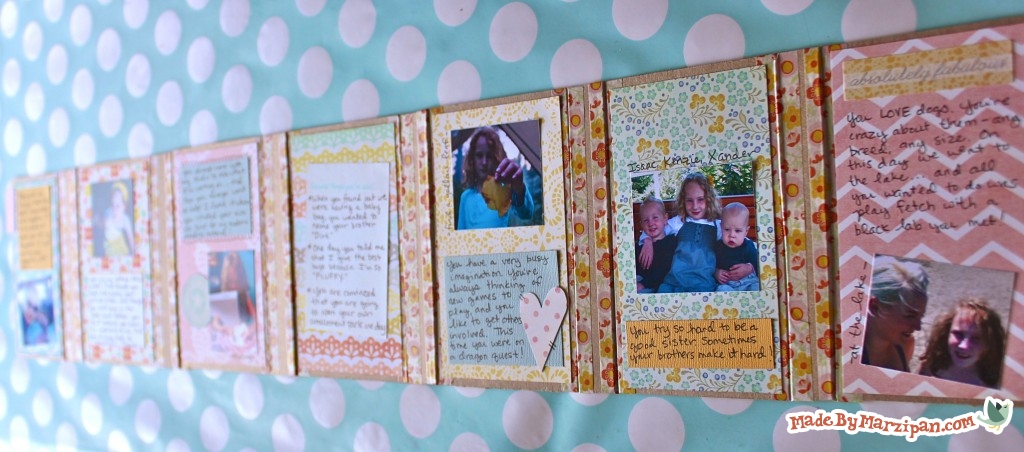
The @book mini album coils inward just like an @ symbol. Folded, it’s a compact 6×4 inches, but it unrolls to be nearly a yard long! Here’s how to make your own:
How to:
made with
1
Begin by cutting both sheets of chipboard in half, so you have four 6×12 inch pieces.
2
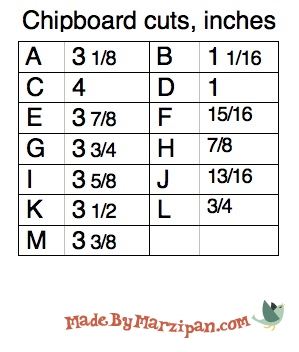
Cut your chipboard to the measurements indicated below. Label each piece with the correct letter as you go, using a pencil.
(Scared of fractions? Don’t worry, you can handle this. With the exception of piece C, all the measurements in the left column are 1/8 inch less than the measurement before it. So, just move over two tiny lines on your paper cutter. For the right hand column, all measurements are 1/16 inch less than the measurement before it. So, just move over one tiny line on your paper cutter.)
3
Lay the pieces out in alphabetical order, spaced about 1/8 inch apart. You’re going to attach them with decorative washi tape. Since washi tape isn’t all that sticky, I highly recommend adding some adhesive beneath the tape for extra durability. Attach all the chipboard pieces in alphabetical order.
4
Test out your @book by folding the pages inward from right to left, beginning with the last page (M). When you’re done, (A) should be on top. Now that your book is properly assembled, you can erase the letters.
5
Decorate your @book by adding patterned papers to each page. I chose to cut mine 1/4 inch smaller than each page, so the chipboard acts as a border.
6
Add photos and journaling blocks to your album. Add embellishments as desired. Punches are a great way to to make good use of small paper scraps.
7
Add journaling in your own handwriting to make the album special. Put your own personal touch on the book with a little doodling.
Made By Marzipan may have received product or payment for this post. Posts may contain affiliate links. Disclosed in accordance with the Federal Trade Commission's 16 CFR, Part 255.


 Finished?
Do you have the measurements for a larger @book I made the mini and i love it. I would love to be able to make a bigger one.
This was amazing!