Learn to draw simple but elegant flowers using a dipping pen. They go beautifully with script calligraphy lettering!
Tips:
1
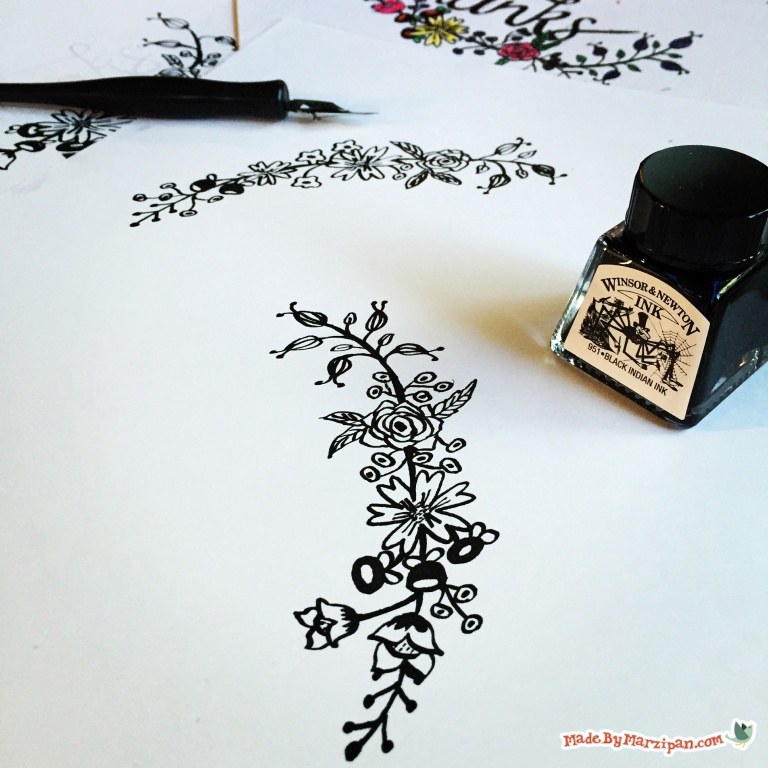
I’m switching out my slanted calligraphy nib for a fine drawing nib. It can either be pointed or blunt, as long as it’s small.
2
I’m using Winsor & Newton black India ink today, but any brand of India ink is fine.
How to:
made with
1
For this first rose-like flower, draw and fill in a small black oval. Add a series of half-circles petals around the oval. Once your flower is about the size you’d like, add the final layer of petals, pointing them slightly at the center.
2
Now we’ll make some flower buds. Draw a raindrop shape, filling it in with curved stripes. Add two stamen at the point, placing a dot at the top of each.
3
This next flower is daisy-like. Draw a circular flower consisting of five or six petals that are almost heart-shaped. Add speckles to the center. Draw a V by the center of each petal.
4
For the next flower, draw a star shape, but round off the points. Add a dot to the center.
5
To make this flower, draw a shape like a pair of lips. Draw a second pair of lips above and behind the first, but don’t draw the curved bottom line. Add a half-circle to form the center of the flower. Add speckles.
6
These round flowers are super easy. Just draw an oval with a second oval in the center. Fill in one of the ovals. Add two rounded leaves along one side of the flower.
7
Finally, make a berry branch by drawing a slightly curved vertical line. Add rows of V’s to the branch. Place a dot at the end of each line.
8
Now that we know how to draw a variety of simple flowers, we can combine them into borders or bouquets. Start with a large flower at center, then build a border by adding an assortment of flowers. Draw a curved branch behind the flowers to anchor them together.
9
Once the India ink is completely dry, you can color the flowers with drawing or calligraphy ink if you want.
10
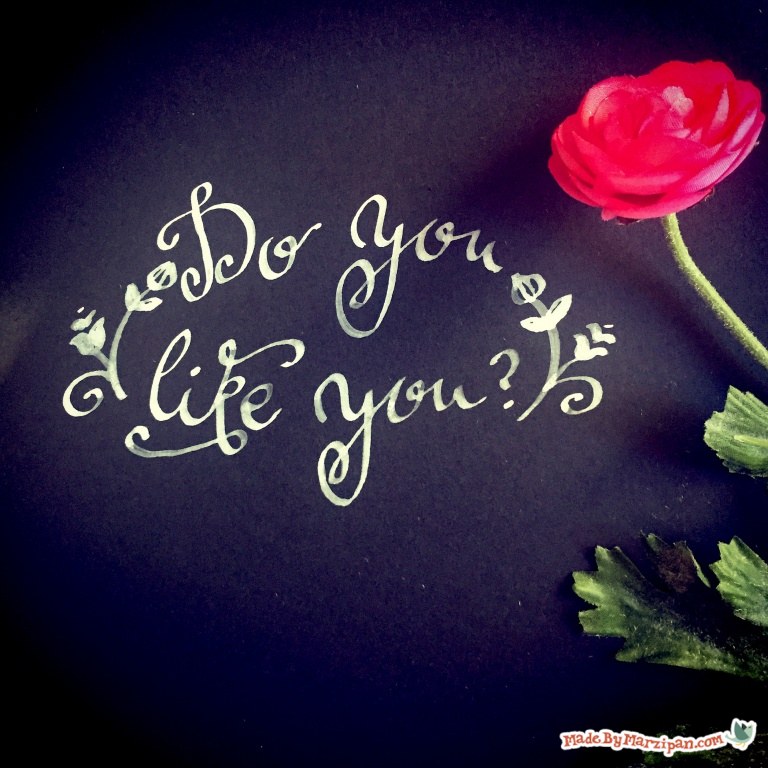
Add lettering to your design by changing to a medium slanted nib. You can learn more about writing script calligraphy with a dipping pen by watching my previous tutorial.
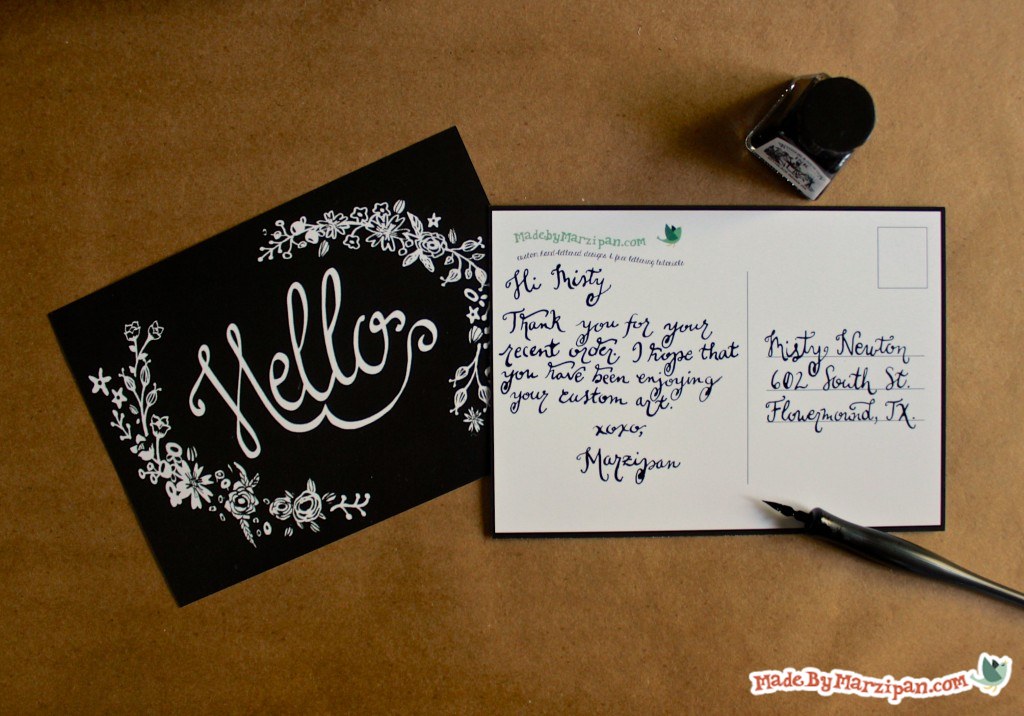
I sometimes get questions about how to market hand-lettered pieces. One idea is to make prints or postcards of your work that you can send to potential clients. I scanned some of my hand-lettering and flower borders, then uploaded my image to Signazon.com. They turned my design into custom postcards that I can use to advertise my hand-lettering services, or that I can include as a free perk when shipping orders from my Etsy shop.
Made By Marzipan may have received product or payment for this post. Posts may contain affiliate links. Disclosed in accordance with the Federal Trade Commission's 16 CFR, Part 255.


 Finished?
Thank you so much! This tutorial is great and will be fun to practice. Thanks also for the “pointed pen” tutorial.
Love the video, but you make it look so easy, lol. Time to start practicing :)
Great post!
Very nice calligraphy