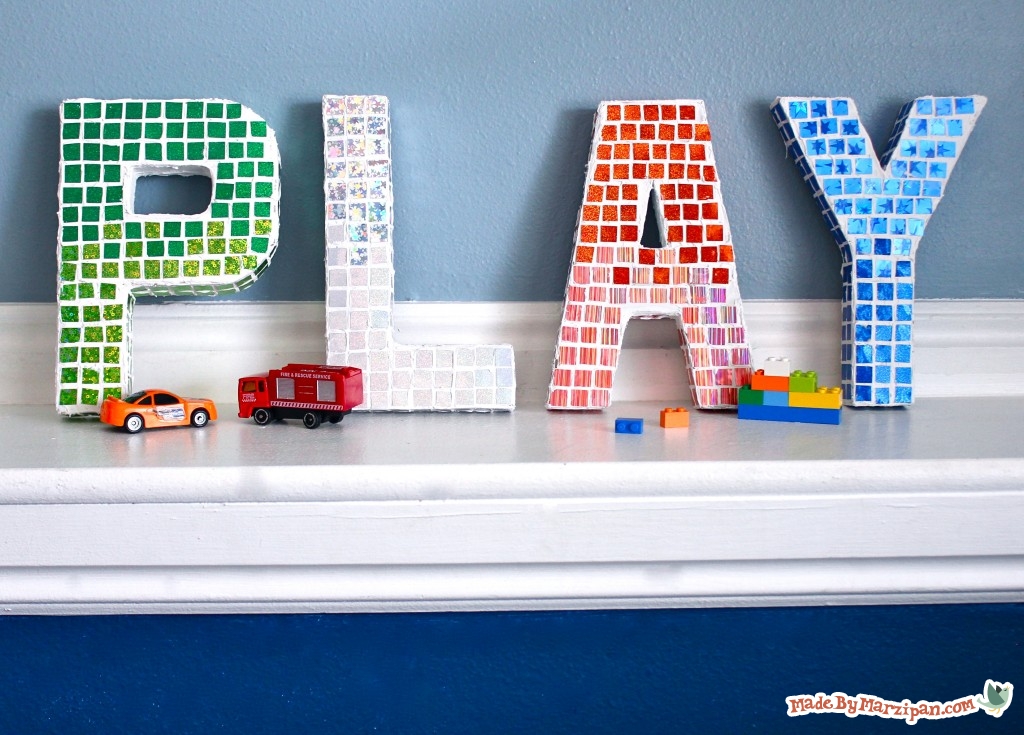
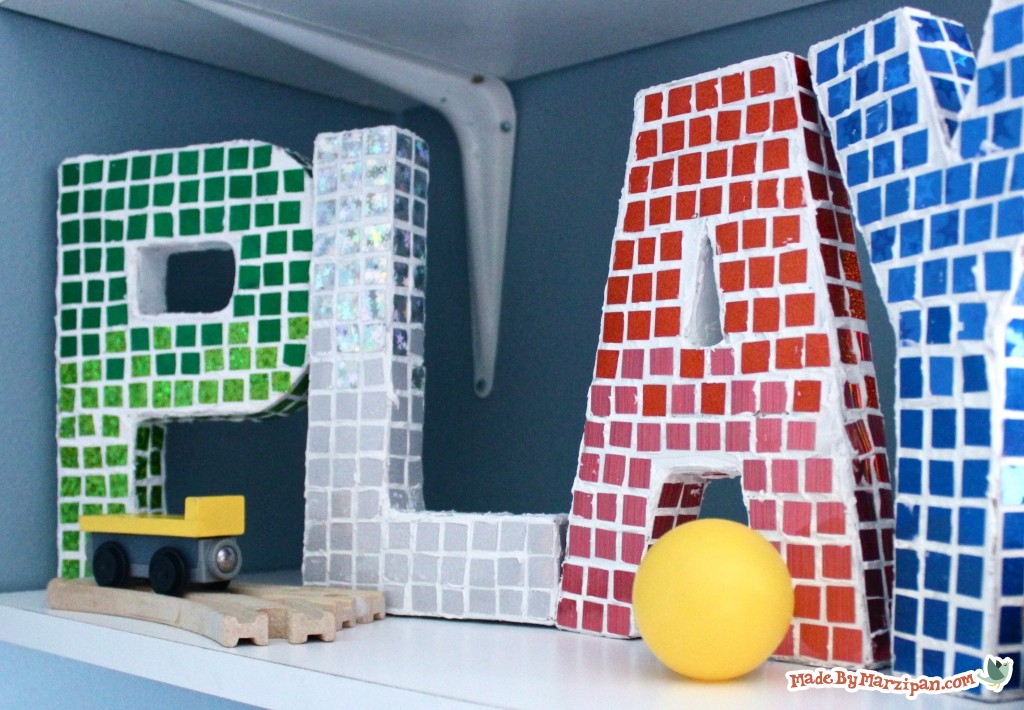
Create mosaic letters that look like tiled ceramic. They’re lightweight and easy to hang, and they won’t break!
Tips:
1
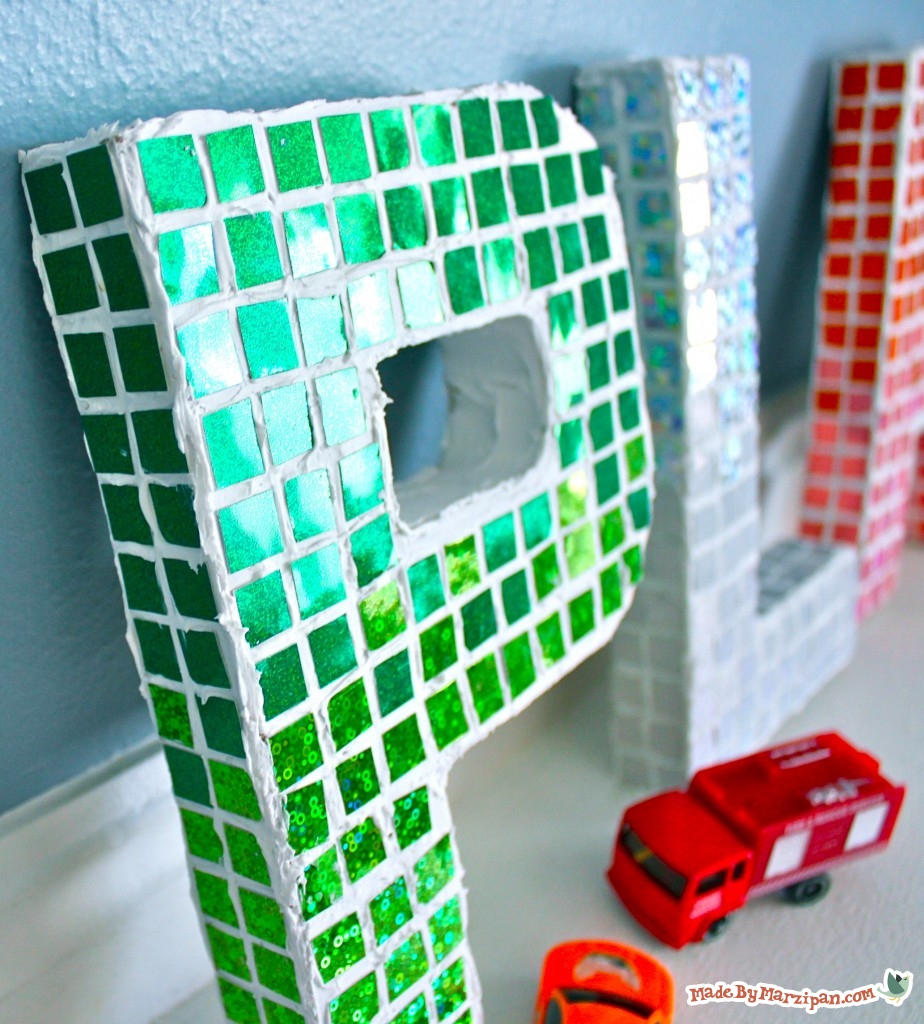
It’s important that you choose the right materials for this. Plain cardstock won’t work well, because the modeling paste will seep through and discolor it. Plus, you want something shiny to mimic the glossy look of tile.Funky Film by Grafix is perfect for this. These are films with holographic patterns, so they appear to have a lot of dimension while actually being very thin. They are self-adhesive, which is convenient for paper-crafting, but we’ll be leaving the paper backing on for this particular project.
2
I’m using paper mache letters I bought at JoAnn Crafts. They cost around $2 each. Remove any stickers.
3
I’ll also be using modeling paste. This brand is Liquitex and is sold beside the oil paints, and a jar this size retails for $13. Martha Stewart also makes modeling paste, it’s sold in a smaller jar by the acrylic paints, and it retails for around $6.
How to:
made with
1
Begin by cutting the film into strips, about a 1/2 inch wide. Then, cut the strips into squares.
2
Spread the modeling paste on a small portion of the letter. You can use a putty knife or a plastic knife. Spread it so it’s just thick enough that you don’t see the paper beneath. It’s a lot like frosting a cake! Use the back side of the knife rather than the serrated edge to smooth the paste without leaving ridges.
3
Add the film squares in a grid pattern. Work in small areas, as the modeling paste will begin to set after 10 minutes or so. Press the squares down so they are firmly embedded in the paste. Try not to get any of the paste on the surface of the squares. If you do, you can scrub it off with a wet wipe once it’s dry, but it will save you time if you keep them clean.
4
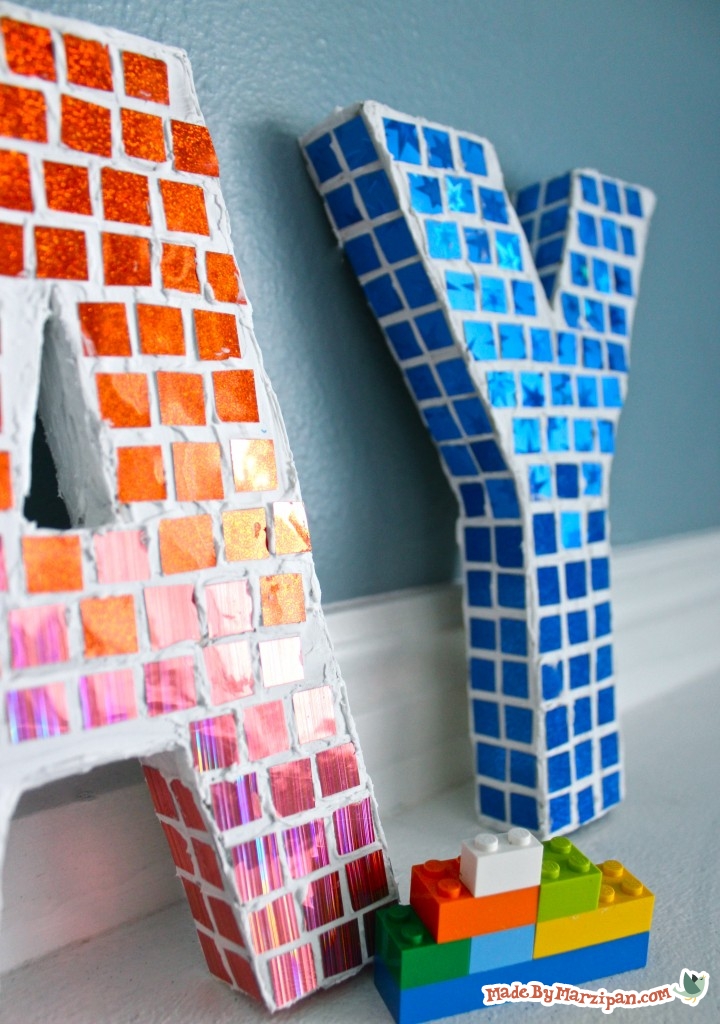
I’ve decided to keep each letter monochromatic, using two patterns of film in the same shade for each. Grafix makes a whole line of pretty colors and patterns, so you’re sure to find something that will fit your space.
Another option would be to cut your film into a variety of irregular shapes for a more eclectic look. You can also tint the modeling paste with a bit of acrylic paint if you’d like.
5
Now that I’m halfway through with this letter, I’ll make two rows where I mix the two patterns. Then I’ll finish the bottom half with my second pattern.
6
Don’t forget to fill in the holes with paste. Tile the sides as well. You can smooth out bumpy edges with a fingertip.
7
These letters look great on a bookshelf or mantle. They’re also easy to hang on a wall. I recommend using Command Damage-Free Hanging Strips.
Please note, this is a home decor project, and is not intended to be used as a toy. Keep out of reach of young children.
Made By Marzipan may have received product or payment for this post. Posts may contain affiliate links. Disclosed in accordance with the Federal Trade Commission's 16 CFR, Part 255.


 Finished?
great inspiration for new room ideas. thanks, and i love all your creative ideas!
Her voice is like made for videos
fun idea!!