Create your own Paint-With-Water artist pads!
How to:
1
I recommend using watercolor paper for this project. Cut the sheets in half to make pages that are 6 inches wide.
2
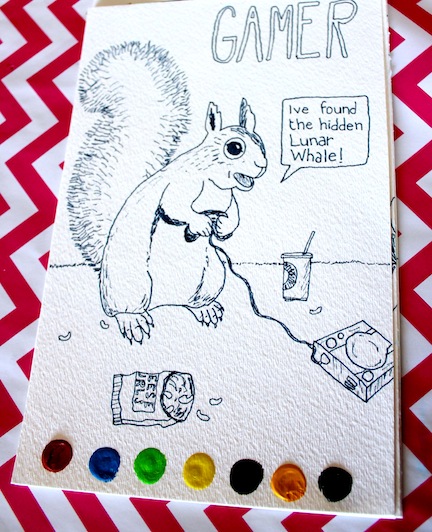
It’s very important that you select a pen that won’t bleed through the paper, or run when mixed with water. I’m using a Pigma® Micron® pen, made by Sakura. It has a fine tip that’s great for detailed drawing, and the ink is archival and water resistant.
3
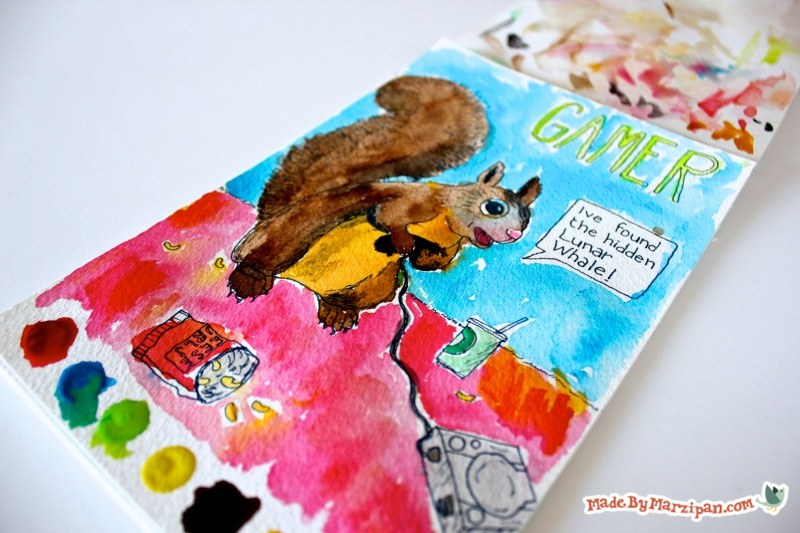
Begin by drawing pictures. You can really draw whatever you want… nature sketches, cartoon characters, whatever you think would be fun to paint. You can also add detail or shading with the Micron® pen, by crosshatching or making dots.
4
Leave the back of each page blank. This area can later be used to blend colors or wipe the brush while painting.
5
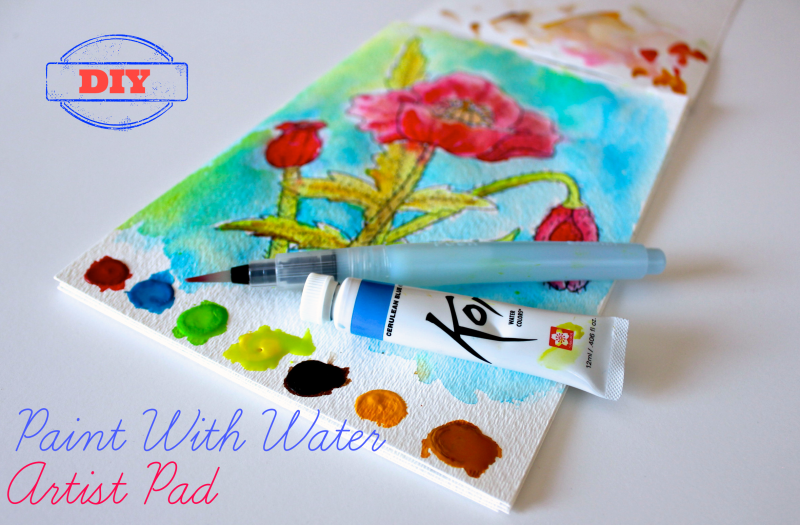
Now we can add the paint palette at the bottom. You’ll need tube watercolors for this. I recommend Sakura’s Koi® Tube Water Colors. Add dabs of paint to the bottom of the picture. It’s best to let the pages dry overnight.
6
Once the paint is dry, you can assemble the pages into an art pad. Wrap a piece of tape around the top edge to create a binding, then staple to secure.
7
I recommend using a Koi® Water Brush with these pads. Fill the tube with water, and this Paint With Water Artist Pad can be used anywhere. Just squeeze the tube to release a drop of water, and blend with the dried paint.
8
To clean the brush, release drops of water and wipe the brush on a blank piece of paper until the water runs clear.
Made By Marzipan may have received product or payment for this post. Posts may contain affiliate links. Disclosed in accordance with the Federal Trade Commission's 16 CFR, Part 255.


 Finished?