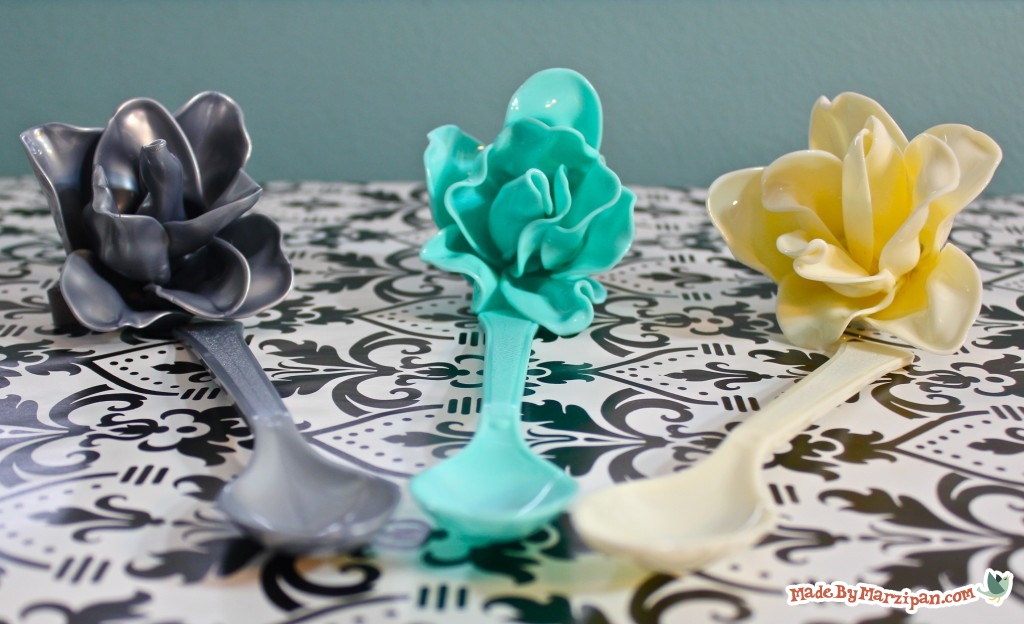
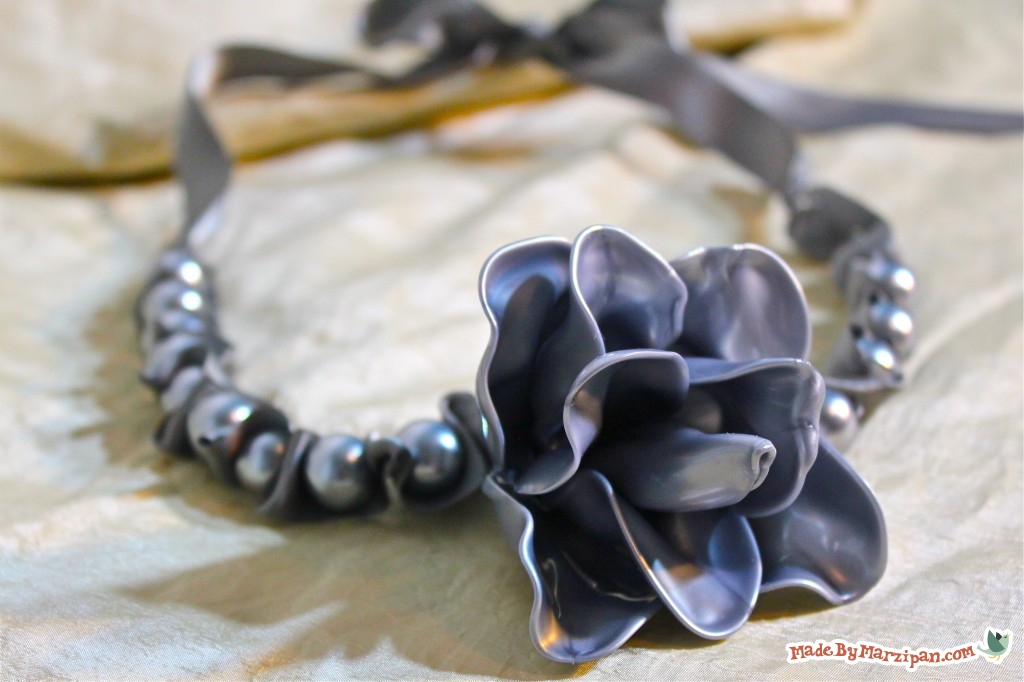
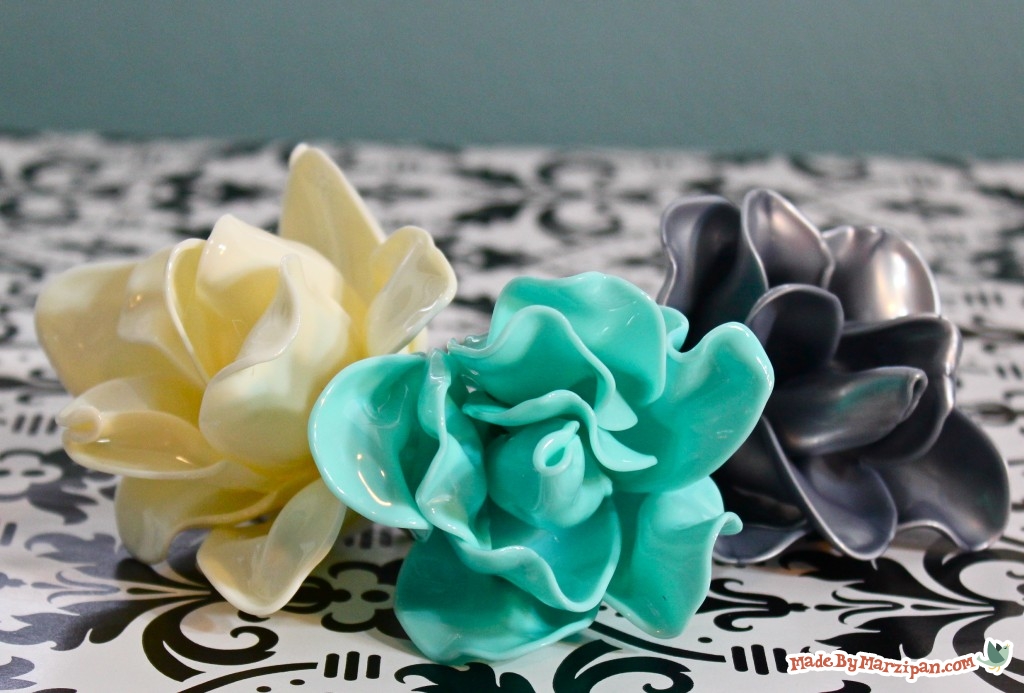
If you’re looking for a trendy accessory that’s truly original, try your hand at making these pretty Spoon Roses.
Tips:
1
Please remember, any project that involves fire isn’t a good project for kids. Use caution when melting, and work in a well-ventilated area.
2
You can use plastic party spoons in any color for this project.
How to:
made with
1
We’ll start by making the rolled center of our rose. Light the candle. Heat the inside bowl of the spoon until it begins to soften and warp. (The length of time this will take will depend on the quality of the spoons you’re using. Heavyweight spoons will take a little longer to soften.)
2
Then, pinch the edges inward to form a bud shape. Then, heat the neck of the spoon to soften, and snip off the handle close to the bowl, using a pair of craft scissors.
3
Now we’ll make some petals. For the petals, heat the underside of the spoon. Once it starts to melt, roll the tip of the spoon backwards. Ideally, you want the plastic to be warm enough to manipulate, but not hot enough to burn your hands. If the heat of is uncomfortable for you, you can wear a pair of stretchy winter gloves while doing this.
4
Warm the neck of the spoon and snip off the handle. Now we’ll join the petal to the bud. Pinch the two pieces together, and heat the bottom over the flame. As it melts, flatten the plastic into one piece with a pair of tweezers.
5
Continue adding petals. Every once in a while, warm the bottom of the rose and press it against a heat-proof surface, such as a ceramic plate or a piece of glass. Don’t feel discouraged if you mess up on a petal or two. If a spoon gets singed and turns brown, discard it. You’ll get the hang of it!
6
You can strengthen your rose by filling in small gaps with melted plastic. Heat a spoon handle, then press the end into the gap. Let cool slightly, then twist to break off.
7
It’s up to you to decide when your flower is finished, but I used 9 or 10 spoons on each of my roses. Hot glue a scrap of felt to the bottom of your rose. Now you can add a pin, hairclip, or a segment of ribbon to hang your rose from a necklace.
Made By Marzipan may have received product or payment for this post. Posts may contain affiliate links. Disclosed in accordance with the Federal Trade Commission's 16 CFR, Part 255.


 Finished?
You could use recycled plastic spoons. Could you heard what a huge “plastic island” drift on Pacific?
I also plan to add this to my handicrafts! Thanks so much!
Very nice. I will definitely try it layer. Oh btw how about those spoons that look sliver but actually plastic. I will like to try to melt those as well.
awsm…bravo..really jus liked ur concept…u r damn creative :D make more creative easy diy videos..
OMG I LOOOOVE IT! Thank you soo much :*
Such a cute idea! I’ve already got a few friends in mind that these would be perfect gifts for!
This is so cute!! :)
pretty
wow very creative!!!
Awesome :D
thanks for the tutorial but i took your directions and made an iris somehow but its so pretty
BEAUTIFUL!!!!
i finally got the hang of it, except one thing, how do you make the roses so open? when i do this the rose look closed and tight.
I think you must not have made the petals as open as she did. When she made the petal, she appeared to pull it back from the bowl area more and that would make it a larger and more open flower.
Incredible & unique! I can hardly wait to try this! :-D
Happy 100th video! ;)
wow! this is so cool. I can’t wait to try this out!
That’s so cute
yhis is such a smart idea :D
i love your nail polish in this video!
I will totally try this!!!
Great ideas
its owsum…really!!!
wow! this is sooo cool! thanx for the video!!!!!!!!!!!!
soo cute! I used mine in my DIY snow globe for my bestie!
My mom didn’t believe me lol. She kept askin me and I told her the same thing over and over again. I made some to match my uniform for when school starts. I made three baby blue and three black and three yellow. For me. I didn’t made navy blue because I couldn’t find the strong spoons that are navy blue. Thanks for showing me how to make it. Your awesome.
wow, this is amazing!
Nice very creative!!
So cute.
That is os cool! I am definetly gonna make that!
neat idea!
Wanna try these so bad!!
I had trouble attaching them so I used some hot glue though you anyone wants to try this, you might want to wear gloves because the glue will melt if you put it over candle to bond it together
i love your nails!!!!!!!!!!!!
I just tried this project and it was alot of fun =] Thanks
bEST CRAFTING EVER
this is cute .. tried it and it didn’t turn out the greatest, but with practice it will look a lot better .. just to add i find it very hard to attach the pieces together
Just tried this but I only had clear spoons. It turned out really cool :)
i would melt the flowers to the handles and make a bouquet
i love this sound dangerous but ill try it ..i hope i dont burn my finger lol
Such a great idea ;)
I will definately try this, so beautiful
I THINK THESE ARE ABSOLUTELY BEAUTIFUL! I LOVE TO MAKE CRAFTS AND I HAVE LEARNED ALOT FROM YOU! THANK YOU AND HAVE A BLESSED DAY!