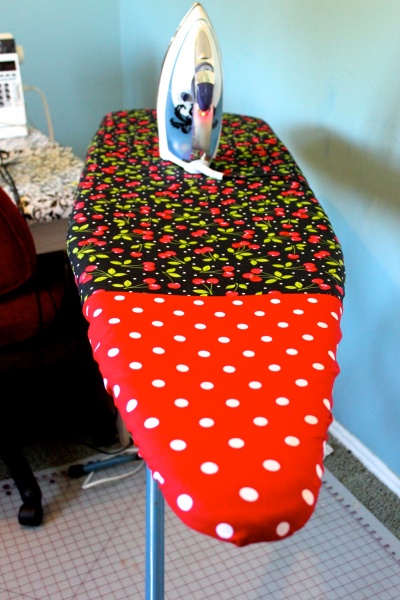
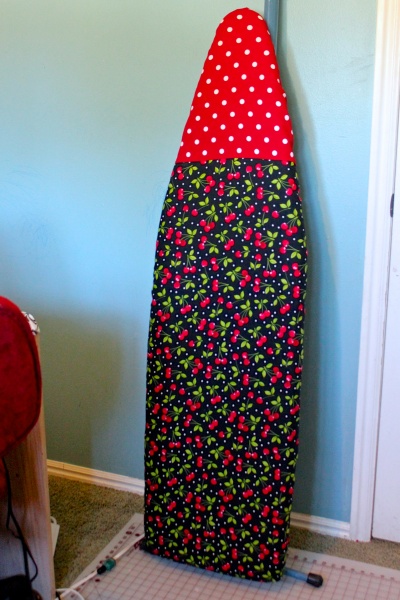
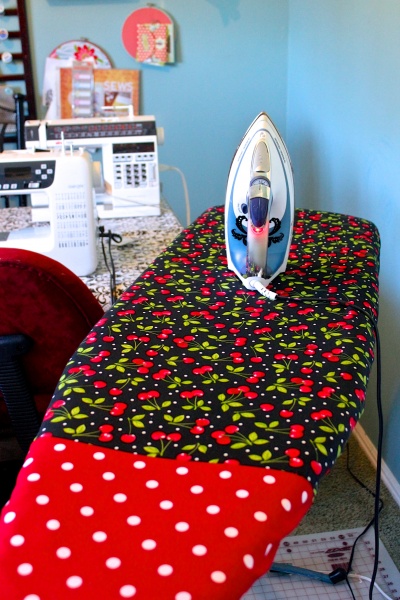
Nothing perks up your sewing space like a new ironing board cover. Here’s a super quick version that’s easy enough for first-time sewers.
How to:
made with
1
This project is so easy because there’s no need to be precise. The elastic bottom will make the cover fit snugly, so you don’t need to bother with a measuring tape.
Start by laying the longest piece of fabric face-up on top of the ironing board. You’ll need about four inches of excess fabric hanging from each side.
2
My ironing board is longer than the fabric, which is 45 inches off the bolt. So I decided to use a ½ yard of contrasting fabric to make up the difference. Lay the contrasting fabric on the narrow end of the board, overlapping the main fabric by about an inch.
3
Trim the fabrics as needed, following the shape of the ironing board and remembering to leave four inches of excess fabric on every side.
4
Now flip the contrasting fabric back over the main fabric, lining up the straight edges. Right sides should be together. Pin together, then sew with a ½ inch seam to join.
5
Place the fabric back on the ironing board and make sure it’s evenly centered. Now we’re going to reduce bulk at the corners of the board by folding the fabric inward. This is done just like wrapping the corner of a present. Pin the fold. (Again, you don’t need to be too precise about this, because the elastic will tighten everything up.)
6
Repeat with the nose of the board.
7
Now we’ll hem the bottom of the fabric, by folding it under about a ½ inch and sewing a ¼ inch seam. There’s no need to measure or press, just fold the fabric as you sew.
You can place the fabric back on your board if you’d like, to double check that it still fits nicely at the corners.
8
Next we’ll add the elastic to the underside edge of the fabric. I’m using 1-inch wide non-roll elastic. You’ll need about 2 ½ yards. Use a zig-zag stitch. It’s very important that you stretch the elastic as you sew, because this is what makes the cover fit snugly. You’ll also find it helpful to keep the needle in the down position as you sew.
Keep the elastic taut and the fabric below flat and smooth.
9
I’m placing my new cover over my old one, since my old one has padding. However, you could also cut a layer of natural cotton batting to the shape of your board and place it beneath your new cover. Iron the cover thoroughly before first use.
Made By Marzipan may have received product or payment for this post. Posts may contain affiliate links. Disclosed in accordance with the Federal Trade Commission's 16 CFR, Part 255.


 Finished?
Why no sound on your video?
Hi Brenda! It does have sound… perhaps the volume was turned down on your device?
Cute, cute, cute! Love the fabrics you used!
Be sure to check fabric with hot steam iron for bleeding. Ruins whites if bleeds color.
Good tip! You should also always wash cotton fabric before any project, to minimize shrinking and eliminate possible excess dye.
This seems simple enough but a photo of the back side would be nice. Your comment about non-roll elastic confused me. You must have meant flat rather than round elastic. A comment was made about a video, where do I look for that?
Hi Judy! Yes, non-roll elastic is elastic that won’t curl up at the edges with use. It states no-roll on the package. The video is right between the photos at top and the instructions. If you’re having trouble seeing it, you can watch it on YouTube here: http://youtu.be/59c62G0Dais
thanks for response, never noticed the words on the elastic before. Rebooted my computer and videos showed up, thanks
Great video on Youtube! Only took an hour to make this cover. I love it! Thank you for sharing. Can’t wait to view your web page to see what else you have to share!
Hola! I’ve been reading your site for a whyile now and fially got the courage
to go ahead and give yyou a shout out from New Caney Texas!
Just wanted to say keep up the good work!
I’ve been wanting to recover my ironing board for some time as the original cover has a hole in it. I’ve been too big of a ninny to try to do it without a tutorial. (Silly me!) Thanks for providing it! :) I’ll be tackling this project this weekend!
Great job, I have been looking for something like this. Will try soon!
Hello! Do you use Twitter? I’d like to follow you if that would be
okay. I’m absolutely enjoying your blog and look forward to new updates.
Can I use elastic labelled for fitted sheet? How to sew the elastic like it was a piping along the full perimeter of the cover? Need to use zigzag stitch or can I use straight stitch? Your video is very good, congrats!
I haven’t seen elastic labeled that way, but I imagine it would work fine. Yes, it goes all the way around. A zig-zag stitch is recommended over a straight stitch because it has more give.
Thanks so much for the GREAT tutorial. I tried another ironing board cover tutorial, and after sewing and ripping three times, I just wanted to get it done! I found your tutorial, and an hour later, Voila! I have a new ironing board cover. Thanks again!
I’m so glad you enjoyed it, Judy :)
I just stumbled upon this on Pinterest! I will be making a new ironing board cover soon! Thanks for the helpful tips and fabulous idea.