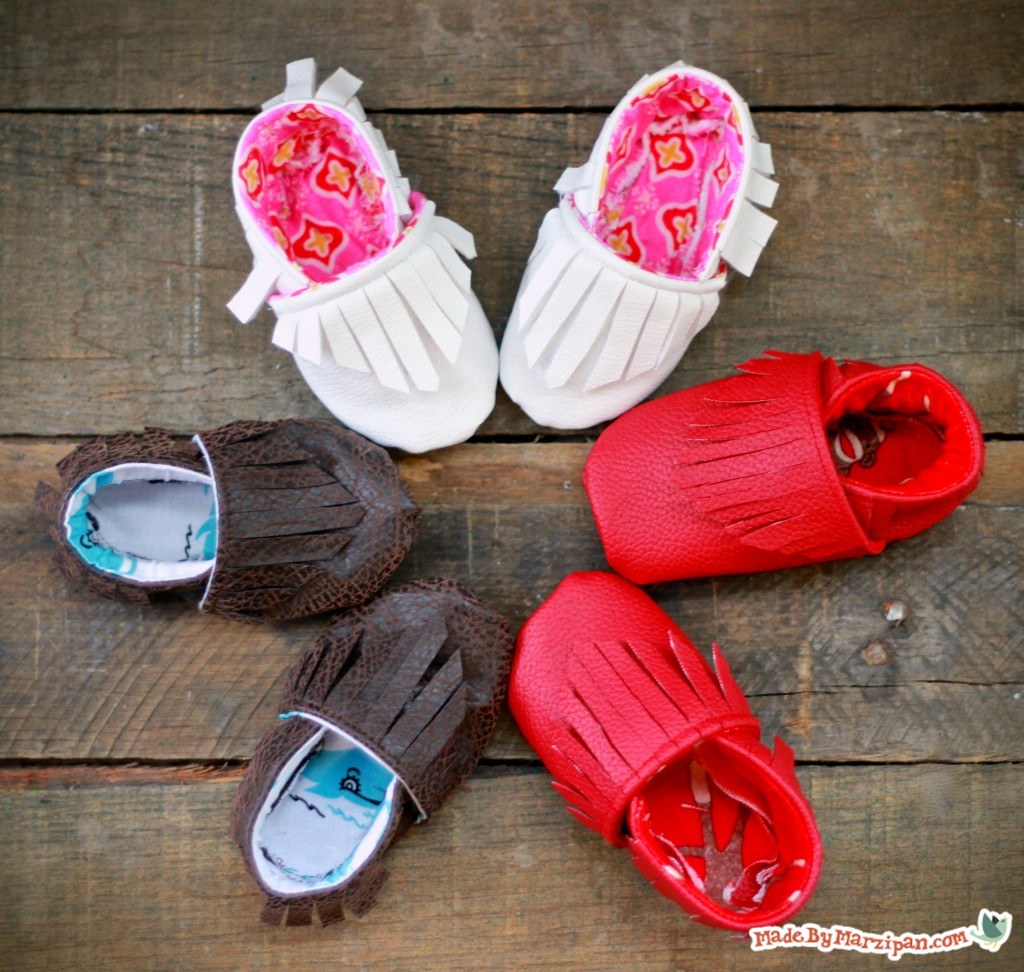
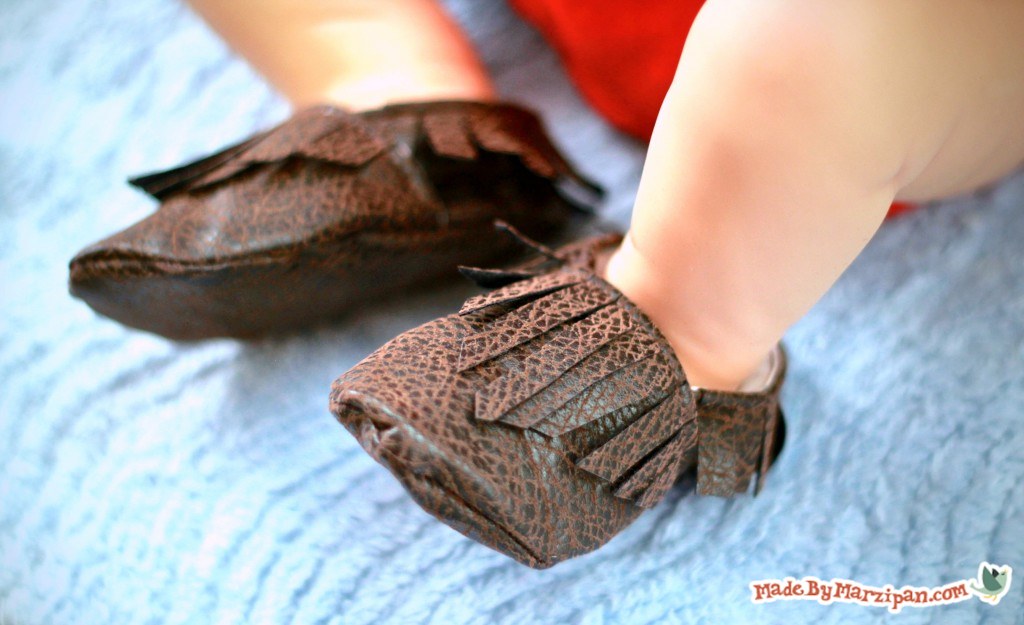
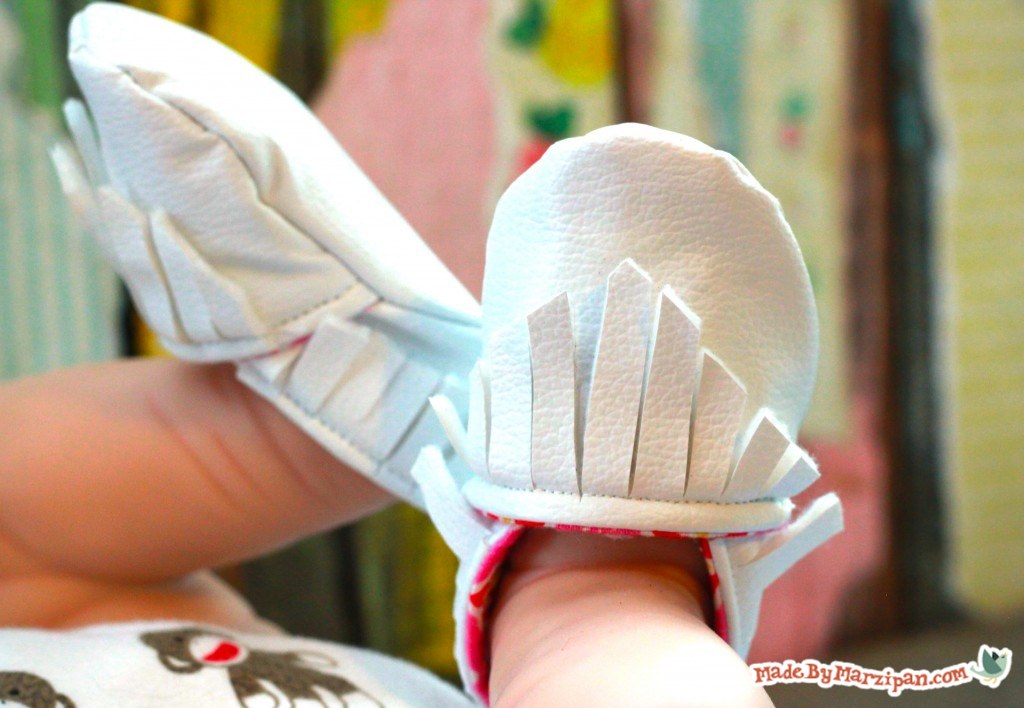
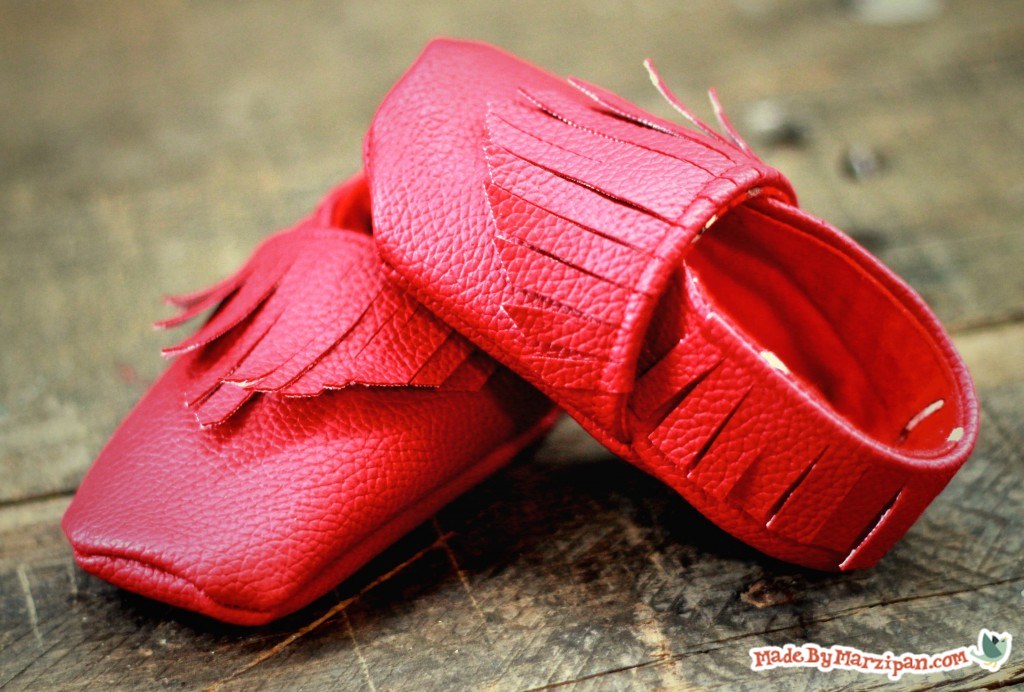
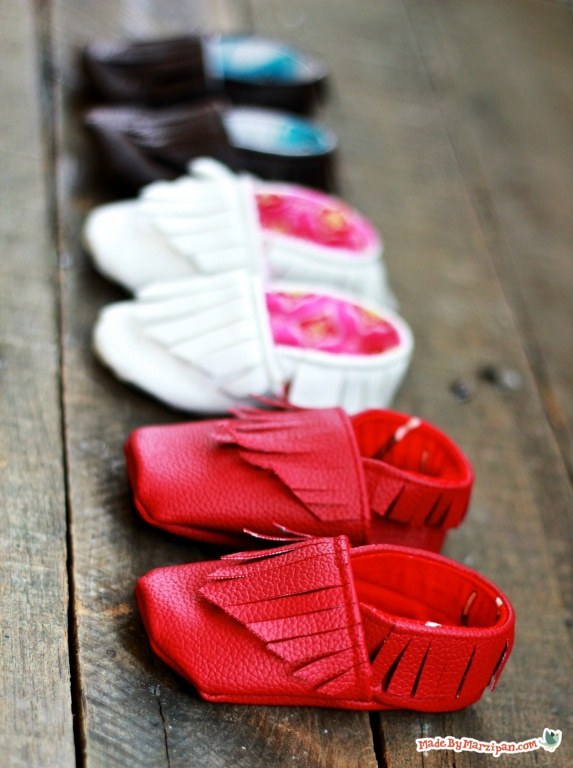
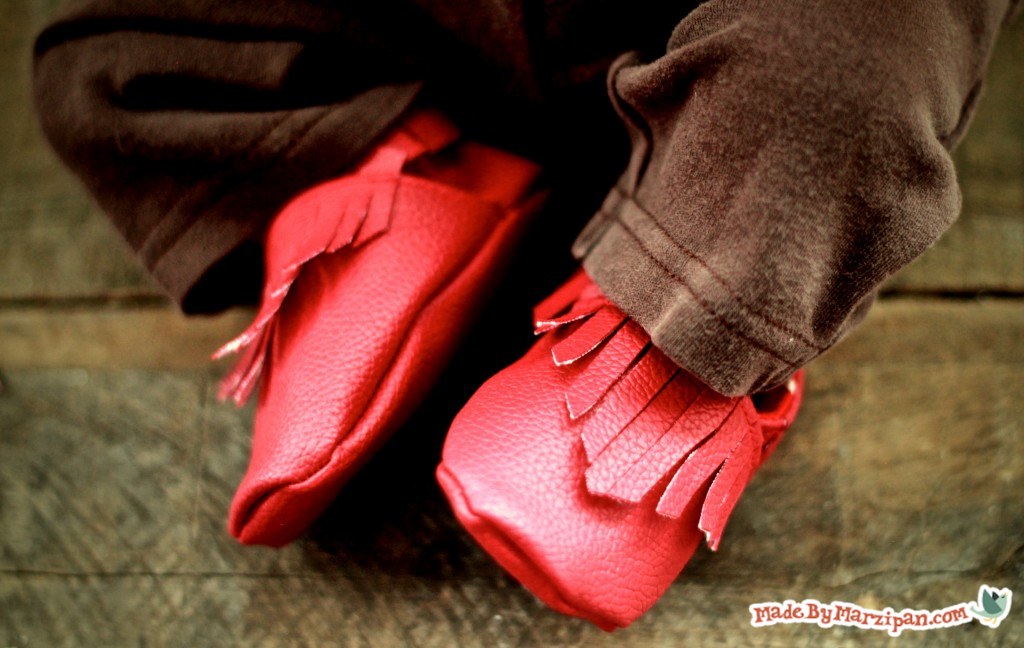
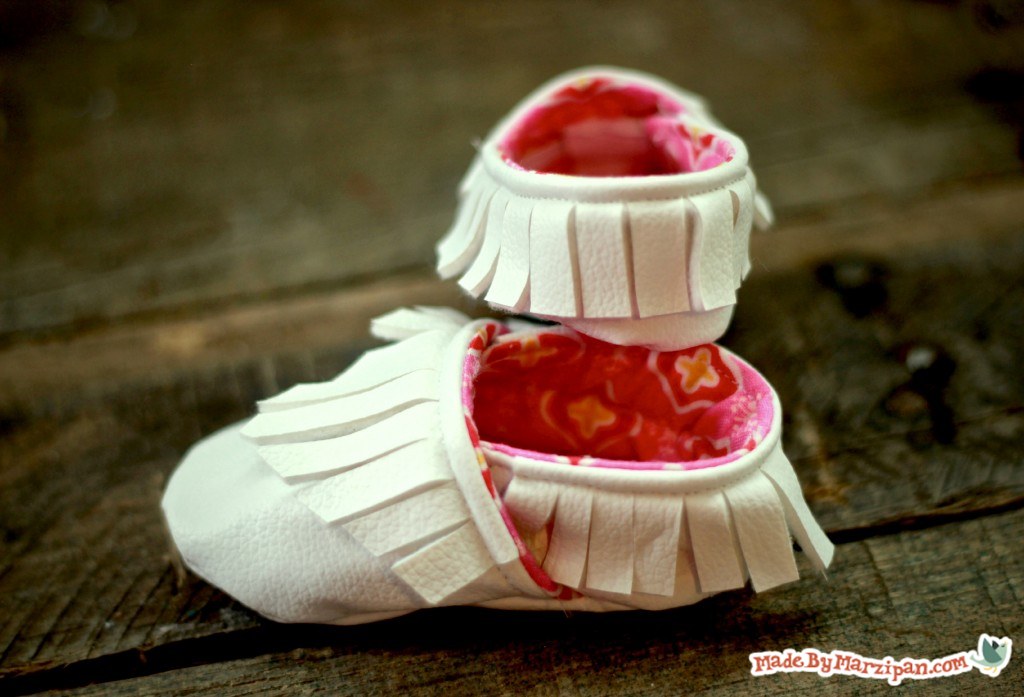
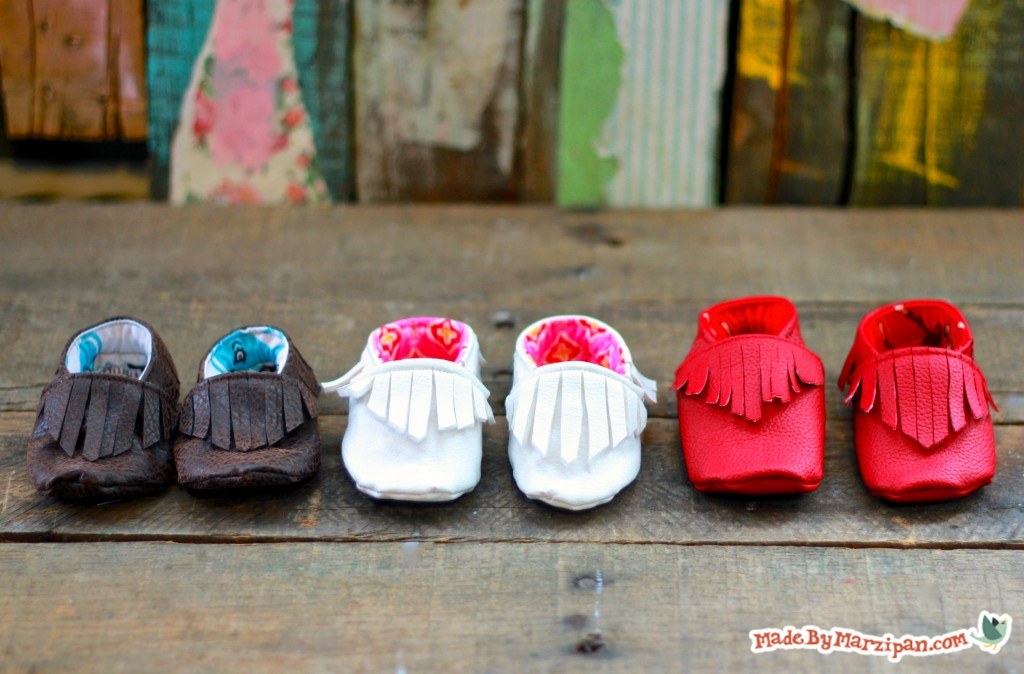
Baby moccasins are super trendy, but they can also be super expensive! Now you can download Marzipan’s Baby Moccasins pattern for only $4.50.
Tips:
1
This pattern includes 3 sizes: Newborn, 3-6 months, and 6-12 months. You can purchase it and immediately download and print by visiting my Etsy or Craftsy shop. (Please note: if you purchase this pattern, you MAY sell completed items created from this pattern. The pattern itself may not be re-sold or distributed. Photographs are the sole property of MadeByMarzipan.com.)
2
You’ll need a non-fray material for the outer fabric. You can use real leather, imitation suede, or vinyl.
3
Choose a needle that is appropriate for the weight of your fabric.
4
You’ll also need a second material for the lining. This can be cotton or flannel.
5
If you think you might wash these moccasins in the future, then pre-wash and dry your lining fabric.
How to:
made with
¼ yd (or fat quarter) of Non-Fray fabric
¼ yd (or fat quarter) of Lining fabric
Cutting the Pattern Pieces
1
Print off the pattern. Three different sizes are included. Be sure your printer is set to no margins and no scaling. Today I’m making size 3-6 months. Cut out the pieces along the black lines using craft scissors. You’ll notice some of the pieces have triangle points. Cut out the points, as these will assist us in lining up our pattern pieces later.
2
Pin the pattern pieces to the material and cut out as instructed. Since all of the pieces are reversible, with the exception of the sole, it doesn’t matter whether you cut on the wrong or right side of the fabric. However, for the Sole piece, be sure to cut one with the right side up, and one with the right side down, to create a left and a right sole.
Making the Toe Piece
3
Find a non-fray Toe piece as well as a fabric lining Toe piece. You’ll also need the Tongue Fringe piece.
4
Trim off the Rectangle at the top of the Tongue Fringe piece and put it in a safe place nearby, we’ll use it in a minute.
5
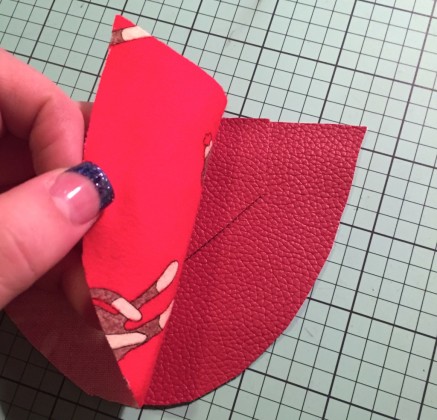
Lay the non-fray Toe piece face up, and place the Tongue Fringe piece face up on top of it. Center the Tongue Fringe piece and align with the top edges. Then, layer the fabric lining Toe piece face-down on the stack. Pin. Sew together along the top straight edge with a ¼ inch seam.
6
Now we’ll sew that little non-fray Rectangle to the right side of the Toe lining fabric. This is going to create a little casing to keep the elastic in place. Fold the fabric downward at the seam. Feel for where the bulk of the seam ends, then attach the Rectangle vertically right below this point. Sew along the top and bottom of the Rectangle, leaving the sides open to thread the elastic through later. Use a ⅛ inch seam. Be sure that you are sewing through only the Rectangle and the lining fabric.
7
Next, fringe the Tongue piece. The width of the fringe is up to you, anything between ⅛ and ¼ inch looks good. I like to start in the middle to make sure the point is centered. Fold down the fabrics at the seam. Tack the fabrics in place by sewing along the top edge with a ⅛ inch seam. Be sure to hold the fringe down and straight while you sew. Remember to be cautious with your finger placement while sewing.
8
Now we’re going to use a little trick to speed things along. Instead of stay-stitching our fabric layers together, we’re going to use a regular washable glue stick. This will keep the layers from shifting as we work. Don’t worry, everything will be securely sewn in a few minutes. Set the Toe piece aside.
Sewing the Heel Piece
9
Next we’ll move on to the Heel piece. This process is very similar to the Toe piece. Find a non-fray Heel piece as well as a fabric Heel piece. You’ll also need the Fringe Heel piece.
10
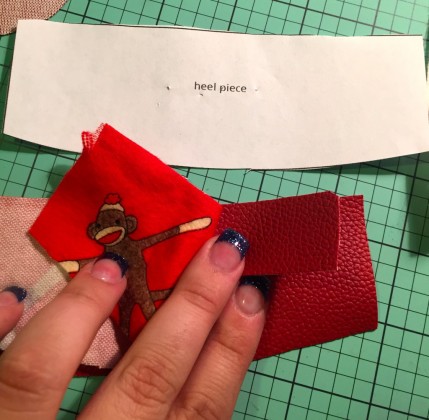
Lay the non-fray Heel piece face up, with the Fringe Heel piece centered face-up on top. Pin the fabric lining Heel piece face-down on the stack. Sew along the top straight edge with a ¼ inch seam.
11
Fringe the Fringe Heel piece, keeping the fringe the same width as on the Tongue piece.
12
Then, as you did before, fold down at the seam and stitch the layers together with a ⅛ inch seam. Remember to keep the fringe down and straight as you sew.
13
Finally, we need to make a casing for the elastic on the Heel piece. Lift the fringe and push it aside to the right. Sew a straight seam, creating a casing that’s about a ½ inch wide.
Assembling the Moccasin
14
The final step before assembling the moccasin is tacking the fabric lining Sole to the non-fray Sole. Again, I’m choosing to use a washable gluestick to save a little time.
15
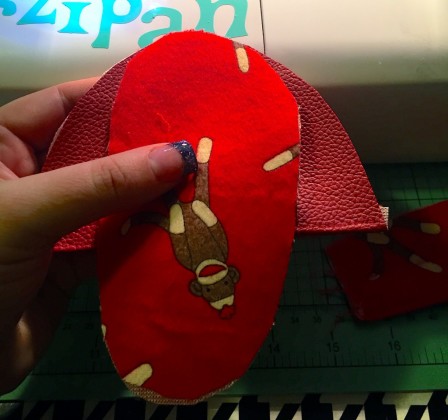
Now layer the sole piece and the toe piece with non-fray sides together, aligning the points on both pieces. Turn so the Sole is on top. Starting at the point, sew down along the curved edge of the sole piece, adjusting and aligning the toe piece to match the edge of the Sole as you sew. You’ll need to stop often, with your needle in the down position, to align the two fabrics as you go. Sew with a ¼ inch seam.
16
Return to the center point, and sew down the other side, remembering to always align the Toe piece with the curve of the Sole.
17
Next we’ll attach the Heel in a similar manner. With non-fray sides together and points aligned, start at the center and sew down one half of the Heel piece, following the curve of the Sole.
18
When sewing down the other half of the Heel, I actually prefer to curve it to fit the Sole, then to start sewing at the end of the Heel piece and stopping at the center of the Heel piece. As you do this, smooth and flatten the fabric to prevent any puckering.
19
Now tidy up the moccasin by trimming down the seam allowance and removing the excess fabric at the points.
20
Cut between 8 and 10 inches of ¼-inch wide elastic. The length you need may differ a bit depending on how stretchy your elastic is; it’s better to cut too much than too little. Add a safety pin to one end and thread it through the casing on the Heel piece. Then thread it through the casing on the Toe piece.
21
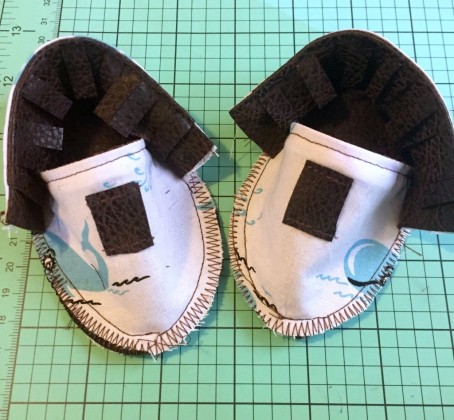
Pull the elastic so that it begins to gather the Heel piece. Pinch the elastic together while stretched, then sew together with a zig-zag stitch. Backstitch for durability. I also recommend finishing the seam around the Sole with a zig-zig or overcast stitch.
22
Trim the excess elastic, then adjust the elastic so the sewn portion is hidden inside the casing.Turn right side out and poke out the seams with your finger. You can also roll the seams between your thumb and forefinger to get crisper edges.
23
Repeat the previous steps to make the second moccasin.
If you’re interested in purchasing this sewing pattern, please visit my Etsy or Craftsy shop.
Made By Marzipan may have received product or payment for this post. Posts may contain affiliate links. Disclosed in accordance with the Federal Trade Commission's 16 CFR, Part 255.




 Finished?
Hi! What sewing machine do you use for this project?
It’s a Janome QDC… but any sewing machine should work fine for this project :)
Thanks very interesting blog!
Where can i buy de pattern??
How can I get the pattern… I live in Nigeria
I discover this site watching a YouTube video and I love it. I will recommend this site to my friends.
I really appreciate this post. I’ve been looking all over for this! Thank goodness I found it on Bing. You’ve made my day! Thanks again!
Hi Marzi, my question is, where did you purchase the leather, imitation suede and vynil?
Hi Erica!
If you haven’t already found where to purchase. You could check out Blessed2Create on etsy. She has awesome faux leather and more. Please let her know Lydine sent you!
Hope you find what you’re looking for!
Would you let those who purchase your moccasin pattern sell the shoes they’ve made?