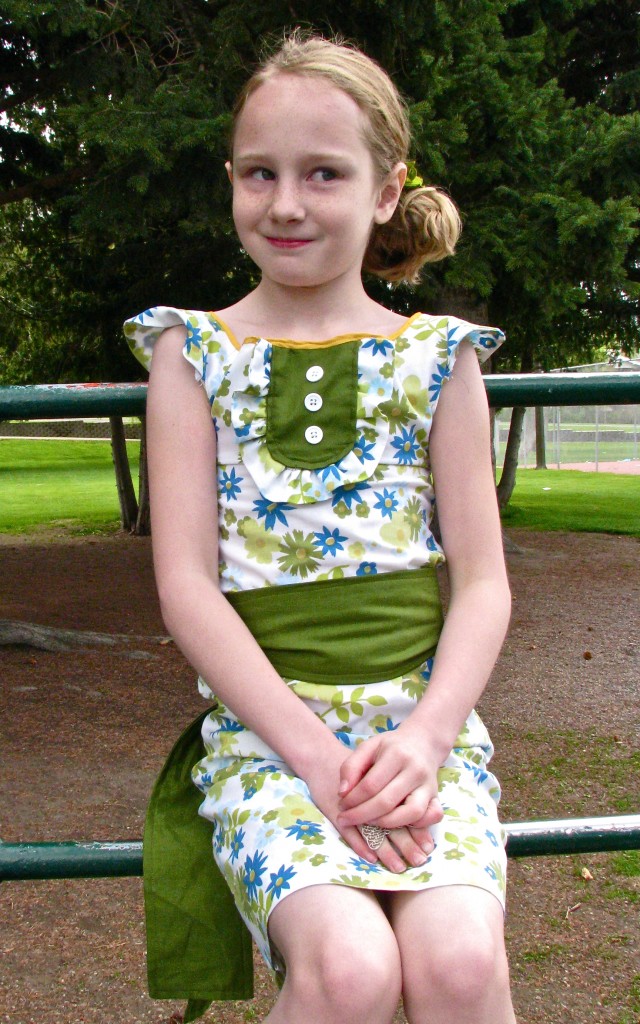
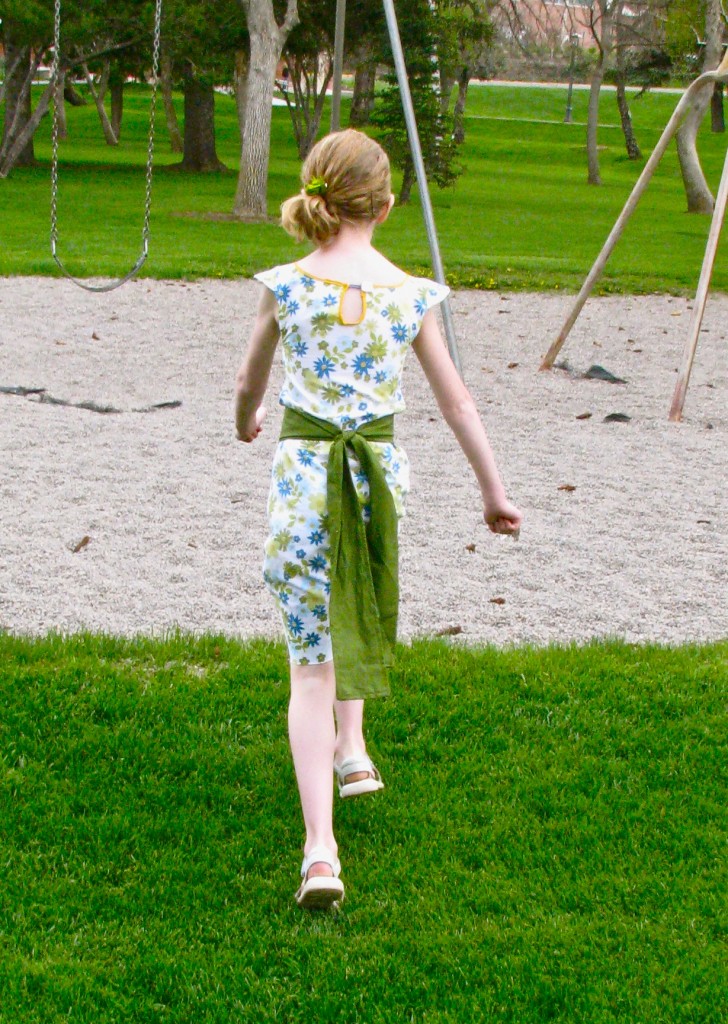
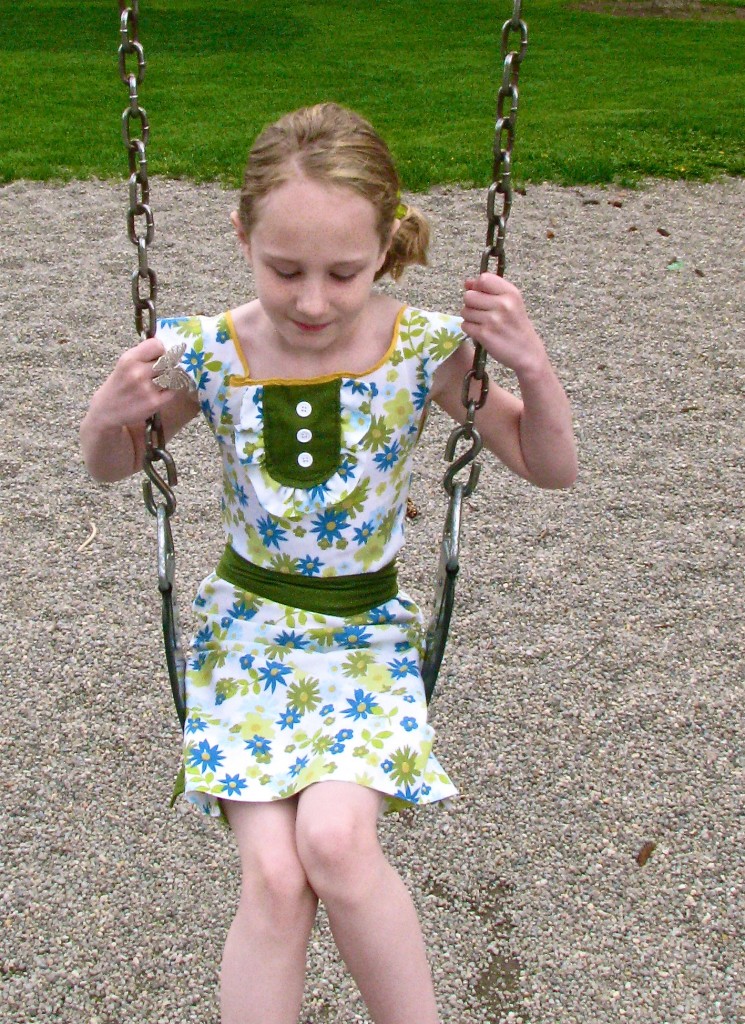
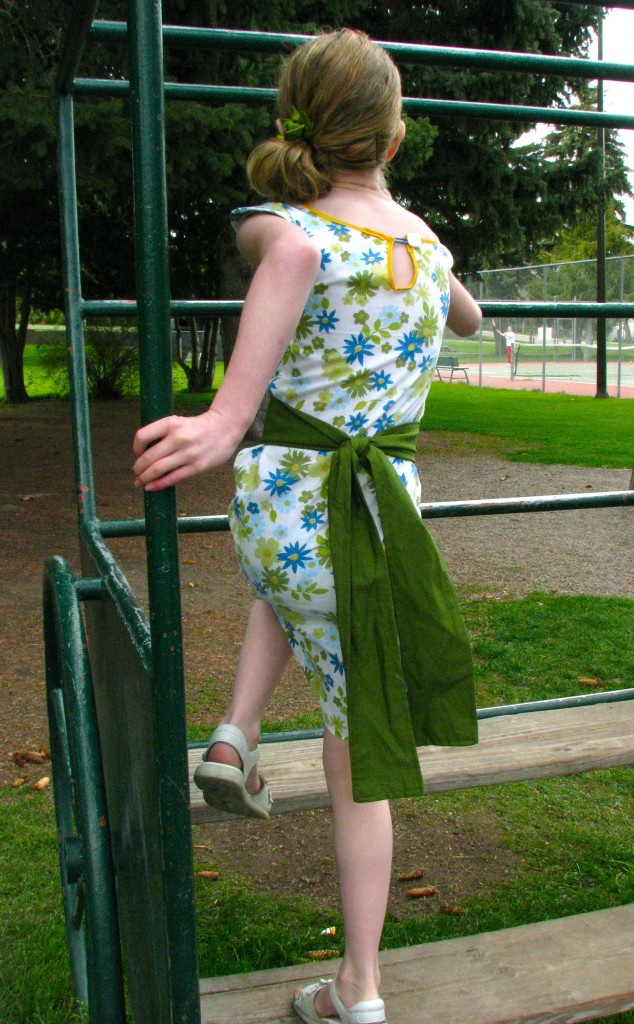
This dress began as a humble pillowcase. Add a third a yard of fabric and you’ll have people saying, “No Way That’s a Pillowcase dress!”
How to:
made with
1
Turn the pillowcase inside out and fold in half. Use one of your child’s shirts as a guide. Mark a dot at the bottom of the armhole, a dot at the shoulder, and another dot at the front neckline.
2
Connect the dots to form a curved neckline. Then connect the shoulder and underarm dots with a curve.
3
Then cut the dress in an A-line shape. You want to cut off the side seams of the pillowcase entirely. The front and back of the dress will be connected only at the shoulders.
4
Sketch a narrow U on the back of the dress. This will become the button closure. Cut through one layer of fabric only!
5
Now we’ll cut the sleeves. You will need four half-circles of fabric. I am using fabric I had cut from the neck area.
6
Pin two pieces right sides together, then sew along the curved edge only. Notch the curve, being careful not to clip the seam. Turn sleeves right side out and set aside.
7
We’ll work on the sash for a moment. You will want to adjust the thickness and length of the sash depending on what size you are making the dress. Remember to add a half inch for seam allowances. I’m cutting mine 4.5 inches wide, and 3x the width of my daughter’s waist.
8
You need two sash pieces. You may need to join fabric strips to make your sash long enough. If you join fabrics, make sure to press your seam flat before continuing.
9
Lay two strips right sides together and pin. Sew along edge, leaving one short end open for turning.
10
Turn right side out and press. Turn raw edges under a quarter inch and press. Topstitch shut, and continue topstitching around sash with a quarter-inch seam. Put the completed sash aside.
11
Next we’ll work on the front bib piece. Sketch a U on the coordinating fabric. My U is the same width as my sash, but you can adjust the size to your liking. Cut out two. Fold the fabric in half to check for symmetry.
12
Sew three buttons on one bib piece. Then place bib pieces right side together and sew around the U, leaving the top open. Notch the curve so it will lay flat. Turn right side out.
13
Press the bib piece and the two sleeve pieces. Then fold the sleeves in half to find the center, lining it up with the shoulder seam on the dress. Pin the sleeves in place, aligning the straight edge with the edge of the dress.
14
Now we’ll cut a strip to make the bib’s ruffle. Mine is an inch and a half wide, and came from the side of the pillowcase. It will need to be at least one and a half times the length of the perimeter of the bib. Cut it on the fold.
15
Sew the raw edge with a basting stitch. Do not backstitch. Tug on the thread to adjust the ruffle to fit the bib.
16
Pin the bib to the center front of the dress, lining up the top of the U with the neckline. Then pin the ruffle underneath the edge of the bib. Topstitch the bib in place.
17
Now for the neckline. Unfold the bias tape and line up the edge of the tape with the neckline. Pin in place. Stitch in the ditch of the first fold line.
18
Now we’ll add a hair elastic for the closure. Sew in place with a zig-zag stitch. Snip off the excess.
19
Then fold the bias tape over the edge of the neckline and sew in place with a straight stitch. (I’m not going to give thorough instructions for using bias tape here because that would make this tutorial a lot longer. But there are plenty of other tutorials online if you need help with it.) Sew a button opposite the elastic.
20
To finish the dress, lay face down and fold over the sides of the dress a quarter-inch, and press in place, all the way down to the bottom.
21
You’re going to sew the armholes down to the dot you marked in the beginning. Sew these separately, you are not sewing the fabrics together!
22
Then pin the sides of the dress together starting below the armhole, and sew shut. Finally, press the seams open, and press the outside of the dress to finish.
23
If you’d like, you can hand-sew thread loops on the outside seams of the dress to keep the sash in place. You can tie the sash in a knot in back or in a bow at the side. No matter how she wears it, you’ll have people saying, “No way that’s a pillowcase!”
Click here to find more free clothing projects to sew!
Made By Marzipan may have received product or payment for this post. Posts may contain affiliate links. Disclosed in accordance with the Federal Trade Commission's 16 CFR, Part 255.


 Finished?
very nice instructions. darling daughter!
WOW i love ur video!! Ready for another one .lol
Cute!
This is the best video I have seen for a simple girls dress that is different from all those other “pillowcase” dresses. Well done!
I don’t feel that those who make the pillowcase dress tutu, DIY things are driving down prices… Matter of fact I think it is out of necessity , because I ‘ve seen some extremely cute pillowcase dresses and other DIY articles that are just as good as the “craftsman”. matter of fact some are better… and as for driving down the price… If the price wasn’t so very very high, maybe the could afford to buy. Lets face it a size 4T dress for $80, that’s a bit high… BTW, been a craftsman 40 yr.
Thanks! That is amazing. It looks adorable and it’s so different from other pillowcase dresses. Thanks for sharing it!
I agree – and anyway, I think most people will not do it, OR do it and not like it as much as what a good artisan does- and will end up buying from artisans in the end.
Wow! :-)
I like this shape of dress, but I don’t like the sash… but that’s my feelings. It is cute , you did a great tutorial… but the sash is over kill in my opinion.. or maybe if it were a lighter color.. or lighter weight material.. it looks heavy and pulls down the look of the dress.
Well done!! I would love to know what the music in the background is? Loved it-
Great video..am wondering about using a knit shirt on cotton for a pattern….also I am going to our neighborhood “thrift store” (please support any recycle shop) and see if I can aquire a set of sheets and pillow cases and make mathching dress for me and mine…..I watched a tutorial on elastic shirring and will try that for my dress…..Thanks again and have a gooder day!
think you are very talented.My main hiccup with all these DIY’ers is they drive down the price of handmade merchandise because everyone thinks they are an expert at what they making. Everyone wants to make bows, tutus and pillowcase dresses instead of paying for good craftmanship. They others will start wanting you to lower your prices. I wish all this self proclaimed experts would just stop making all these how to’s and sell the merchandise.
Sometimes it’s not about not wanting to pay the price of good craftmanship, our not wanting to support local artisans, sometimes it’s about wanting to be able to create something themselves. This would be no different than someone purchasing a pattern. I recently had a daughter, I am not opposed to buying handmade dresses, but there is a certain pride in knowing I made something special for her. I have already made bows, and tutus, I used tutorials and made them myself because it feels more special to me. I think it is great that people post DIY tutorials to inspire others to create themselves, sharing their craft and and inspiring shows they are true artists.
Wow
Noting the commentary about DIY and pricing… If I can’t do it myself, I’m buying it at a store. I think most people who are into DIY fall into this category, but I could be wrong.
Thank you! Will try soon!
Good video def trying this way