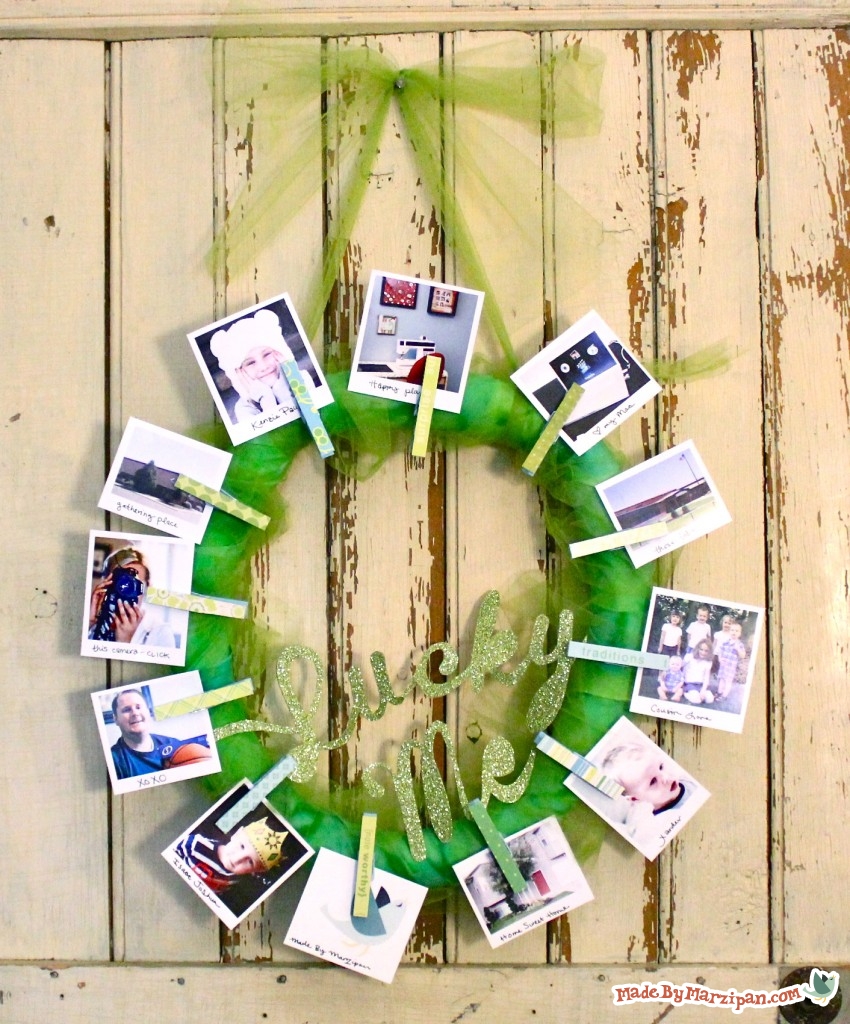
A photo wreath is a fun way to decorate for any holiday. Clothespins mean you can change out the pictures as often as you’d like.
How to:
made with
1
You can purchase a ready-made wreath form at any craft store. Or, you can save a few dollars by making your own. You can purchase Pipe Insulation Tubes for about $1 at large Home Improvement stores. You’ll be able to make two wreaths out of one tube.
They come in slightly different thicknesses; I chose a medium one but think I’d select the thickest one next time.
2
Cut the tube about 4 x the length you want the width of your wreath to be. I cut mine at around 45 inches. Then, wrap the two ends together to meet. Duct tape in place.
3
Since this wreath will be for St Patrick’s Day, I’m covering it with green fabric. Cut strips of fabric about four inches wide, and wrap around your wreath form, securing with hot glue. I’m also adding some wrapped green tulle to give my wreath some fulness.
4
Now we can work on the clothespins. You can find these at craft stores, or by the hangers and laundry baskets in most discount stores. I’m using 12 clothespins. Measure your clothespins and then cut strips of patterned scrap paper to the same dimensions. I chose papers made by Scenic Route. Cut one strip for the front of each pin.
5
You can leave your pins bare, or you can paint them. I chose to paint mine blue. You don’t really need to worry about painting the front or back of the pins, as these will be covered. But make sure you paint the sides and interior well. Don’t even bother trying to keep your hands clean. Just accept that you’re going to get messy and it will go a lot faster. Allow the clothespins to dry.
6
Add the paper strips to the top of the clothespins using double-sided adhesive. Then glue the clothespins to the wreath form. I found it easiest to arrange them in a clock face pattern, with the first pins being glued at 12, 3, 6, and 9:00. This will help you space the pins evenly.
7
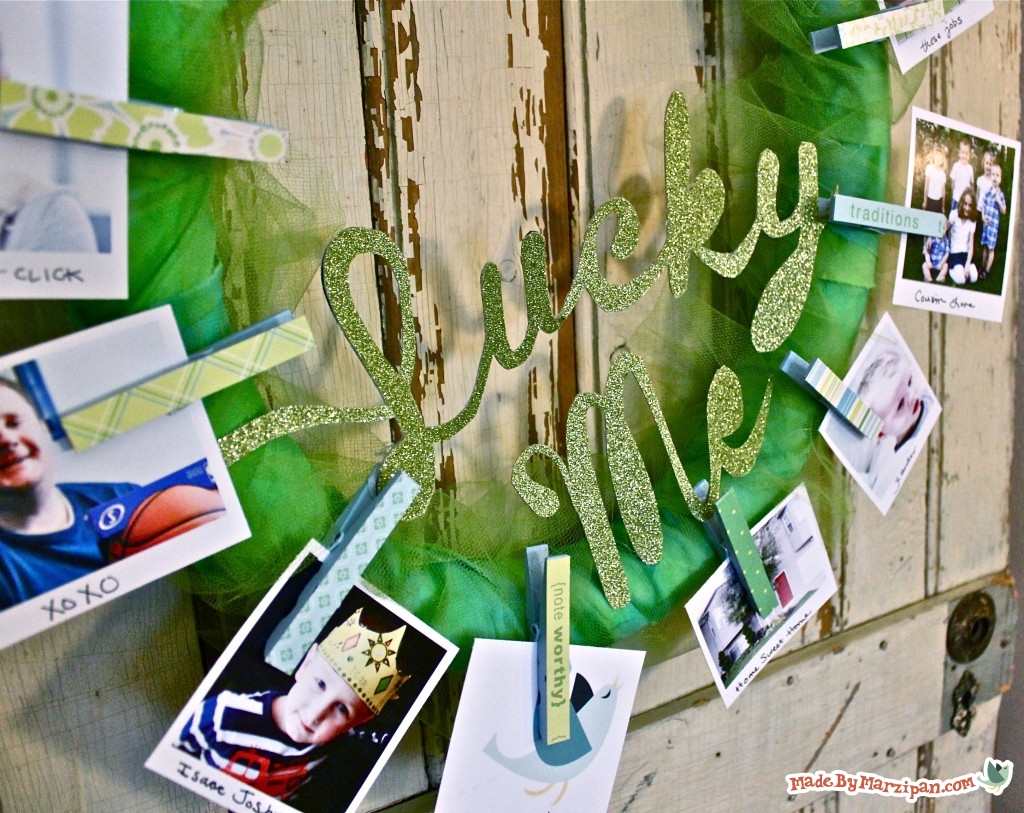
My wreath was looking a little bare in the center, so I decided to add a phrase that sums up the theme of my wreath. I’m using glitter paper by American Crafts, it’s rather stiff and will hold its shape well.
8
Print out a phrase, and adhere it to the back of your glitter paper, face down. You’ll be able to see through the paper to cut out your phrase. (You could also choose to print the phrase using “mirror image,” if you have trouble seeing through the paper.)
9
Hot glue the phrase along the bottom of the wreath, at an angle. Finally, add a photo to each clothespin. I printed photos of things I feel lucky to have, and cut them out Polaroid-style, with a border to write a caption on each one.
10
To hang your wreath, tie a segment of tulle onto the wreath, then tie a bow to that loop with another piece of tulle.
Made By Marzipan may have received product or payment for this post. Posts may contain affiliate links. Disclosed in accordance with the Federal Trade Commission's 16 CFR, Part 255.


 Finished?
Such great creations u make