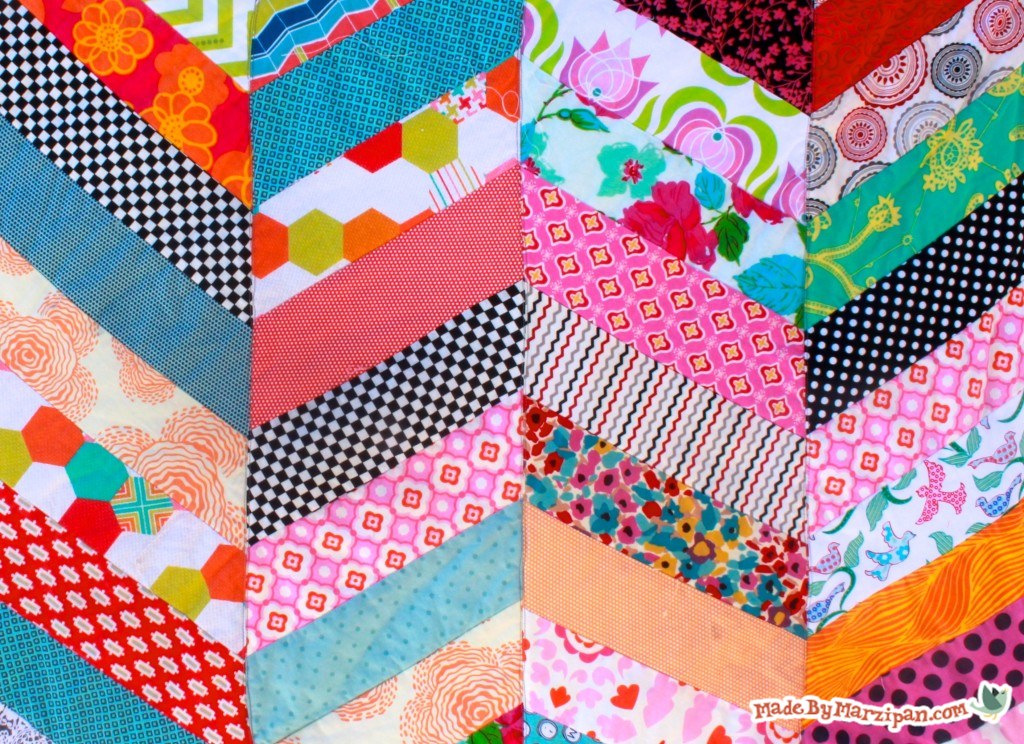
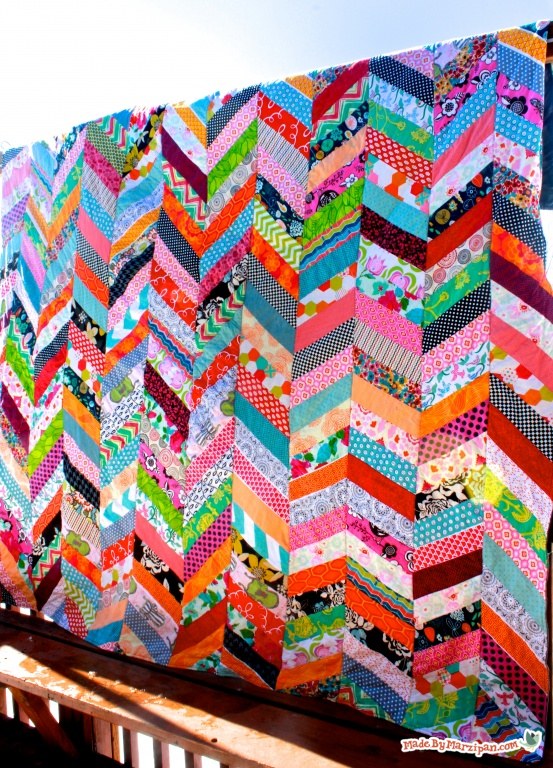
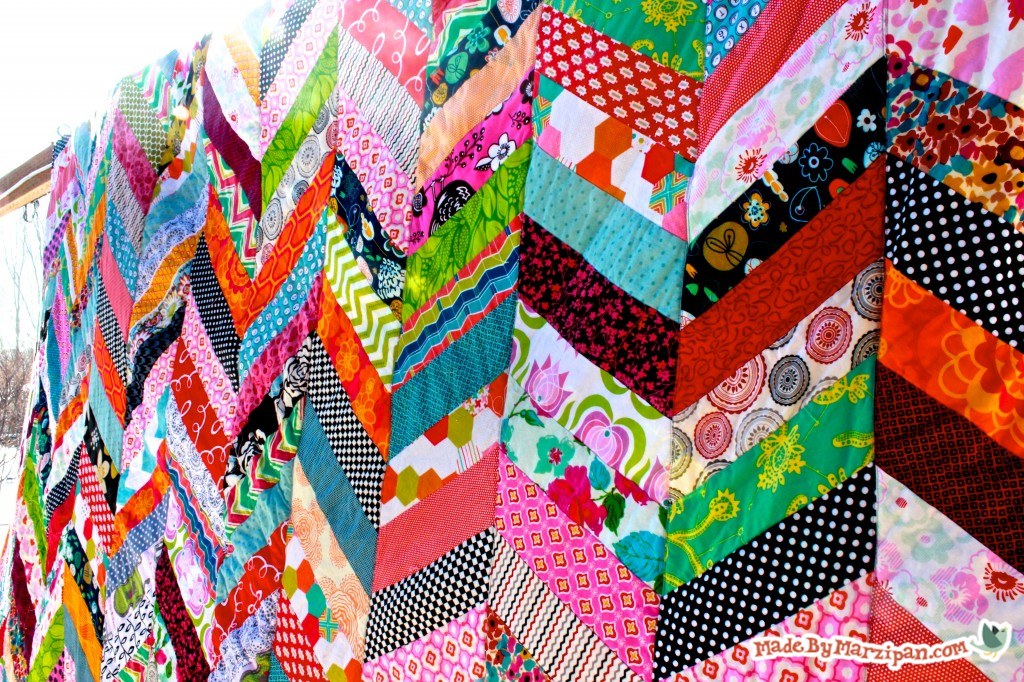
Learn how to make a Quilt As You Go Chevron Column Quilt. Columns are faster to construct than blocks, and the QAYG method means minimal topstitching when assembling.
How to:
made with
Prepping the Columns
1
This quilt is assembled using columns rather than blocks. Begin by cutting your batting into 8-inch wide strips. You’ll want to use a low-loft cotton batting for this project. It’s helpful if you buy batting that is already sized for the quilt you want. My queen-sized quilt has 12 columns.
2
We’re going to draw a few guidelines on the batting columns. Align the long edge of a batting column with the 45 degree mark on your cutting mat. With a clear quilter’s ruler positioned at a straight 90 degree angle, draw a line 2.5 inches in from the corner of the batting. Move the ruler over another 2.5 inches and mark again. Three of these lines should be sufficient.
3
The second batting column will need to have lines going the other direction. So position the column on the opposite 45 degree angle, and make three marks as you did on the last column. You can see that when these columns are side-by side, the marks form a center point. As you assemble your quilt, you will alternate the strips, creating an overall zig-zag chevron pattern.
4
You will need to cut a lot of strips to 3 inches by 14.5 inches. You can estimate how many you will need by dividing the length of a column by 2.5, then multiplying by how many columns you have total. My queen sized quilt required 432 strips.
Sewing the Strips
1
You can use a smaller strip of fabric for this first strip if you’d like. Lay the fabric face-down between the first and second lines on the batting column. Align the edge of the fabric with the first line and pin. Sew by the first line with a ¼ inch seam. There’s no need to backstitch on the strips, as the ends will be secured when the columns are sewn together.
2
Fold the strip back and press.
3
Add the second strip by laying it face down on top of the first strip. Align the raw edges of both strips and pin. Sew together along the raw edge with a ¼ inch seam.
4
Fold the second strip up and press. The edge of the strip should match the angle of the line you drew on the column. We drew these lines to make sure that we’re on the right track as we start the column, but once the column is started, the angle should remain the same as you add subsequent strips.
5
Continue to add strips as you did the second strip. Make sure that you position the strip so that it will completely cover the batting once it is folded up and pressed.
6
Once the column is covered in fabric strips, place it face-down on your cutting mat and trim off the excess fabric at the edges.
Assembling the Columns
1
Make sure you have two columns that have strips sewn in opposite directions. Lay one on top of the other, right sides together. Pin along one long edge. Do your best to line up the seams as you go.
2
Sew along the pinned edge with a ¼ inch seam.
3
Press the seam open using steam.
4
Flip over the fabric and press the front side as well. Continue to sew all of the columns together.
Adding the Backing
1
There are many ways to finish a quilt. I like to use a flat bed sheet for my quilt backing to avoid unnecessary seams. For this particular quilt, I chose to do an easy flip and turn method.
Lay the backing fabric on the quilt top, right sides together. Align the edges and pin if desired. (I actually skipped the pinning and just aligned my corners and edges as I went, since I’m a confident sewer.)
2
Sew the edges of the quilt with a ½ inch seam. Leave an 8-inch opening along the middle of one side for turning.
3
Turn the quilt right-side out through the hole.
4
Adjust the seam at the edge of the quilt and press to give it a crisp edge. Fold in the raw edges of the hole and press those as well.
5
Topstitch the hole shut with a ¼ inch seam, and continue topstitching all the way around the quilt.
6
Since we did the Quilt As You Go method, we only have to do minimal topstitching to attach the backing to the quilt top. I chose to use a twin needle to sew down each column, centering the seam between the two rows of stitches. I typically like to use a thread that matches the backing, but that’s up to you.
7
Wash your quilt and it’s ready to use!
Click here to find more free quilting tutorials.
Made By Marzipan may have received product or payment for this post. Posts may contain affiliate links. Disclosed in accordance with the Federal Trade Commission's 16 CFR, Part 255.


 Finished?
Que bello y romantico..!!
Pretty!!
Love it!!!
Can this blanket be done with a jelly roll?
Yes very easy
wow very cool!
Now this is super cool!
thanks
This is beautiful. I will have to try it with my scrap fabric.
Do you think this would be cute in baby fabric for my grand child because
I want to make a non gender specific quilt?
It would be a great design for a gender-neutral quilt. Another quilt that would work for either a boy or girl is this Strip Quilt: http://www.madebymarzipan.com/?tutorial=easy-strip-quilt
Keep on writing, great job!
I love this quilt. :o)
Would it be possible to use 2.5″ jelly roll strips instead is the 3 inch?
Please let me know because I am so anxious to get started.
Thanks!!
Sure, you can swap any size of strips. I’d love to see a pic when you’re done!
Great video …. Very easy to follow!
I’m new to quilting … And I’m a little confused.
Not much quilting on the back, is there?
Just the seam (double needle) quilting?
Is that sufficient to hold down the back?
Yet still look nice? The front is very nice,
but I would have liked to see how the back turned out.
I am very new to sewing and I have chosen this to be my first quilting project. I purchased a double sized piece of cotton batting but when I folded it in half the edges don’t meet up at all. Is it normal to have to square pre-cut batting? It’s kind of tricky for me because I only have a 18×24 mat to cut on.
Thanks! I love your website, your tutorials are very detailed and the videos are perfect for a newbie like me. So many neat projects that I look forward to making.
Batting can often get wonky, because it can stretch quite a bit. It’s possible you can stretch it to a more square shape. Or if you’re doing strips like for this column quilt, just cut each one straight.
Great info!
I love this quilt and have started one. I consider myself to be an okay sewer, but am having a terrible time getting my strips to match from one piece of batting to the other. I have resorted to marking ALL of the angles on the strips and even doing extra measuring to even them up. It seems one side is always too wide, compared to where it’s supposed to be. Any suggestions? I know this description is clear as mud. Sorry! I don’t exactly know how to explain the problem. I am just not getting them sewn right. :(
Just got a Blogger account, it works great, but how do I find other people’s blogs I like with search. I know there is a method, but I am not seeing it currently. Thanks for your advice..
i really like the chevron column quilt tutorial. Can’t wait to get started cutting and sewing. Is it okay to use fusible batting? I have recently started using it and find it easy to work with. As i do not perceive well, how does this quilt look with using just red, white and blue colors? Thank you for your input and advice.
Emilie