Measuring & Cutting:
You’ll need three laptop measurements. Measure the horizontal width across. Measure the vertical length. Then measure the depth, or how tall your laptop is.
Here are the formulas for the pieces you’ll need to cut. I’m using measurements for my MacBook pro, but you can adjust for any laptop.
Tote:
Width + Depth + 1 in. (seam) + 1 in. (ease)
Length + Depth + 1 in. (seam) + 1 in. (ease)
Cut 2 from outer fabric. Cut 2 from inner fabric. Cut 2 from craft foam.
Divider Pocket:
Calculated Width is same
Calculated Length – 3 in. = 9.5 in
Cut 2 from inner fabric.
Scalloped Flap:*
Calculated Width – .5 in
Calculated Length -3 in
Cut 2 from outer fabric.
* You may want to wait until your bag is sewn to cut this to ensure a perfect fit.
Expanding pocket:
Calculated Width – 1 in.
1/2 of Calculated Length
Cut 1 from outer fabric.
Expanding pocket flap:*
Width of finished pocket + 1 in (seams)*
Length of finished pocket + 2.5 in.*
Cut 2 from outer fabric
*Wait to cut until pocket is complete
Strap:
Desired width x 2 + 1 in.
Desired length + 5 in.
Cut 1 from outer fabric
1
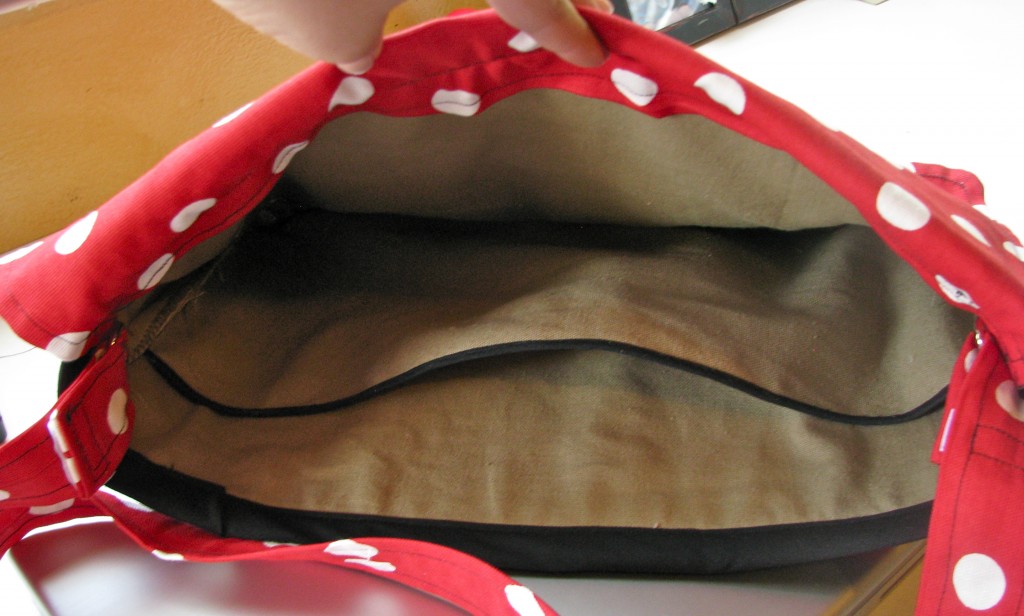
We’ll begin by making the interior divider. Layer the divider pieces together and pin bias tape along the long top edge. I used narrow bias tape because it was all I had on hand at the moment, but you can use your quilter’s bias tape for this.
2
Stitch in the ditch of the first fold line. Then fold the bias tape up and over and sew.
3
Next we’ll make the expanding outer pocket. Fold in the raw edges a half inch and press. Then fold in another half inch to encase the raw edge. Press, pin, and sew.
4
With the pocket fabric face down, fold the short ends in 3 inches. Press. Then fold backward and in half, accordion style. Press.
5
Pin the pocket to an outer fabric piece.
6
Sew the sides, stitching through the bottom layer of the sides only. Then sew along the bottom edge of the pocket.
7
Your pocket flap pieces should be the same width as your completed pocket, plus 1 inch for seams. Make the flap tall enough that it will still cover the pocket even when the pocket is expanded.
8
Place flap pieces right sides together. Sew beginning an inch off center on one long side. Sew with a half inch seam and stop 2 inches before reaching your beginning stitches.
9
Snip the corners, turn right side out, and press.
10
Pin a hair elastic in the opening, and topstitch around the flap.
11
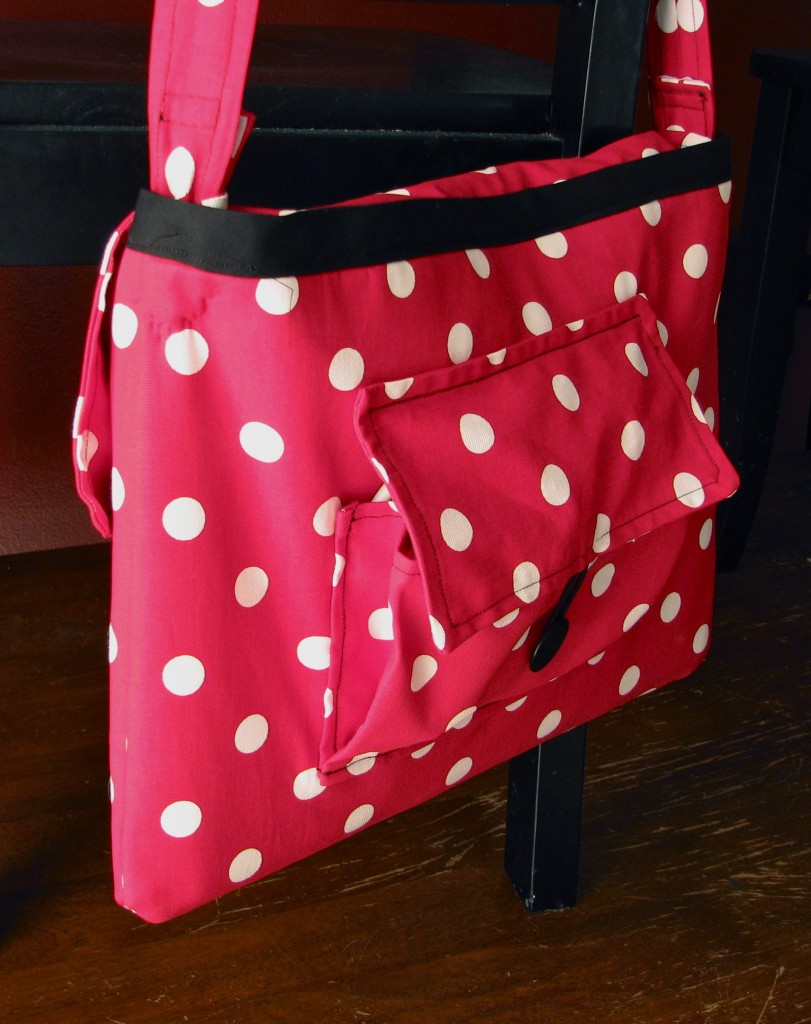
Pin the top of the flap to the panel. Sew on top of the previous stitches to secure. Handsew a large button to the outer layer of the pocket.
Now we’re ready to layer our fabrics together. First lay the inner fabric, face down, followed by a piece of craft foam. Now add the outer pocket panel, face up. Then it’s the outer fabric face down, followed by a piece of craft foam. Then the last inner fabric face up, and finally the divider panel.
12
It’s a good idea to switch to a heavyweight needle. Sew the sides and bottom with a half inch seam, leaving the top open. Then zig zag or serge the raw edges.
13
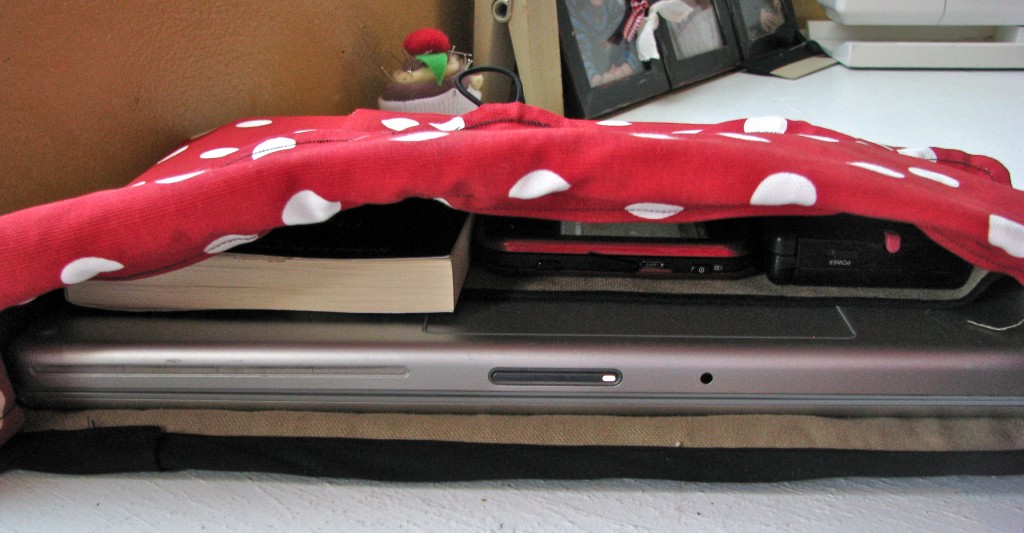
Turn right side out, and poke out the seams and corners. The seams will be fairly thick, but that’s good because it will help protect your laptop. Add bias tape to the top raw edges of the tote.
14
Now we’ll make the strap. You’ll need to cut it twice the desired width plus 1 inch. You’ll add 5 inches to the desired length. Fold in half and press.
15
Stitch the open edge with a half inch seam. Press the seam open. Turn right side out using tweezers. Center the seam and press.
16
Fold in the raw ends of the strap a half inch. Topstitch around the strap with a quarter-inch seam.
17
You can sew your strap directly to your bag. But I want mine to be removable so I can carry it in a backpack. So I’m sewing two D-rings to the interior sides of the bag, right below the bias tape. Then I’m adding velcro to the ends.
18
Now we’ll make the tote’s outer flap. It should measure the interior width of your bag, plus 1 inch for seams. To figure the length, measure below the bias tape inside, down to a third of the length of your bag. Add an inch for seams.
19
Pin the flap pieces right sides together. Place a jar or can in the center of the fabric, about a half inch away from the bottom edge. Trace halfway around the can to make a scallop shape. Repeat until you have symmetrical scallops on both sides of the center one.
20
Then add a hair elastic in the middle of the center scallop, pointing inward between the layers. I’m leaving mine hanging out a little bit to make it shorter.
21
Sew down the two short sides of the fabric with a half inch seam, and directly on top of the drawn scallops. Leave the top edge open.
22
Trim the seam to a half inch, and notch the curves so the scallops will lay flat. Turn right side out.
23
Fold the raw top edges inward a half inch and press. Iron the whole flap.
24
Topstitch around the entire flap, following the curves of the scalloped edge.
25
Insert the bottom edge of the flap below the edge of the bias tape and pin. The flap should fold down to the side without the expanding pocket. Sew on top of the bias tape’s previous stitches.
26
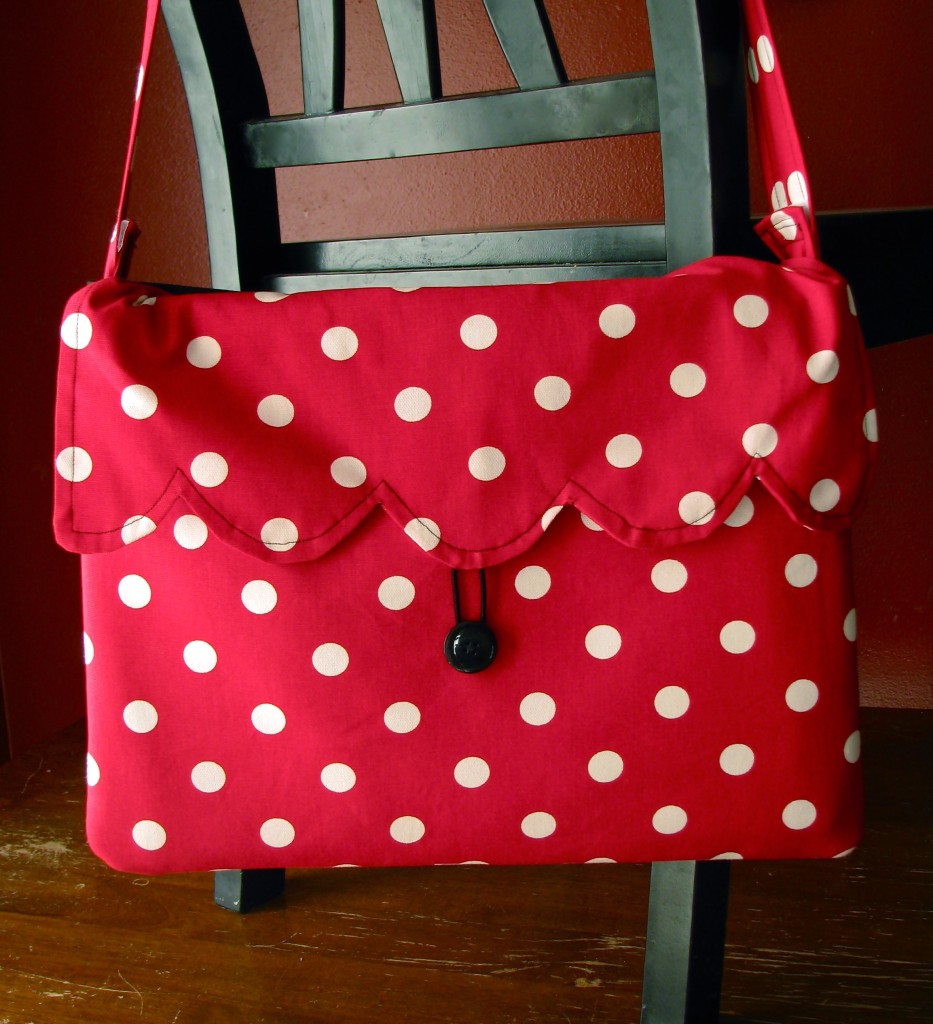
Attach the strap using the Velcro. Sew a matching button to the center of the front panel, and your laptop tote is finished.
Click to find more free sewing patterns for bags!


 Finished?
Great looking laptop bag! Love the scalloped edge!
I would love if you came over and linked this project to my weekly Round Tuit party at:
http://jembellish.blogspot.com/
Have a great week!
Jill @ Creating my way to Success
Found you on MMM. So cute & what a great tutorial. :) Would love to have you link this up to my {wow me} wednesday link up party going on over on my blog right now. The most viewed link will win a set of fancy rectangle chalkboard labels. This week I’m co-hosting with Reasons to Skip the Housework…so links will show up on both blogs! How fun!
Ginger
gingersnapcrafts.blogspot.com
This is so pretty! I love the fabric you chose. wish i knew how to sew!!
I’d love for you to link this up to my link party, Your Whims Wednesday! http://mygirlishwhims.blogspot.com/2011/06/your-whims-wednesday-12-and-features.html
i am sew glad that i found u on utube, u r sew easy 2follow and easy 2understand, love all your projects, keep up the good work and GOD BLESS U AND FAMILY.
I’ve been searching for just the “right” lap top bag pattern, and I think this might be the one! Thanks :)
Looking for the written directions for the ipod/iphone stand/cover
Hi Patty, the instructions for the iPod Touch Case Stand are found here: http://www.madebymarzipan.com/?p=3058
please add me to your email list to receive daily emails on your GREAT projects!
Thanks for upload gr8 bags video
This was an excellent video! Thank you for posting it. It was very inspiring so I might have to make a bag similar.
Thanks for another brilliant effort. You are such a good teacher.
Love it Thanks again!!
youre really talented.