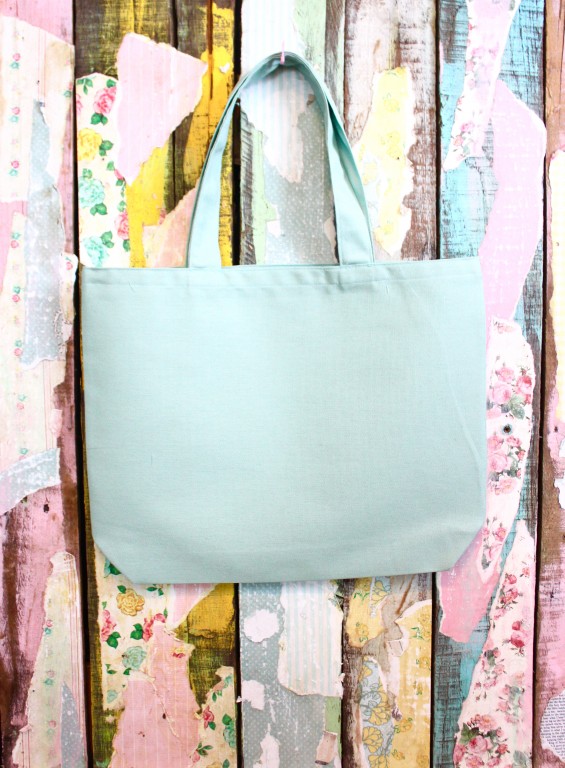
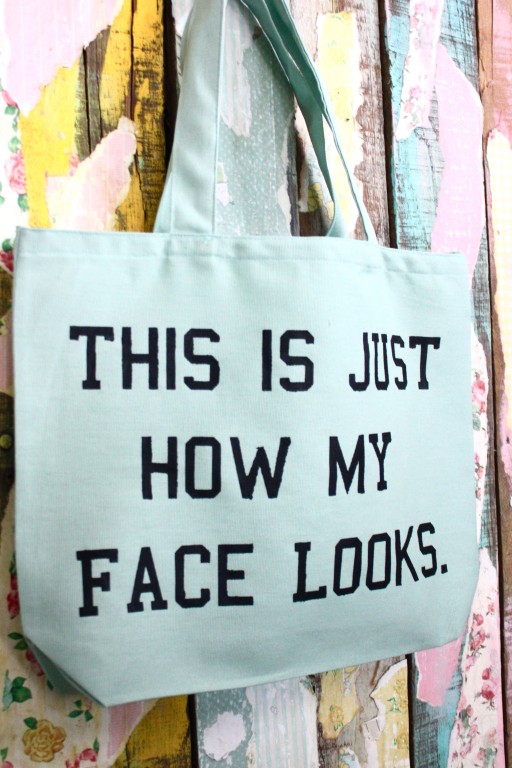
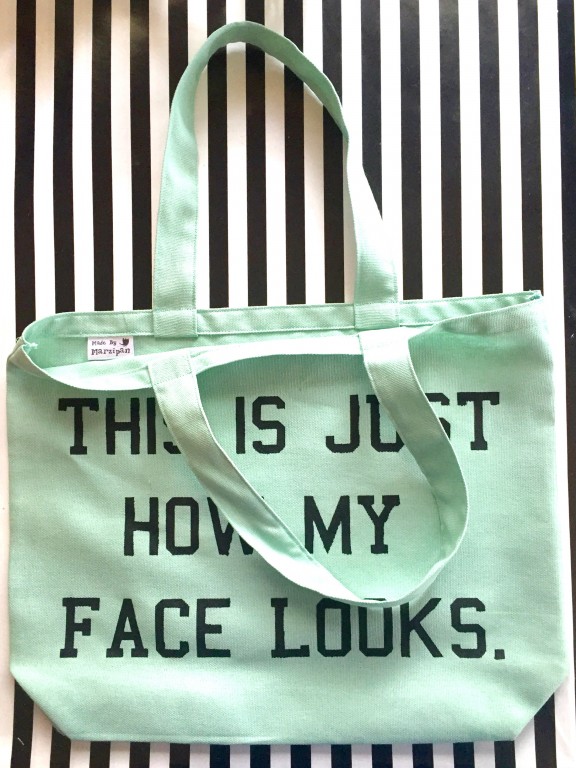
This Super Simple Tote Bag is a great project for beginning sewists! I’ll even show you how to personalize it with your own painted design.
How to:
made with
1
You’ll need ¾ yard of canvas or other heavy weight fabric. Cut the bag piece to 15 x 27 inches. Of course, you can play around with these measurements to make a bag of different dimensions, or with longer straps.
2
With the fabric face down, fold the short ends of the bag piece down ½ inch and press. Fold under and press again, encasing the raw edge. Set aside.
3
Cut two strap pieces to 3 x 19 inches.With the fabric face-down, fold down the long edges of each strap piece and press. Then fold the strips in half lengthwise and press again.
4
Sew the long open edge of these strap pieces. Get very close to the edge of the strap as you sew. Then repeat on the opposite long side so the edges match.
5
Next center the ends of the strap pieces beneath the folded edge of the bag piece. For this bag, that means I’m placing each end 4 inches from the side of the bag. Pin in place, then sew close to the edge of the bag as you did with the strap pieces.
6
Then sew the lower folded edge, securing the straps.
7
Fold the straps up and press down with your finger. Sew over your previous stitches along the bag’s edge, catching the strap in your stitches. Repeat along the lower folded edge as well.
8
We’re going to give this bag a bottom so it isn’t narrow like an envelope. Fold the bag in half, right sides together, and press the fold.
9
Place your fingers inside of the bottom fold. Fold upward and flatten, so the bottom section is about 2 inches tall.
10
Fold the top inch of the bag bottom down along the pressed crease line. (If you look at it sideways, you can see it creates an M-shaped pleat.)
11
Pin the corners in place, then sew down both short sides of the bag using an overcast stitch or a tight zig-zag stitch. (Because this bag will be unlined, it’s important that you catch the raw edge of the bag with your stitches, as this will keep it from fraying.)
12
Turn the bag right side out, and press the box corners on the bag bottom.
13
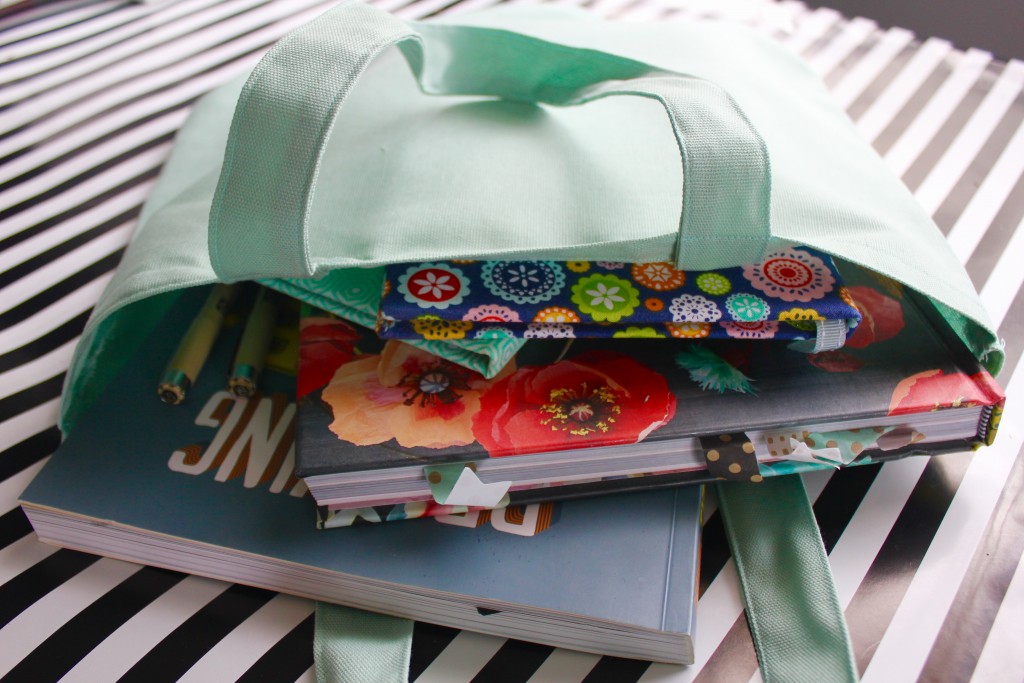
Then fold the bottom of the bag inward along the original pressed crease line. This will give the bag slanted corners at bottom, which are pretty cute! Press. You can see that the pleat at bottom gives you plenty of space inside this bag.
Personalize with Paint
1
We’re done sewing, but if you want, you can personalize your bag with fabric paint. Print your design on the non-shiny side of a piece of freezer paper, and cut out with an X-acto knife to create a stencil. Or, if you have a cutting machine like a Silhouette, you can use that to cut your design.
2
Use a hot iron with no steam to press the design to your bag.
3
I’m using Speedball fabric paint. (You can also use craft acrylics, although those don’t hold up as well over multiple washes.) Remember to slide a piece of cardboard inside your bag to prevent bleeding. Paint over the stencil with a paintbrush. You may want to do two coats.
4
Let it dry completely before peeling off the freezer paper stencil.
Made By Marzipan may have received product or payment for this post. Posts may contain affiliate links. Disclosed in accordance with the Federal Trade Commission's 16 CFR, Part 255.


 Finished?