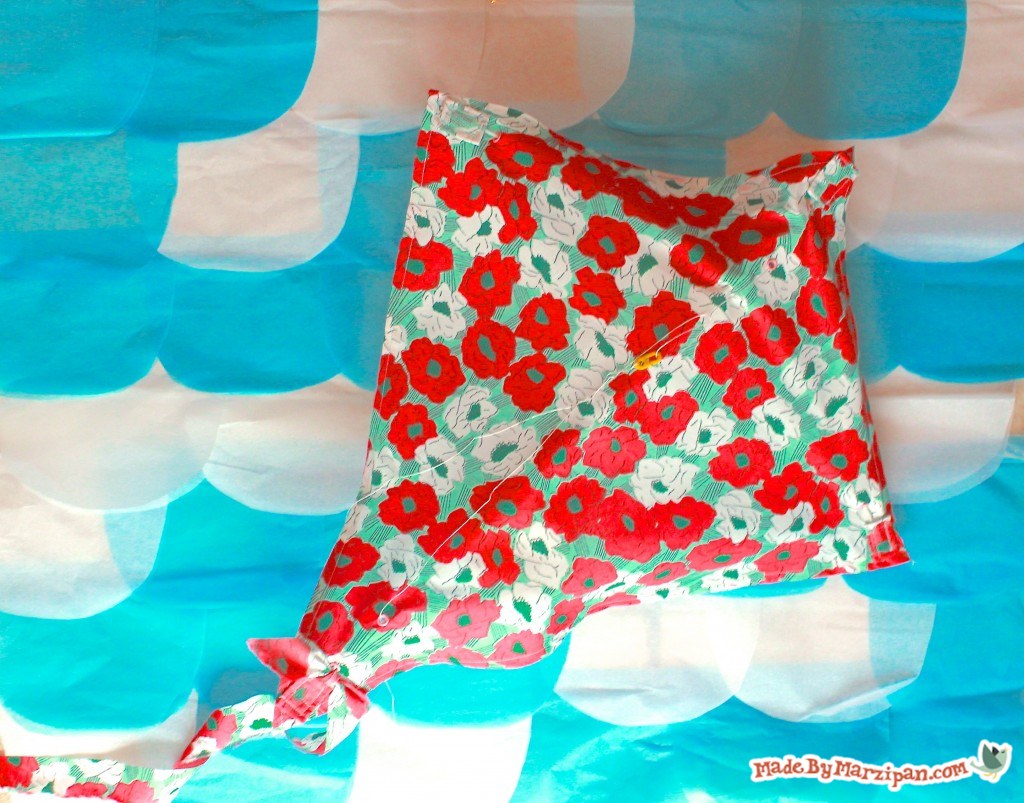
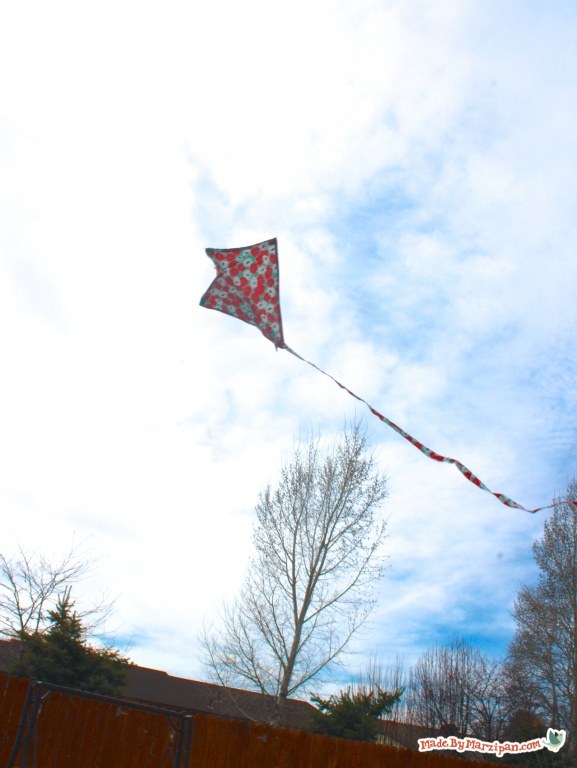
Turn a cheap plastic kite into a beautiful and durable fabric kite.
Tips:
1
I’m using a Sky Diamond 23-inch kite that cost $2. However, you should be able to adapt these steps to whatever kite you have.
How to:
made with
1
Begin by laying your kite face down on the back side of the fabric. Use it as a pattern to cut your fabric, adding a 1 inch border on all sides.
2
With the fabric piece face-down, fold the edges in ½ inch and press. Fold in a second time and press, encasing the raw edge.
3
Trim the excess fabric at the corners of the kite. Sew the sides with a ¼ inch seam.
4
Cut a square of iron-on interfacing for each hole on the kite. Transfer the marks to the fabric with a pen, then iron the interfacing to the wrong side of the fabric.
5
Punch each of the holes then add eyelets. I’m using a Crop-A-Dile tool, but you can use a standard eyelet setter kit.
6
Now we’ll make 4 pockets for the dowels. Iron interfacing to a strip of fabric. Cut two pieces that are about 2×3 inches.
7
Fold down the long edge and sew with a ¼ inch seam. Repeat for the bottom and sides.
8
Cut the piece in half, then fold in the cut side and sew with a ¼ inch seam. Repeat with the remaining rectangle to create 4 pocket pieces.
9
Check the plastic kite to determine the placement of the pockets, then sew to the fabric kite. Remember to leave one side open to slide the dowels in.
10
Add the dowels to the kite in the same way they were placed on the plastic kite.
11
Tie a 2 ½ foot strip of fabric to the bottom of the dowel as a tail. This will stabilize the kite and aid in flying.
12
I found that clipping the string higher towards the top of the kite gave it better lift.
This kite looks so pretty, and I think it will last a long time!
Made By Marzipan may have received product or payment for this post. Posts may contain affiliate links. Disclosed in accordance with the Federal Trade Commission's 16 CFR, Part 255.


 Finished?
haha that is cool!
Great video. Btw how did you put that name on your sewing machine?