Decorate a shirt, bag, or pillowcase with DIY freezer pencil stencils. This is a fun craft for sleepovers!
How to:
made with
tee shirt
cardboard
foam brushes
1
To make the stencil, you’ll need freezer paper. (This is different from wax paper, wax paper will NOT work for this project.)
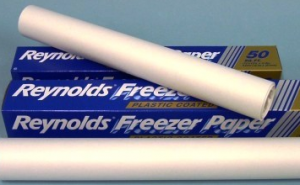
Trim a piece of freezer paper to 8.5 x 11 inches so you can print on it directly using your home printer. Be sure that you’re printing on the dull paper side, not the shiny side.
2
Use an X-acto knife and a self-healing cutting mat to carefully remove the image. Only cut out the inked parts, do not cut the white. When you’re done, you will have a silhouette of your image. (If you have pieces that belong in the center– like the middle of a letter– you can save them to add again later.)

3
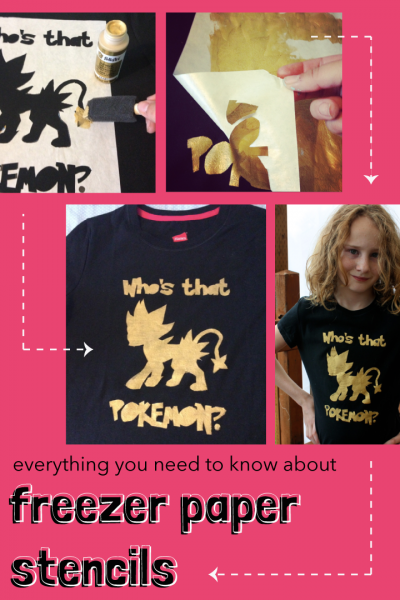
Lay the freezer paper stencil shiny-side down on your fabric. Iron on medium heat without steam. The heat will temporarily adhere the paper to your fabric. Add the centers you saved (if desired) and iron in place.
4
Slide a piece of cardboard inside the shirt to prevent the paint from seeping through to the back.
5
Now we can paint. You have three choices: fabric paint, acrylic paint, and “outdoor” acrylic paint. All three paints will remain on the shirt in the washer and dryer, but there is some difference in quality.
Fabric paint will keep the painted fabric soft. “Outdoor” acrylic paint will slightly stiffen the fabric where it was painted. Regular acrylic paint hardens the fabric in that area and has a tendency to develop fine cracks.
6
Use a paint brush to cover the cut areas in paint. Don’t worry about staying inside the lines, the freezer paper creates a nice seal so your paint won’t seep through.

7
Allow the paint to dry, then add a second coat. Pat the paint with the wide, flat side of the foam brush to eliminate streaks.
8
Once that’s dry, gently peel the paper from the fabric. Remove the centers as well.
9
If you’d like, you can add periods or dots by dipping a pencil eraser in paint and pressing it to your shirt.
10
I recommend washing the item separately the first time it’s cleaned. After that it can be washed with the other laundry. You can put it in the dryer, but do not iron directly on the paint. 

Made By Marzipan may have received product or payment for this post. Posts may contain affiliate links. Disclosed in accordance with the Federal Trade Commission's 16 CFR, Part 255.
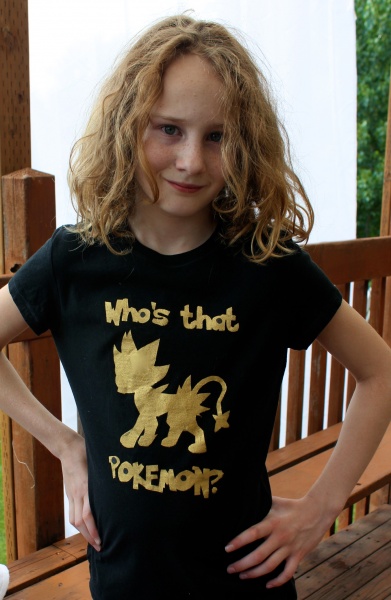


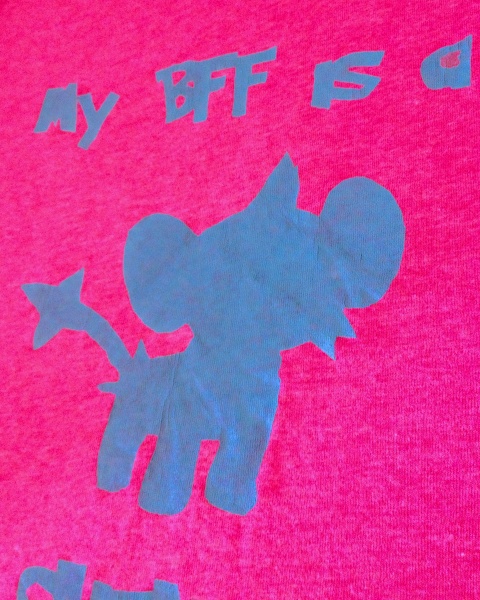
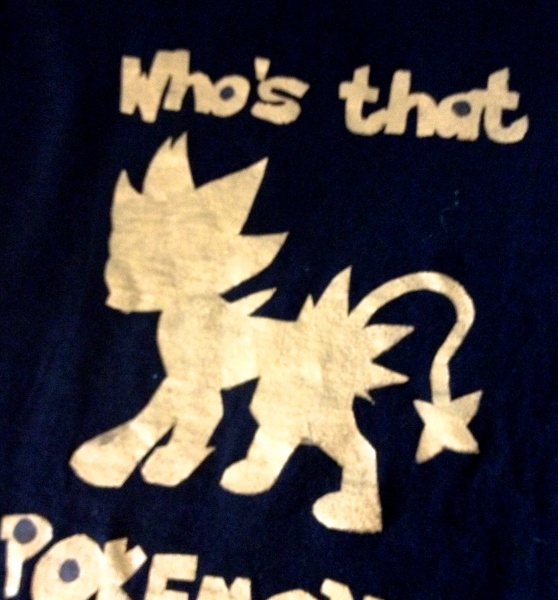
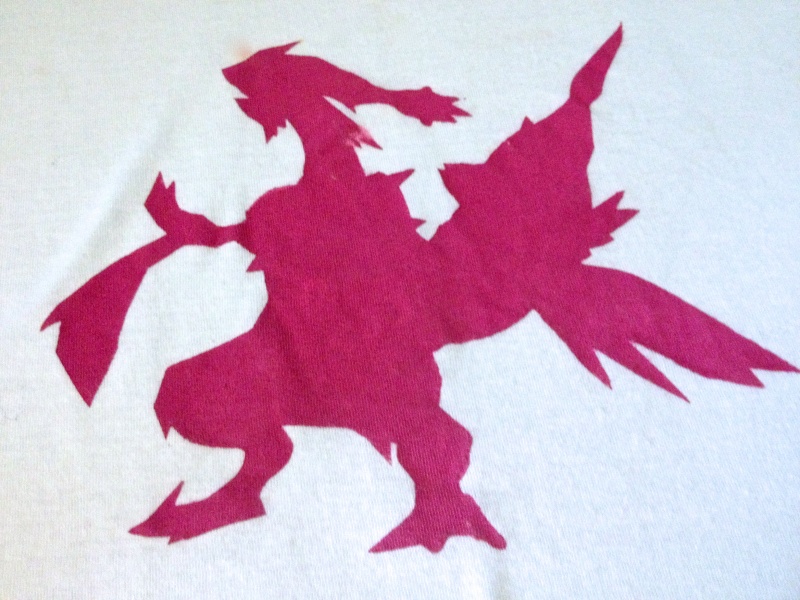

 Finished?
Not sure if this is the right place to post my comment or not since I am new to your website.
HELP!! Found an old post for “Stuffed Bats” that when I clicked brought me to your site, which I love by the way. Anyway, my daughter’s birthday is on Halloween and I would like to make a banner using this pattern for her bedroom. Hope to hear from you soon.
Hi Linda, the Stuffed Bat Bunting tutorials is found here: http://www.madebymarzipan.com/?p=3956