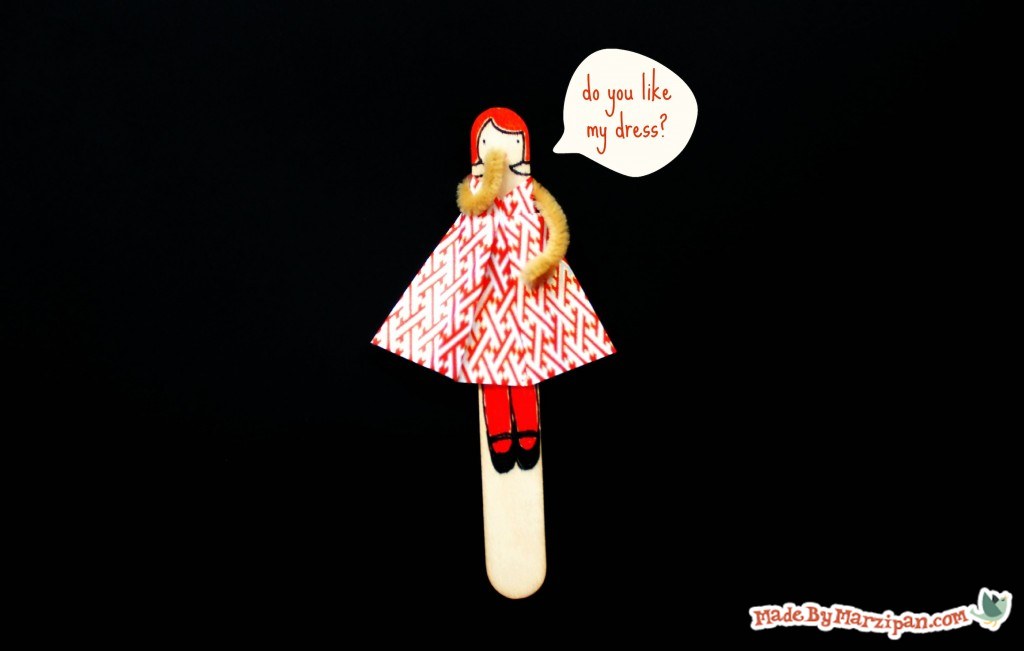
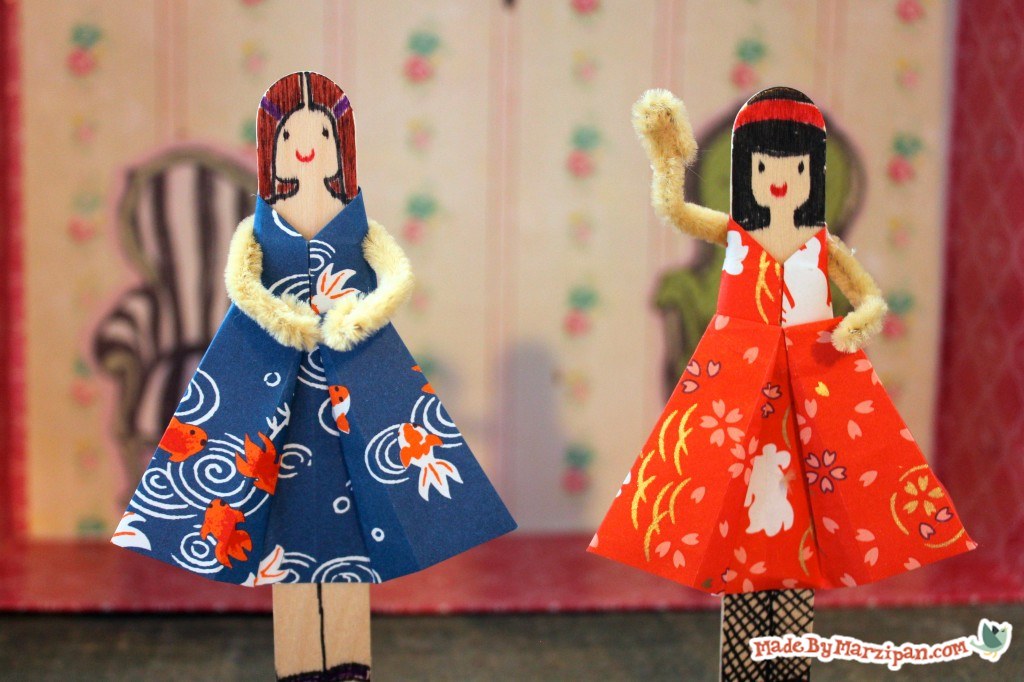
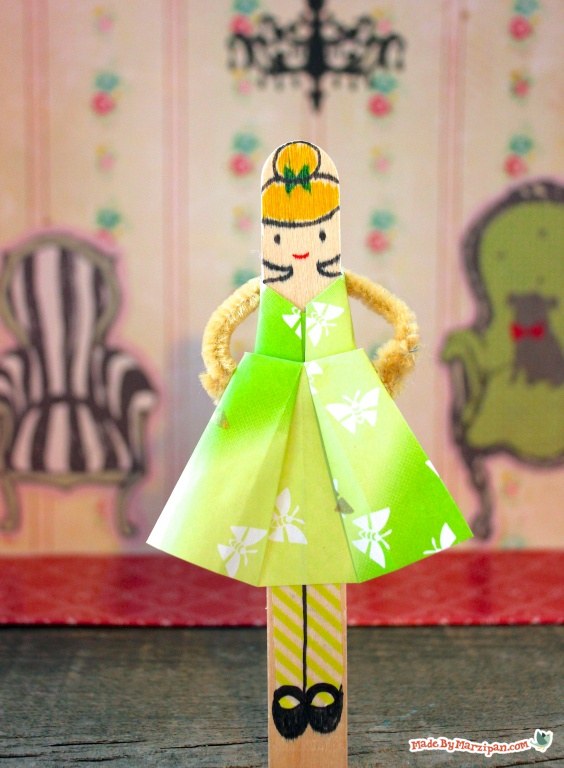
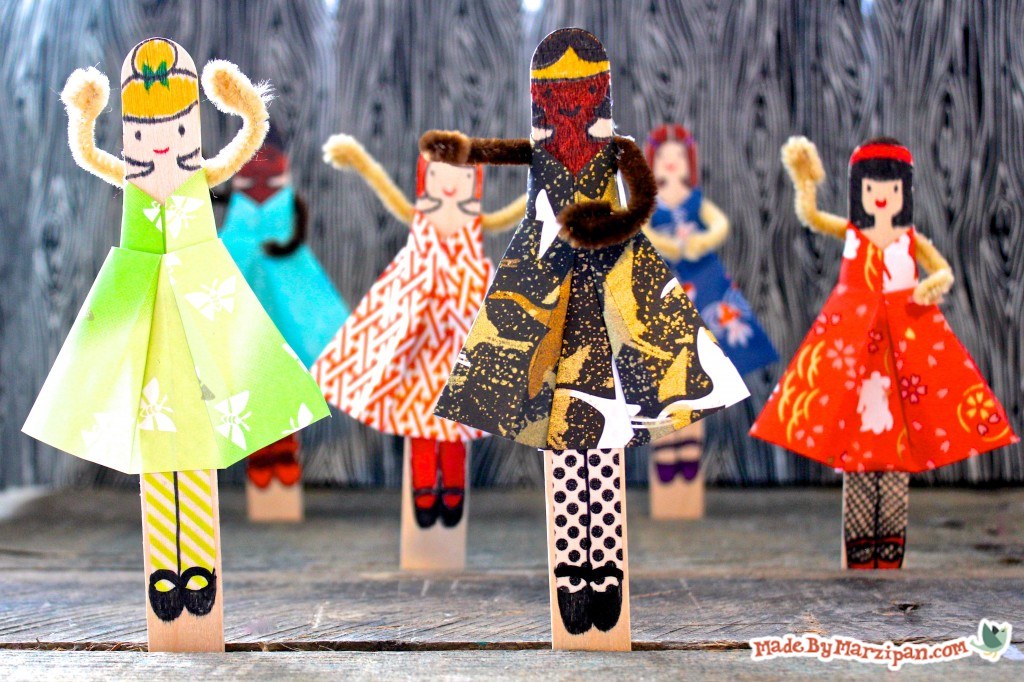
Craft a set of darling dolls from popsicle sticks. They’re super sweet in adorable origami dresses.
Tips:
1
I’m using 4-inch origami paper; this package cost $1.50. If you don’t have origami paper, wrapping paper also works well for this. Just be sure that you cut it in a perfect square.
2
I’m using jumbo craft sticks, which are about twice the width of regular popsicle sticks.
3
I’m using Identi®-Pen markers for this, because they’re permanent markers that can write on a variety of surfaces, including wood, origami paper, and washi tape. The dual points make it easy to draw small features, or to color in large areas.
How to:
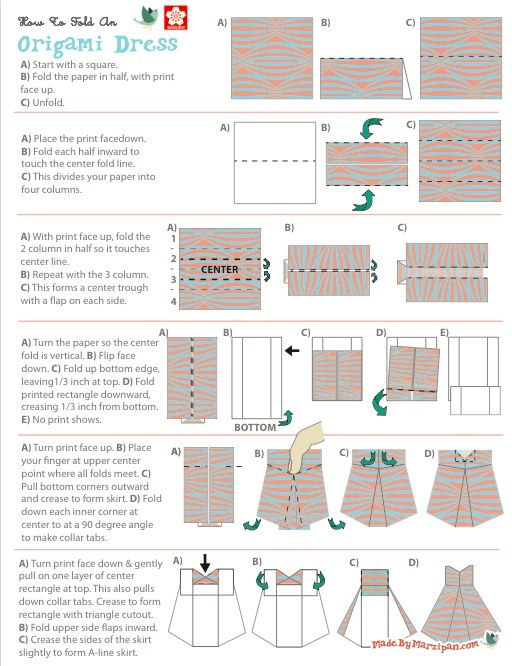
Let’s start by learning how to fold a dress. If you prefer a drawn diagram, download the free Origami Dress Diagram by the supply box.
1
Fold the paper in half, with the print on the outside.
2
Unfold, with the print facedown. Then fold each half inward to touch the center fold line. This divides your paper into four columns.
3
With the print face up, fold the the second column in half so that it touches the center line. Repeat with the third column. This forms a center trough with a flap on each side.
4
With the print face down, fold up the bottom edge, about ⅓ inch from the top.
5
Fold the printed rectangle downward, creasing about ⅓ inch from the bottom.
6
With print face up, place your finger at the center point where the folds meet. Pull each bottom corner outward and crease to form a pleated, flared skirt.
7
Next fold down each corner at the center top. Fold down at a 90 degree angle and try to keep these symmetrical, as they will form the neckline of the dress.
8
With the print face down, gently pull on one layer of the center rectangle at top. Crease to form a rectangle with a triangle cutout at top.
9
With the print still face down, fold the side flaps inward. This will pull the sides of the skirt inward a bit, so crease those as well to form an A-line skirt.
Creating the Dolls
Now it’s ready to wear! But first we have to turn these popsicle sticks into dolls.
1
Use Identi®-Pen markers to draw and color in hair for your doll. Give her a face, and don’t forget to give your doll legs and shoes.
2
You can really have fun with this. You can add accessories like headbands or bows, or draw on jewelry. You can draw fun patterns on their legs to look like tights.
3
You can add other accents with washi tape. To make washi tape tights, cut the end of a piece of tape into two bumps, like on a capital “B.” Adhere to the stick, then use an Identi-Pen to draw a center line, forming her legs. The Identi®-Pen draws smoothly on the waxy tape, without beading up or smearing. Draw shoes at the bottom of the tape to form her feet.
4
Add the dress to the doll by unfolding the side flaps and adding adhesive. Center the dress on the doll and wrap the flaps around the back of the popsicle stick to adhere. Add a little adhesive under the front of the dress to tack it down.
5
You can give your doll arms by cutting a pipe cleaner into thirds. Curl the ends to form hands, then hot glue to the back of the stick. Now you can pose her in different positions.
Crafting these little cuties can be addictive! It’s a good thing they only cost pennies a piece to make.
Made By Marzipan may have received product or payment for this post. Posts may contain affiliate links. Disclosed in accordance with the Federal Trade Commission's 16 CFR, Part 255.


 Finished?
Me encantaron tus munequitas y grasias x compartir tus ideas.
I love our videos they are very well made. The only thing is that i think you should vary the music instead of using the same one in every video. Keep your good work i want to see more from you!
Great Idea