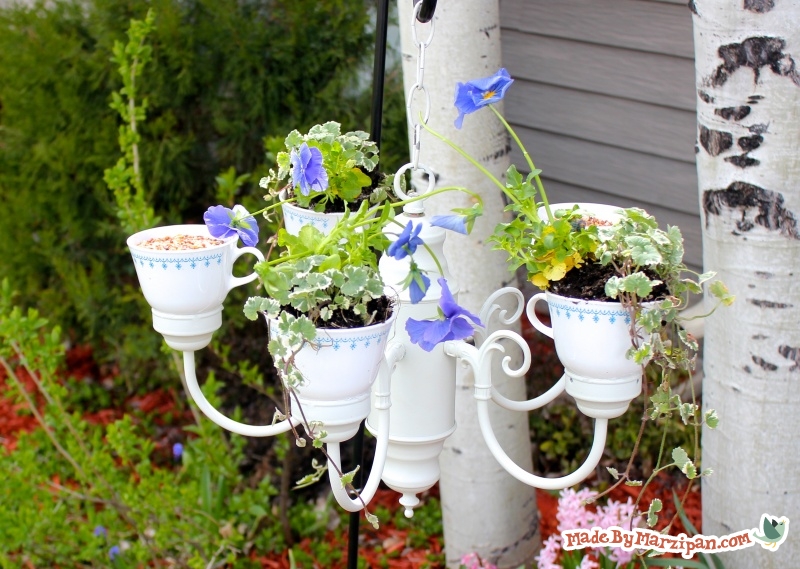
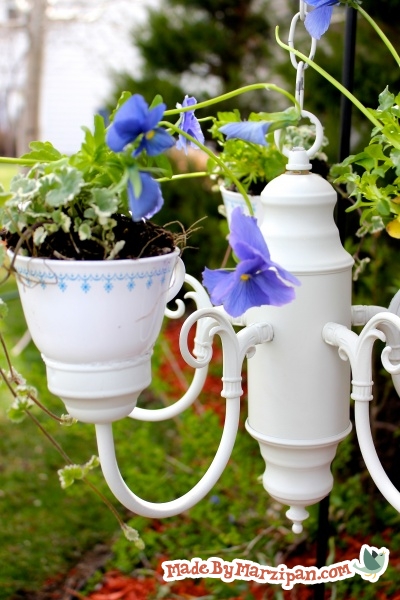
You’ll need an old chandelier. My local thrift store almost always has a few. You can paint it if you don’t like the color or finish, and it doesn’t need to have the shades attached. Make sure that the arms of the chandelier point upright, or that you can adjust them to point upright.
1
We’re going to start by removing the shades with a screwdriver.
2
Next we’ll remove a lot of the wiring. Unscrew the chandelier’s pieces so you can access the wires. We’re removing the wiring that’s intertwined with the chain because it looks better without it. We’re also clipping the wires that attach to each of the arms, so we can remove the socket fixtures. Use wire cutters to snip and remove the wire.
3
We’ll also take off the cover plate attached to the chain. Separate the links of the chain by twisting in opposite directions with pliers. You can either remove the broken link or bend it back together.
4
Now we can remove the sockets. These are attached with a single screw. If you find it difficult to pull the wires through the arm, you can just lift them a bit to cut.
5
Adjust the arms to point upright, if they aren’t already. Now would be the time to paint the chandelier if you don’t like the finish. Be sure to select a spray paint that is formulated for metals and outdoor use. Spray outside on a warm day.
Drilling the teacups
We need our teacups to have good drainage if we want them to serve as planters. So we’ll need to drill holes in the bottom of our cups. To do this, you’ll need a Glass & Tile drill bit. A Diamond drill bit works as well, but costs twice as much.
1
Put on work gloves and safety goggles. Turn the cup upside down and pour a small amount of water on the bottom. This will keep the drill bit from overheating and will make a smoother cut.
2
Drill straight down, using firm pressure without being too forceful. Drilling into porcelain takes time, so you’ll have to be patient. It takes about four minutes per hole, and you’ll need two holes in each planter cup. (There’s no need to drill the teacups you’ll be filling with birdseed.)
Attaching the teacups
1
If it’s possible to remove any pieces from the bottom so that the chandelier can sit flat on the table, do so.
2
Lightly sand the bottom of the teacups for better adhesion.
3
I’ll be using E6000 glue. I know I’ll get a lot of comments asking whether other glues will work, but I really feel that this is the best adhesive for the job. It’s waterproof, dries clear, and is flexible so it won’t get brittle. It works well on both metal and ceramics. You can find it in the hardware section with other industrial glues.
Place a small amount of glue around the rim on each chandelier arm. Add some glue to the bottom edge of the teacup as well. You’ll want to let these sit for about 5 minutes so the adhesive gets a little gummy, then press them together firmly.
4
Wait 24 hours before moving the chandelier, and wait 72 hours before hanging it outside or exposing it to water.
5
Once the adhesive has set, you can fill the drilled teacups with flowers or succulents. I’m also filling some cups with birdseed to attract birds to my garden. You could even stake small solar lights with the flowers so your chandelier would shine at night.


 Finished?
Amazing project!!!So creative!
http://freestilcreatingbyvilly.blogspot.gr/
So cute! I am going to find a chandelier!
I am lookng for theSnappy Card Wallet directions that is made by Marzipan. Thank you.
I found an old chandelier, and with your help I am going to transform it into a beautiful garden decor. Thanks
Yay! Feel free to post pics here when you’re done!
I do not understand where the water drains into.. does it just puddle underneath the
glued cup or go into the chandelier arm or……?