Take your sewing skills to the next level by learning how to insert a centered zipper… the easy way!
Centered zippers are common in skirts and dresses. Here’s a step-by-step guide to installing a centered zipper.
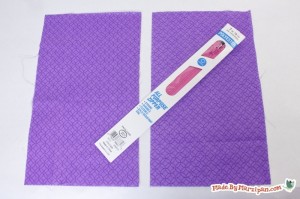
1) Cut two pieces of fabric to the same dimensions. Be sure your fabric is at least one inch longer than the length stated on the zipper’s packaging.
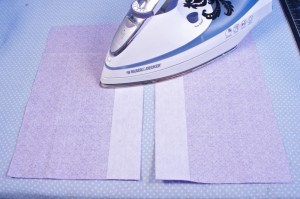
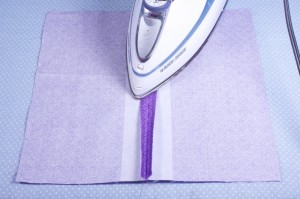
2) When creating an unlined project, it’s a good idea to reinforce the zipper area with a strip of fusible interfacing. Cut interfacing to 1.5 inches wide and iron to the wrong side of the fabric, along the edge where you’ll be inserting the zipper.
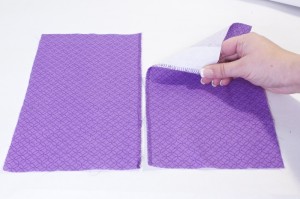
3) If your project is unlined, zigzag along the edge of the interfacing and fabric to prevent fraying.
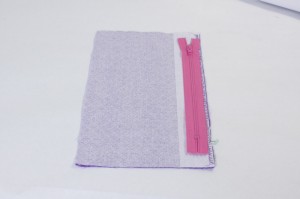
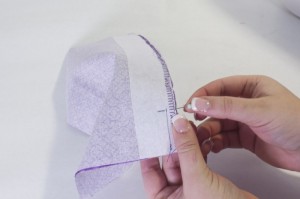
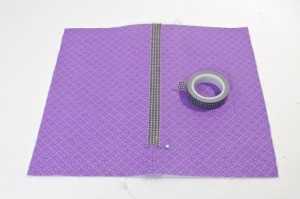
4) Lay the fabrics right sides together, with the interfacing on the righthand side. Center the zipper on the fabric and add a pin to mark the zipper stop placement. Set the zipper aside.
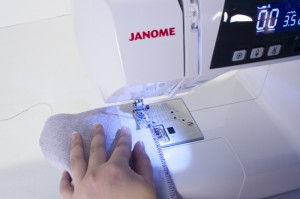
5) Sew a straight stitch,with a ½ inch seam, stopping when you reach the pin. Remember to backstitch when beginning and ending your seam.
6) Remove the pin.
7) Change to a basting stitch. Begin basting where you finished the straight seam, and continue sewing down the length of the fabric. Do not backstitch when basting.
8) Lay the fabric face-down and separate the layers by pressing the seam open. Flip the fabric to the other side and press the front as well.
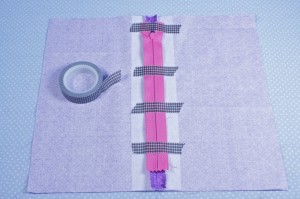
9) There are a few methods for securing the zipper before sewing. You could baste along both sides of the zipper tape. You could also tack the zipper down with regular adhesive tape. Standard glue sticks contain a water-soluble adhesive that will dissolve when washed. (Note: pins are not recommended for zipper placement.)
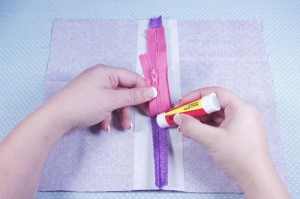
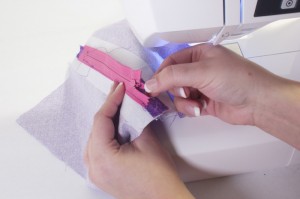
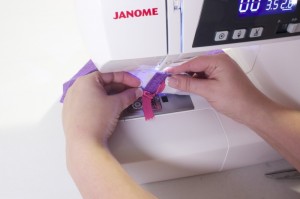
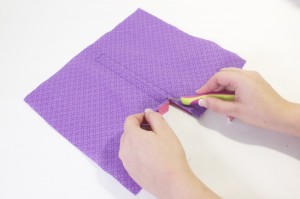
10) Perhaps the simplest and most precise method is to use a regular glue stick. Add a generous amount of glue along the seam allowance. Slowly press the zipper tape to the seam, being careful to align the zipper teeth perfectly down the center. Stop two inches from the top of the zipper.
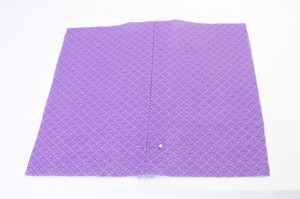
11) Add a marking pin on the right side of the fabric, directly below the zipper stop.
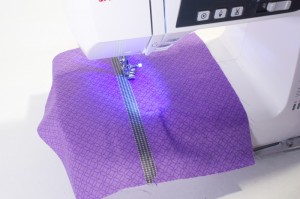
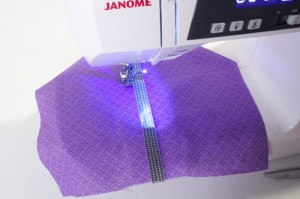
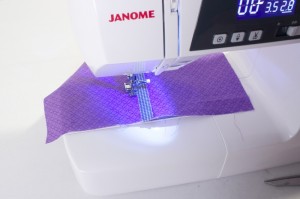
12) Here’s a very useful tip: center adhesive tape directly over the seam on the right side of the fabric. Adhere right above the pin and continue down the length of the seam. This will become your sewing guide. (Select a tape that is 3/8 or 1/2 inch wide. Clear tape is fine.)
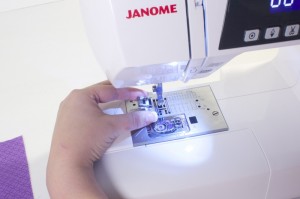
13) Change back to a straight stitch. Swap the presser foot for a zipper foot.
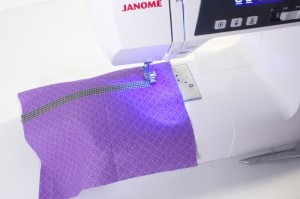
14) Position your fabric under the zipper foot, right below the pin. You can now remove the pin. Stitch across the bottom of the zipper, remembering to backstitch.
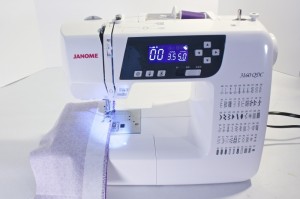
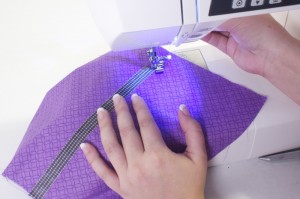
15) With the machine needle still in the fabric, lift the presser foot and pivot the fabric so the zipper foot is aligned with the edge of the tape.
16) Sew down the length of the tape. Stop sewing before the zipper pull gets in the way, a couple of inches from the top of the zipper.
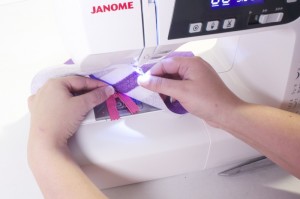
17) With the needle still in the fabric, lift the presser foot and open the zipper by sliding the pull down past the foot. Lower the presser foot and continue sewing down the length of the zipper tape. Remember to backstitch.
18) Remove your project and pull the zipper closed.
19) Depending on your sewing machine model and zipper foot, you may need to remove the foot and position it on the opposite side.
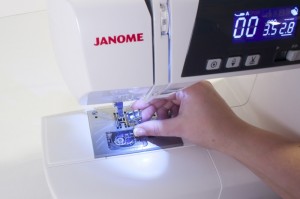
20) Begin sewing on the opposite side of the tape, starting at the zipper stop. Again, stop sewing a couple of inches away from the zipper pull.
21) With the needle still in the fabric, lift the presser foot and open the zipper by sliding the pull down past the foot.
22) Lower the presser foot and continue sewing down the length of the zipper tape.
23) Remove the tape, then cut the center basting stitches with a seam ripper.
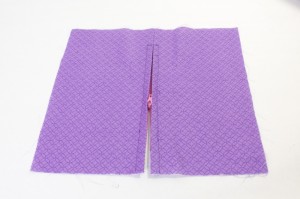
24) Your zipper is finished! The top edge is typically finished within the seam of the garment.

As soon as I found this website I went on reddit to share some of the love with them.
I love you.
yep its the best.do you do email followers…sign me up..I got babies coming like kittens…2 grands and 4 fostergrans and several neices and nephew have got in the line
thanks grannykatz
Verry nice. Makes sewing a pleasure!
glue stick was a cool idea! :)
Yes, it makes life simpler :)
Would like to follow your website or blog but I don’t belong to facebook or twitter. How can I receive your new ideas and comments?
Keep on working, great job!
I was taught this method 50 years ago in Home Economics class! The use of the glue to position the zipper is a sweet idea.
Me, too.
Awesome post.
Why not do a hidden zipper?? Much easier and faster… This kind of stitching is so unattractive on the fabric.
Great info!
Brilliant idea. I’m just wondering, does the glue mess up the needles?
You are such a neat sewer. Lovely work.
No, not once it’s dried :)
You just made two Grandma’s very happy, Homemade is really from the heart, Thanks
Love the ideas.
Great idea! I wish I had known about it a long time ago.
Use an iron after using the glue stick. It dries (sets) the glue quickly and then you are ready to sew.
Zipper technic
Can’t wait to do it. I could use this so often!!!
Am impressed. I would love to acquire this skill very well. Appreciate
This is amazing
What webpages and blogs do the web community talk most on?
I have seen something similar in a book but I really like how you have done these instructions. I am definitely going to try this. I have several skirt and petticoat slip projects coming up that have zippers. I will try this on them.
I’ve often wondered how this was achieved. Now I know. Thank you, thank you. I will try it on my next garment.